Teriyaki Chicken Skewers
Let's make delicious teriyaki chicken skewers in no time!
Chicken
Teriyaki Sauce
Bell Peppers
Onions
Pineapple Chunks
Cut chicken into small pieces.
Marinate chicken in teriyaki sauce for 30 minutes.
Thread chicken, peppers, onions, and pineapple onto skewers.
Grill or bake skewers until chicken is cooked through.
The Ultimate Guide to Perfect Teriyaki Chicken: A Juicy, Glazed Dish You’ll Make on Repeat
Have you ever ordered takeout and wondered why the Teriyaki Chicken tastes so impossibly glossy and tender? The secret isn’t a secret ingredient—it’s the balance of sweet, savory, and umami that comes from a well-crafted homemade Teriyaki Sauce. By preparing this dish at home, you control every element: the sodium, the sugar, the quality of the chicken, and the thickness of the glaze. Plus, you skip the delivery fees and the preservatives. Whether you’re a busy parent or a weekend meal prepper, this recipe delivers restaurant-quality results with minimal effort. Let’s dive into the steps that guarantee a sticky, caramelized, and deeply flavorful Teriyaki Chicken every single time.
—
Ingredients & Kitchen Tools
Ingredients
– Boneless, skinless chicken thighs (or breasts) – Thighs stay juicier; breasts work if you cook carefully.
– Soy sauce (low sodium) – The salty backbone of the sauce.
– Mirin – Sweet rice wine that adds shine and depth. Substitute with dry sherry + sugar if needed.
– Rice vinegar – Brightens the flavor.
– Brown sugar – For caramelization and sweetness.
– Garlic (minced) – Fresh, not jarred, for best aroma.
– Fresh ginger (grated) – Adds warmth and zing.
– Cornstarch + water – Slurry to thicken the sauce.
– Sesame oil – For finishing, not cooking.
– Sesame seeds and sliced green onions – Garnish.
Kitchen Tools
– Large skillet or wok – Non-stick or stainless steel.
– Small bowl – For mixing sauce.
– Whisk – To combine slurry.
– Tongs – For flipping chicken.
– Cutting board & knife – For prep.
– Instant-read thermometer – Ensures chicken reaches 165°F.
—
Prep Time & Cooking Schedule
– Prep time: 10 minutes (mince garlic, grate ginger, mix sauce)
– Marinating time: 15–30 minutes (optional but recommended for deeper flavor)
– Cook time: 12–15 minutes
– Resting time: 5 minutes (allows juices to redistribute)
Total time: approximately 40 minutes. Plan to start the sauce and chicken prep simultaneously. If you’re short on time, skip marinating and simply sear the chicken, then add the sauce directly.
—
Step-by-Step Instructions
1. Pat the chicken dry with paper towels. Season lightly with salt and pepper. (Dry skin = better browning.)
2. Whisk together soy sauce, mirin, rice vinegar, brown sugar, garlic, and ginger in a bowl. Set aside 2 tablespoons of the mixture for later.
3. Heat a skillet over medium-high heat with a splash of oil. Sear chicken thighs for 4–5 minutes per side, until golden brown. Remove and rest.
4. Pour the sauce mixture into the skillet. Let it simmer for 2 minutes, scraping up browned bits.
5. Mix cornstarch with 2 tablespoons cold water. Add to the simmering sauce, whisking constantly until thickened (about 30 seconds).
6. Return the chicken to the skillet. Spoon the thickened Teriyaki Sauce over the chicken. Cook another 2 minutes, turning once, until the glaze coats each piece.
7. Slice the chicken against the grain, drizzle with remaining sauce, and finish with sesame oil, sesame seeds, and green onions.
> Pro tip: For an extra-thick glaze, let the sauce bubble for an extra minute before adding the chicken. The Teriyaki Chicken should look lacquered, not watery. Adjust the sweetness with a pinch of brown sugar if the sauce tastes too salty.
—
Nutritional Benefits & Advantages
– High protein: Chicken thighs provide about 25g protein per serving, supporting muscle repair.
– Lower sodium than takeout: Using low-sodium soy sauce and controlling added sugar reduces sodium by up to 40% compared to restaurant versions.
– Ginger and garlic offer anti-inflammatory compounds and aid digestion.
– Mirin and rice vinegar add antioxidants (acetic acid helps stabilize blood sugar).
– Customizable macros: Swap chicken for tofu or shrimp for a lighter or vegetarian option.
—
Tips Variations & Cooking Advice
– Flavor twist: Add a teaspoon of chili garlic sauce for heat, or a splash of orange juice for citrusy teriyaki.
– Cooking method: Grill over medium heat for smoky char, or bake at 400°F for 20 minutes, basting halfway.
– Dietary swaps:
– Gluten-free: Use tamari or coconut aminos instead of soy sauce.
– Dairy-free: Naturally dairy-free as written.
– Low-carb: Replace brown sugar with monk fruit sweetener or erythritol.
– Portion change: Double the sauce recipe to serve over stir-fried vegetables or rice.
—
Common Mistakes to Avoid
– Overcrowding the pan: This steams the chicken instead of searing it. Cook in batches if needed.
– Skipping the cornstarch slurry: The sauce won’t cling to the chicken without it. Add it slowly.
– Using chicken breasts without pounding: Pound to even thickness (½ inch) to prevent dry edges.
– Cooking at too high heat: The sugar in the sauce can burn. Keep at medium-high, not high.
– Not letting the sauce reduce: A watery glaze means less flavor. Simmer until it coats the back of a spoon.
—
Storage & Meal Prep Tips
– Refrigerate: Store leftovers in an airtight container for up to 4 days. The sauce will thicken; add a splash of water when reheating.
– Freeze: Cooked Teriyaki Chicken freezes well for up to 3 months. Cool completely, then freeze in a zip-top bag. Thaw overnight in the fridge.
– Reheat: In a skillet over medium-low heat with a lid, or microwave in 30-second bursts. Avoid high heat, which can toughen the chicken.
– Meal prep: Cook extra chicken and sauce separately. Store sauce in a jar, then combine when reheating to keep the chicken from getting soggy.
—
Conclusion
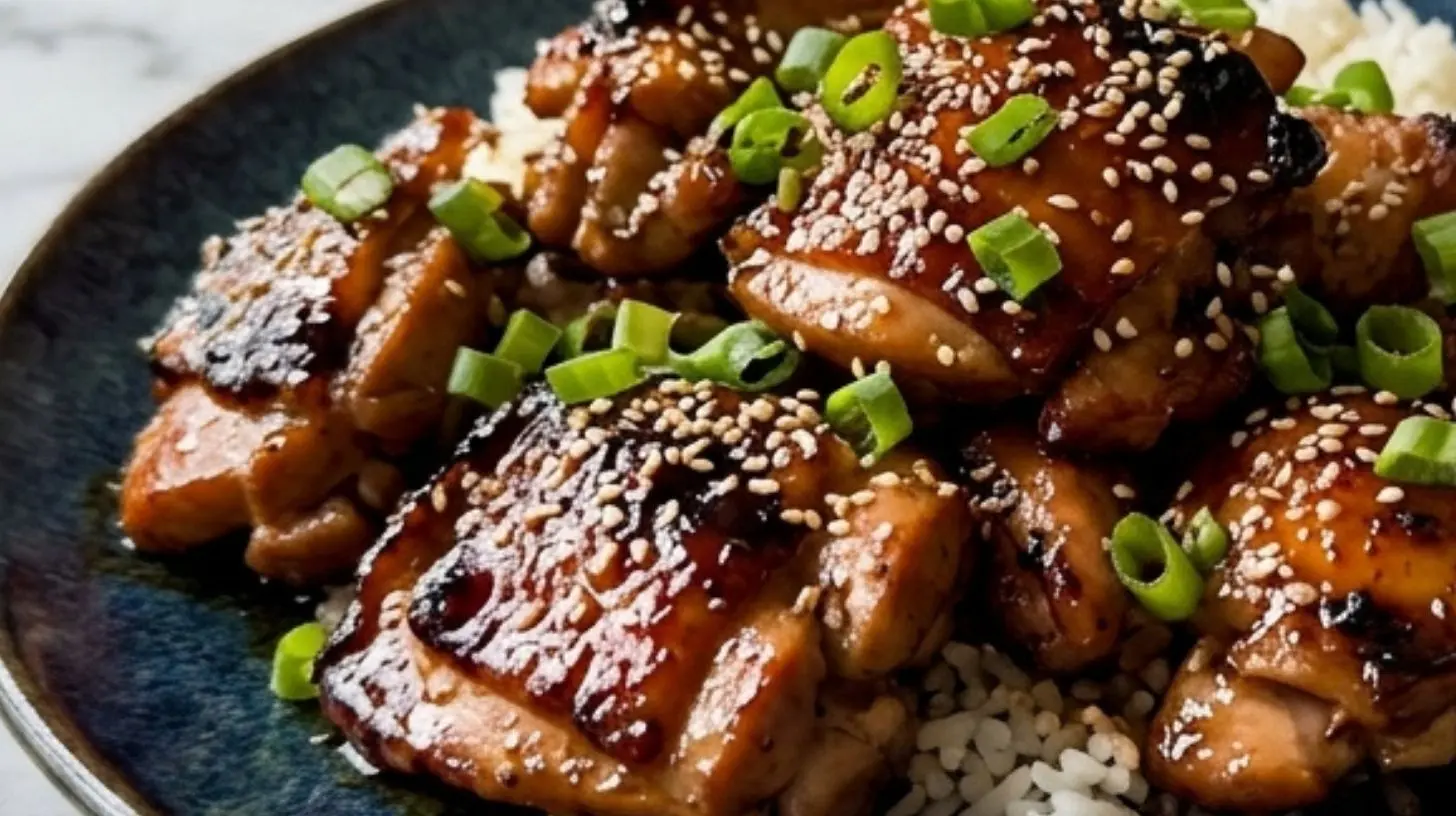
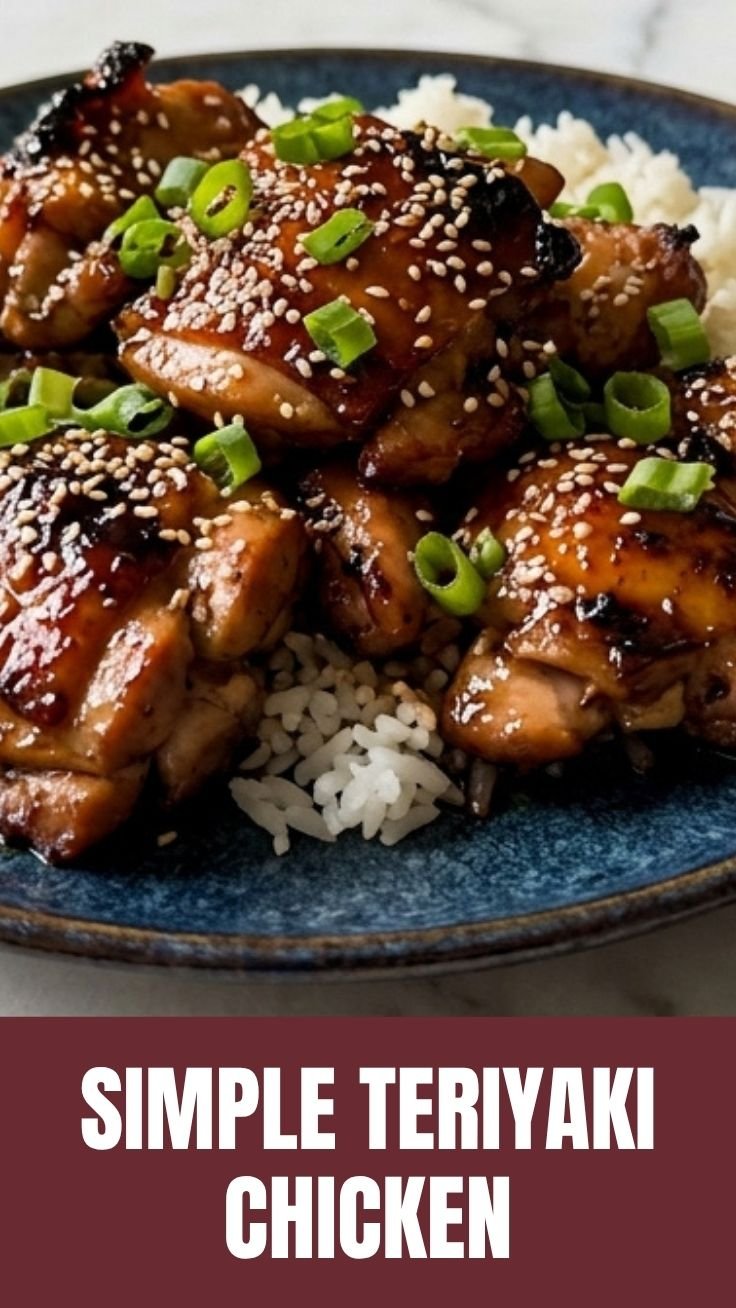
Homemade Teriyaki Chicken is a weeknight game-changer: it’s faster than delivery, healthier, and infinitely more delicious. The key is that glossy, balanced Teriyaki Sauce that clings to every bite. By following this step-by-step guide, you’ll avoid the pitfalls of burnt sugar or dry meat, and you’ll gain a recipe you can customize for any diet. Try it once, and you’ll never reach for that takeout menu again. Share your results in the comments—I’d love to see your glazed creations!
—
FAQs
1. Can I use chicken breasts instead of thighs?
Yes, but pound them to ½-inch thickness and cook for 3–4 minutes per side. Check internal temperature: 165°F.
2. How do I make Teriyaki Sauce thicker without cornstarch?
Simmer the sauce uncovered for 5–7 minutes to reduce naturally, or whisk in a tablespoon of arrowroot powder.
3. My sauce tastes too salty. What can I do?
Add a splash of water or a teaspoon of honey or brown sugar to balance the salt. Or dilute with additional mirin.
4. Can I make this in a slow cooker?
Yes: brown the chicken first, then add to a slow cooker with the sauce (no slurry). Cook on low for 4–5 hours. Thicken the sauce with cornstarch at the end.
5. How long does the sauce keep in the fridge?
Store plain Teriyaki Sauce (without chicken) in a sealed jar for up to 2 weeks. Shake before using.