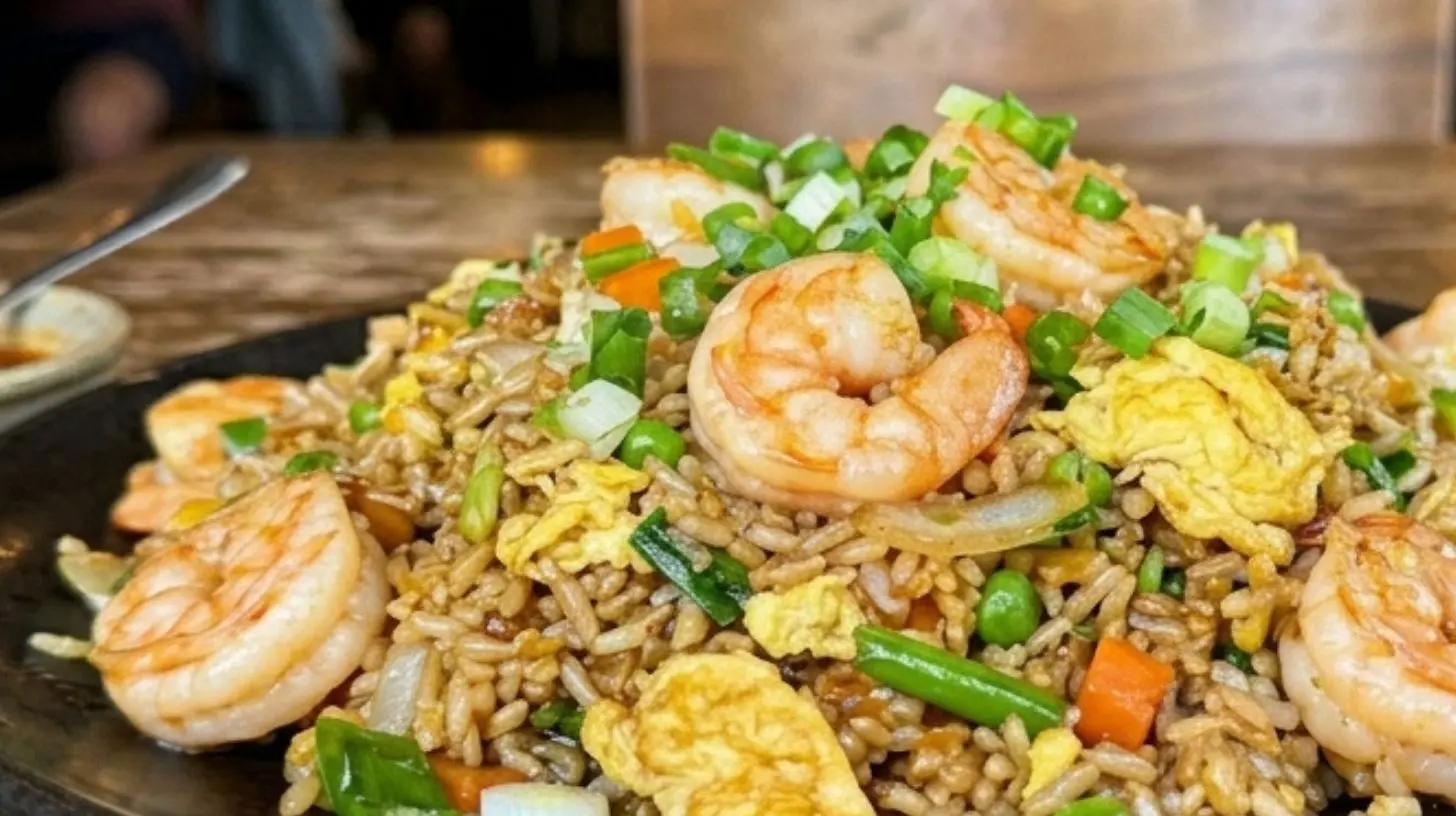
Quick way to grow 5-star Shrimp Fried Rice
Make a delicious shrimp fried rice in no time!
Shrimp
Rice
Eggs
Carrots
Peas
Soy Sauce
Green Onions
Cook the shrimp in a pan until pink.
Scramble the eggs in the same pan.
Add diced carrots and peas to the pan.
Stir in cooked rice and soy sauce.
Mix all ingredients together and cook until heated through.
Why You Should Master This One-Pot Shrimp Fried Rice at Home
Have you ever craved the smoky, savory perfection of restaurant-style fried rice but felt intimidated by the wok hei mystique? The truth is, you don’t need a blazing wok or a chef’s diploma to recreate that magic in your own kitchen. Today, we’re diving into a foolproof recipe for Shrimp Fried Rice —a dish that balances juicy shrimp, fluffy rice, and crisp vegetables in every bite. Learning to make this at home not only saves money but also gives you full control over ingredients, sodium levels, and spice. Plus, once you master the base technique, you can easily adapt it to create a luxurious seafood fried rice, loaded with scallops, squid, or crab. Let’s unlock the secrets to restaurant-quality results using just one pot and a few smart techniques.
—
Ingredients & Kitchen Tools
Rice (3 cups cooked, day-old preferred)
Day-old rice has less moisture, preventing clumps and ensuring each grain stays separate. Freshly cooked rice can be spread on a tray and chilled for 30 minutes as a substitute.
Shrimp (12 oz, peeled and deveined)
Use medium-to-large shrimp. Leave tails on for extra flavor or remove them for easier eating.
Vegetables (1 cup frozen peas and carrots, ½ cup diced onion, 2 scallions)
Classic trio. Swap in bell peppers, corn, or broccoli for variety.
Eggs (2 large, lightly beaten)
Adds protein and that signature golden coating to the rice.
Soy sauce (2 tbsp low-sodium) + 1 tbsp oyster sauce
Oyster sauce provides depth; substitute with hoisin or mushroom sauce for vegan version.
Sesame oil (1 tsp, for finishing)
Toastiness is key.
Garlic (3 cloves, minced) and fresh ginger (1 tsp, grated)
Aromatics build the foundation.
Neutral oil (2 tbsp, like canola or avocado)
High smoke point essential for frying.
Optional: chili flakes, white pepper, a splash of rice vinegar.
Kitchen Tools:
– Large non-stick skillet or wok
– Spatula (wooden or silicone)
– Mixing bowls
– Knife and cutting board
– Small whisk
—
Prep Time & Cooking Schedule
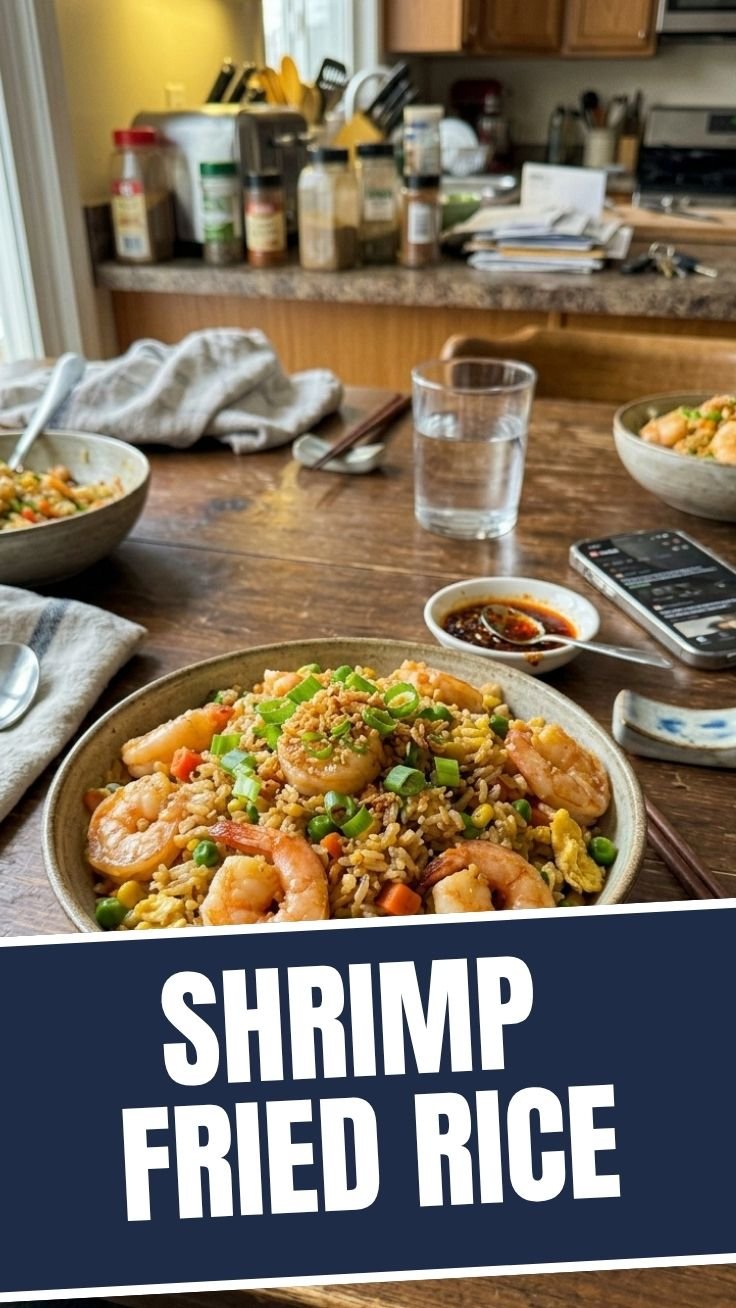
– Prep time: 15 minutes (chop vegetables, beat eggs, mince garlic, grate ginger)
– Cook time: 10 minutes (high heat, constant motion)
– Resting time: 2 minutes (let rice settle before serving)
– Total: 27 minutes
Plan your timeline: Cook your rice the night before and refrigerate. On cooking day, take shrimp out to thaw while you prep. Have all ingredients measured and within reach—this dish moves fast.
—
Step-by-Step Instructions
1. Heat the skillet over high heat until a drop of water sizzles instantly. Add 1 tbsp oil.
2. Sear the shrimp in a single layer for 1 minute per side until pink. Remove and set aside.
3. Lower heat to medium-high, add remaining oil. Sauté onion, garlic, and ginger for 30 seconds until fragrant.
4. Push aromatics to one side, pour beaten eggs into the cleared space. Scramble quickly, then mix with vegetables.
5. Add cold rice (break up clumps beforehand). Spread flat, let it sear untouched for 30 seconds. Then stir-fry vigorously for 2–3 minutes.
6. Season with soy and oyster sauce. Toss to coat evenly. Return shrimp and any juices.
7. Finish with sesame oil, scallions, and a pinch of white pepper. Taste and adjust salt.
During step 5, you’re building the subtle char that distinguishes authentic Shrimp Fried Rice from plain stir-fried rice. If you want to experiment with a medley of ocean flavors, simply replace half the shrimp with diced squid or bay scallops to create a luxurious seafood fried rice—just adjust cooking times so delicate proteins don’t turn rubbery.
—
Nutritional Benefits & Advantages
A single serving (about 1½ cups) provides roughly 420 calories, 25g protein, 45g carbs, and 12g fat. Shrimp is rich in selenium, vitamin B12, and omega-3s, supporting thyroid function and heart health. Using brown rice boosts fiber and magnesium. The vegetables add antioxidants, while eggs contribute choline for brain health. This dish is naturally gluten-free if you use tamari instead of soy sauce, and dairy-free by default.
One of the greatest advantages of mastering this technique is cost efficiency: homemade fried rice uses about half the sodium of takeout and costs roughly $3 per serving, versus $10–$12 from a restaurant.
—
Tips, Variations & Cooking Advice
– Flavor twist: Add a teaspoon of curry powder along with garlic for a Southeast Asian touch.
– Protein swap: Use leftover rotisserie chicken, tofu, or beef strips instead of shrimp.
– Vegetable overload: Shredded cabbage, bean sprouts, or chopped mushrooms add bulk.
– Dietary adaptations: For vegan, skip eggs and use tofu scramble + mushroom seasoning.
– Cooking method: If you own a wok, use it! Otherwise, a non-stick skillet works fine—just ensure very high heat and don’t overcrowd.
– Portion sizes: Double the recipe for a family dinner, but cook in batches to maintain the sear.
—
Common Mistakes to Avoid
– Using fresh, hot rice → Creates mushy, sticky results. Always use cold, day-old rice.
– Overcrowding the pan → Steams instead of frying. Work in batches if needed.
– Soggy shrimp → Cook shrimp quickly on high heat; don’t overcook. Remove before adding rice.
– Skipping the sear → Letting rice rest untouched for 30 seconds builds that coveted golden crust.
– Under-seasoning → Fried rice needs bold flavors. Taste as you go and don’t be shy with soy sauce.
—
Storage & Meal Prep Tips
– Refrigeration: Store in an airtight container for up to 3 days.
– Freezing: Portion into freezer-safe bags; lasts 2 months. Thaw overnight in fridge.
– Reheating: For best texture, reheat in a hot skillet with a splash of water and a drizzle of oil. Microwaving works but may soften the rice—cover with a damp paper towel.
– Meal prep: Cook a large batch on Sunday. Divide into containers with separate compartments for extra vegetables and protein to maintain freshness.
—
Conclusion
Mastering Shrimp Fried Rice at home transforms a takeout indulgence into a quick, customizable staple. By following the high-heat, day-old rice technique, you’ll achieve that coveted smoky flavor without a professional wok. Feel free to stretch the concept further: with the same base method, you can build a vibrant seafood fried rice starring scallops, crab, and shrimp. Try this recipe tonight, then share your variations in the comments—and don’t forget to check out our other one-pot wonders for more weeknight inspiration.
—
FAQs
Q: Can I use frozen shrimp directly?
A: Yes, but thaw completely and pat very dry to avoid steaming. Frozen shrimp release excess water, ruining the sear.
Q: My rice always turns out mushy. What’s the fix?
A: Use rice cooked at least 8 hours ahead and refrigerated uncovered for an hour to dry out. Also, don’t add liquid beyond the soy sauce mixture.
Q: How do I make this spicy?
A: Add 1–2 teaspoons of sriracha or gochujang along with the soy sauce, or toss in dried chili flakes during the garlic step.
Q: Can I substitute oyster sauce?
A: Absolutely. Use hoisin sauce for a sweeter profile, or mushroom sauce for a vegan option. Each changes the flavor slightly.
Q: What’s the best rice variety?
A: Jasmine or long-grain white rice offers the perfect texture. Basmati works, but avoid sticky sushi rice—it clumps too easily.
Quick way to grow 5-star Shrimp Fried Rice
Equipment
- Large skillet or wok
- Spatula
Ingredients
Main Ingredients
- 3 cups Cooked Rice cold, day-old rice is best
- 1 lb Shrimp peeled and deveined
- 2 Eggs beaten
- 1 cup Frozen Peas and Carrots
- 3 tbsp Soy Sauce
- 1 tsp Sesame Oil
- 2 tbsp Vegetable Oil
- 2 cloves Garlic minced
- 2 Green Onions chopped
Seasoning
- 1/2 tsp Salt
- 1/4 tsp Black Pepper
Instructions
Preparation
- Heat 1 tablespoon of vegetable oil in a large skillet or wok over medium-high heat. Add the shrimp and cook until pink, about 2-3 minutes per side. Remove the shrimp and set aside.
Cooking the Rice
- Add the remaining 1 tablespoon of vegetable oil to the skillet. Pour in the beaten eggs and scramble until fully cooked, then remove and set aside. Add the minced garlic and cook for 30 seconds until fragrant.
- Stir in the cold cooked rice, breaking up any clumps with your spoon. Add the frozen peas and carrots, and cook for 3-5 minutes, stirring occasionally, until vegetables are tender-crisp.
Finishing Touches
- Return the cooked shrimp and scrambled eggs to the skillet. Pour in the soy sauce and sesame oil. Season with salt and pepper.
- Stir everything together until well combined and heated through. Garnish with chopped green onions before serving.