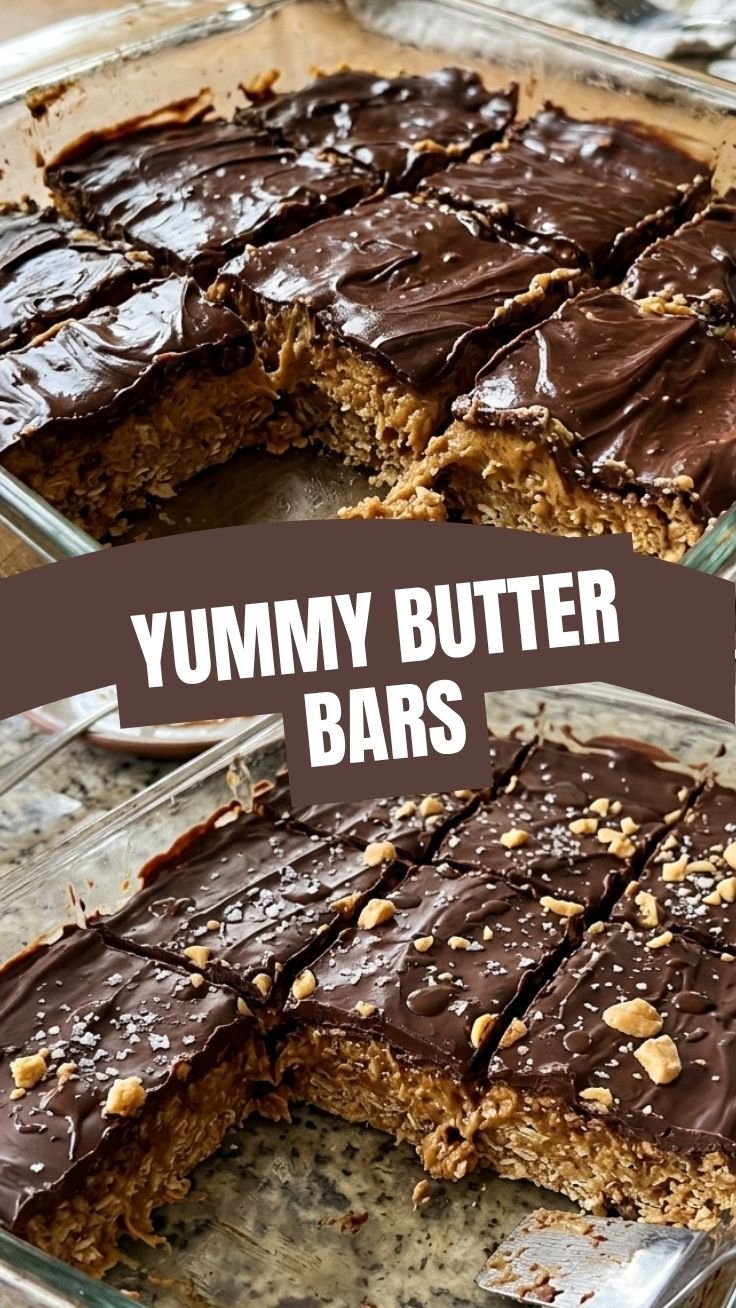
Quick way to grow No-Bake Peanut Butter Bars
Make tasty peanut butter bars without baking!
Peanut Butter
Oats
Honey
Vanilla Extract
Chocolate Chips
Mix peanut butter, oats, honey, and vanilla extract in a bowl.
Press the mixture into a dish to form a flat layer.
Sprinkle chocolate chips on top of the mixture.
Chill in the refrigerator until firm.
The Ultimate Guide to No-Bake Peanut Butter Bars: A Busy Parent’s Secret Weapon
Have you ever craved a sweet, satisfying treat but lacked the time or patience to turn on the oven? You’re not alone—and the solution is simpler than you think. These No-Bake Peanut Butter Bars deliver all the creamy, crunchy, chocolatey goodness of traditional peanut butter bars without any baking. Preparing them at home means you control the sweetness, avoid processed additives, and save money—all in under 20 minutes. Whether you’re meal-prepping school snacks or satisfying a late-night sweet tooth, these bars are a game-changer. In fact, mastering a few No-Bake Dessert Recipes like this one can transform your kitchen routine.
—
Ingredients & Kitchen Tools
Before diving in, gather everything you need. Having ingredients at room temperature ensures smooth mixing.
| Ingredient | Notes / Substitutions |
|————|————————|
| 1 cup creamy peanut butter | Use natural (stir well) or regular; almond or sunflower seed butter works |
| 1/2 cup salted butter, melted | Coconut oil or vegan butter for dairy-free; omit salt if using unsalted |
| 2 cups powdered sugar | Sift if lumpy; optional: reduce to 1.5 cups for less sweetness |
| 1 1/2 cups graham cracker crumbs | Crushed digestive biscuits or gluten-free graham crackers |
| 1 cup semi-sweet chocolate chips | Dark, milk, or dairy-free chips all work well |
| 2 tbsp coconut oil (for chocolate layer) | Butter or shortening also fine; helps chocolate set smoothly |
Kitchen Tools:
– 8×8-inch baking dish (or 9×9 for thinner bars)
– Parchment paper or non-stick foil
– Mixing bowls (medium and heat-safe)
– Microwave or double boiler
– Spatula or wooden spoon
– Offset spatula (optional for smoothing chocolate)
—
Prep Time & Cooking Schedule
| Phase | Time | Notes |
|——-|——|——-|
| Active prep | 10 minutes | Mixing the base and melting chocolate |
| Chilling (base) | 30 minutes | Until firm enough to hold chocolate |
| Chocolate setting | 15–20 minutes | Refrigerator only (do not freeze during this step) |
| Total | About 1 hour | Best results after 2 hours of full chill |
Plan ahead: These bars need at least 1 hour of total refrigeration. If you’re making them for tomorrow’s lunch, prepare the night before. The base sets quickly, but the chocolate needs time to harden completely for clean cuts.
—
Step-by-Step Instructions
1. Line the dish. Cut two strips of parchment paper crosswise so they hang over the edges of your 8×8 pan. This creates “handles” for easy removal.
2. Mix the peanut butter base. In a medium bowl, combine melted butter and peanut butter until smooth. Stir in powdered sugar and graham cracker crumbs. The mixture should be thick, pliable, and slightly greasy—like a soft dough.
3. Press into pan. Transfer the mixture to the lined dish. Press it evenly using a spatula or the bottom of a measuring cup. Aim for an even thickness—corners tend to be higher, so pay attention there. Refrigerate for 30 minutes until firm.
4. Make the chocolate layer. In a microwave-safe bowl, combine chocolate chips and coconut oil. Microwave in 20-second bursts, stirring between each, until fully melted and glossy. (Alternatively, use a double boiler.)
5. Spread and set. Pour the melted chocolate over the chilled base. Tilt the pan to spread evenly, or use an offset spatula. Return to the refrigerator for 15–20 minutes until the chocolate is set but not rock-hard.
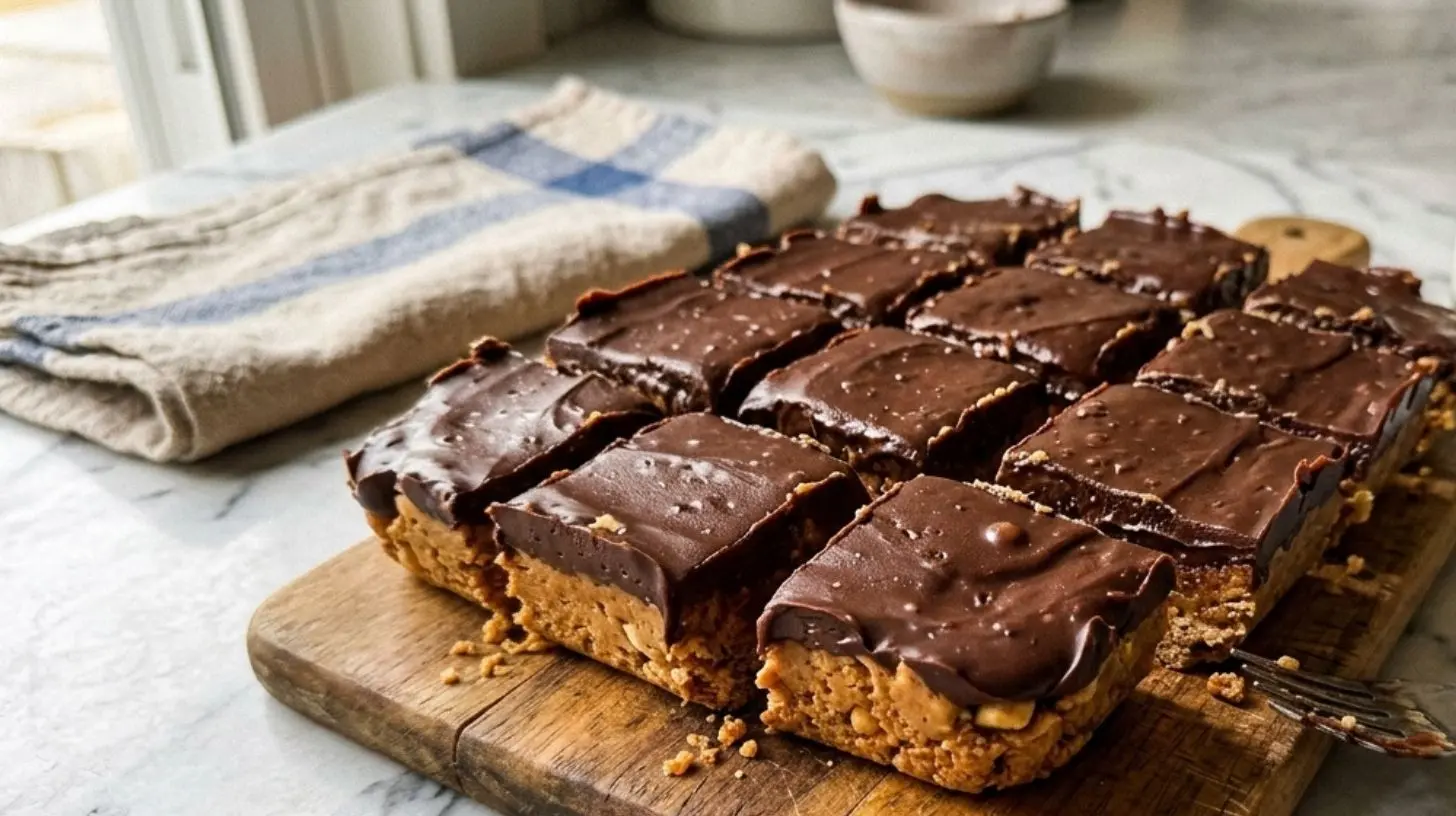
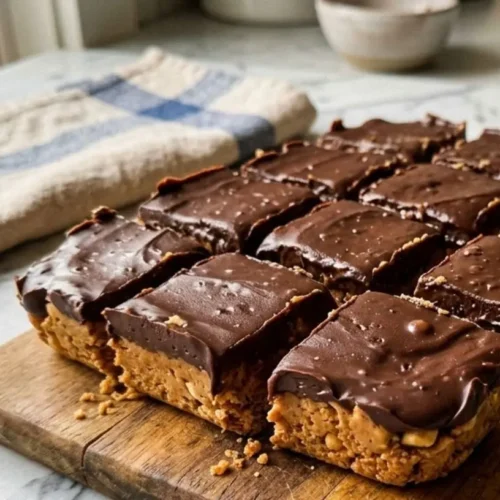
6. Slice and serve. Lift the bars out using the parchment handles. Use a sharp knife to cut into 16 squares. For cleaner cuts, run the knife under hot water and wipe dry between slices.
> Pro tip: If the chocolate cracks when cutting, let the bars sit at room temperature for 2–3 minutes first. This small adjustment makes a big difference in achieving picture-perfect No-Bake Peanut Butter Bars. And if you’re exploring other effortless sweets, remember that many No-Bake Dessert Recipes follow a similar press-and-chill technique, so once you master this one, the possibilities open up.
—
Nutritional Benefits & Advantages
Peanut butter brings more to the table than flavor. A single bar (based on 16 servings) contains roughly:
– Calories: ~280
– Protein: 6g
– Fiber: 2g
– Healthy fats: 14g (mostly monounsaturated and polyunsaturated)
The combination of protein and fiber helps stabilize blood sugar, making these bars a smarter snack than most processed sweets. Additionally, using natural peanut butter reduces added sugar and eliminates hydrogenated oils. If you opt for dark chocolate (70%+ cocoa), you’ll also get antioxidant flavonoids. These bars are naturally gluten-free when using certified gluten-free graham crackers, and the dairy-free alternatives listed above work beautifully.
—
Tips Variations & Cooking Advice
Flavor Variations:
– Crunchy texture: Use crunchy peanut butter and add ¼ cup chopped peanuts to the base.
– Chocolate peanut butter swirl: Reserve ¼ cup of the base mixture, dollop it on top of the chocolate, and swirl with a toothpick.
– Sea salt finish: Sprinkle flaky sea salt over the chocolate before it sets.
Dietary Adaptations:
– Vegan: Use coconut oil or vegan butter, dairy-free chocolate chips, and check that your graham crackers are vegan-friendly.
– Keto-friendly: Replace powdered sugar with monkfruit/erythritol blend, use almond flour instead of graham crumbs (adjust ratio to 1 cup almond flour + 2 tbsp coconut flour), and use sugar-free chocolate.
– Nut-free: Substitute peanut butter with sunflower seed butter—note it may turn greenish from a natural reaction with baking soda (still safe to eat). Add 1 tbsp lemon juice to prevent discoloration.
Cooking Advice:
– If your base is too crumbly, add 1 tablespoon of melted butter or honey.
– Too sticky? Add a tablespoon more graham cracker crumbs.
– For the chocolate layer, avoid overheating—chocolate seizes and becomes grainy if water or steam gets in.
—
Common Mistakes to Avoid
Mistake #1: Pressing the base too loosely.
Solution: Apply firm, even pressure—use the bottom of a glass if needed. A loose base crumbles when cut.
Mistake #2: Skipping the initial chill before adding chocolate.
Solution: A warm base melts warm chocolate into a puddle. Always chill the base for 30 minutes.
Mistake #3: Cutting too early.
Solution: Wait until the chocolate is fully set (firm to the touch, no fingerprint). Rushing leads to messy edges.
Mistake #4: Using cold ingredients.
Solution: Bring butter and peanut butter to room temperature for easier mixing. Cold peanut butter doesn’t blend smoothly.
—
Storage & Meal Prep Tips
– Refrigerator: Place bars in an airtight container with parchment between layers. They stay fresh for up to 2 weeks.
– Freezer: Wrap individual bars in plastic wrap, then store in a freezer bag. Freeze for up to 3 months. Thaw in the fridge overnight or at room temperature for 15 minutes.
– Reheating (not recommended): These are meant to be eaten cold or at room temperature. If you absolutely want a warmed version, microwave a single bar for 10 seconds—the chocolate softens but the base stays firm.
Meal prep hack: Make a double batch, freeze half, and portion out one bar per day for school lunches. They’re sturdy enough to travel in a lunchbox without a cooler pack.
—
Conclusion
Whipping up a batch of No-Bake Peanut Butter Bars proves that you don’t need an oven to create a decadent, crowd-pleasing dessert. With just 20 minutes of active work and a handful of pantry staples, you get a protein-packed snack that satisfies both kids and adults. The technique of pressing, chilling, and topping with chocolate is a foundational skill that applies to countless No-Bake Dessert Recipes—from energy bites to cheesecake truffles. So go ahead, make a batch this weekend, share a photo, and discover how effortless homemade treats can be. Have you tried swapping graham crackers for a different crumb? Drop your variation in the comments below!
—
FAQs
1. Can I use crunchy peanut butter instead of creamy?
Absolutely. Crunchy adds a nice texture, but be aware that the bars will be slightly less cohesive. You may need to press the base a bit more firmly.
2. Why did my chocolate layer turn white or bloom?
That’s called fat bloom—it happens when chocolate is stored at fluctuating temperatures. Always keep the bars refrigerated consistently, and avoid letting them sit at room temperature for long periods.
3. Can I make these without graham cracker crumbs?
Yes. Crushed vanilla wafers, shortbread cookies, or even gluten-free pretzels (crushed) work as substitutes. Adjust the quantity slightly—pretzels are saltier, so reduce added salt.
4. How do I get clean, sharp cuts?
Use a long, sharp chef’s knife. Dip the blade in hot water, wipe dry, then slice with one smooth motion. Clean the knife between cuts. For 16 bars, cut into 4 rows by 4 columns.
5. These bars are too sweet for me. How can I reduce sweetness?
Cut the powdered sugar to 1.5 cups and use a darker chocolate (85% cocoa) for the top layer. You can also add a pinch of salt to the base or sprinkle flaky salt on top to balance flavors.
No-Bake Peanut Butter Bars
Equipment
- 8x8 inch baking pan
- parchment paper
- large bowl
- microwave-safe bowl
- spatula
Ingredients
Peanut Butter Base
- 2 cups graham cracker crumbs
- 1 cup powdered sugar
- 1 cup peanut butter
- 1/2 cup unsalted butter, melted
Chocolate Topping
- 1 cup chocolate chips
- 1/4 cup peanut butter
Instructions
Peanut Butter Base
- Line an 8x8 inch baking pan with parchment paper, leaving an overhang on the sides for easy removal.
- In a large bowl, combine the graham cracker crumbs, powdered sugar, peanut butter, and melted butter. Mix until well combined and a soft dough forms.
- Press the mixture evenly into the prepared baking pan.
Chocolate Topping
- In a microwave-safe bowl, melt the chocolate chips and peanut butter together in 30-second intervals until smooth.
- Pour the melted chocolate mixture over the peanut butter base and spread evenly with a spatula.
Chill and Serve
- Refrigerate the bars for at least 1 hour, or until the chocolate topping is firm.
- Lift the cooled bars from the pan using the parchment paper overhang, then cut into squares and serve.