Quick way to grow your Hummus (Homemade) garden
Learn how to make homemade hummus with fresh ingredients!
Chickpeas
Tahini
Lemon Juice
Garlic
Olive Oil
Salt
Drain and rinse the chickpeas from the can.
Peel the garlic cloves and chop them finely.
Squeeze fresh lemon juice.
Blend all ingredients together until smooth.
The Ultimate Guide to Making Creamy Hummus at Home
Have you ever wondered why the hummus you buy at the store never quite matches the silky, vibrant taste of a restaurant’s version? The secret isn’t a special ingredient—it’s technique Heart. Making your own Hummus (Homemade) is a game-changer for anyone who loves Mediterranean flavors. Not only does it taste fresher and more robust than anything in a plastic tub, but it also allows you to control the texture, seasoning, and quality of every single component. Plus, it’s surprisingly quick to whip up, saves you money, and impresses every guest who tries it. From the first creamy dip of pita to the last savory spoonful, this recipe will transform your snacking, meal prep, and everyday cooking. Let’s dive into the simplest, most foolproof Hummus Recipe you’ll ever need.
—
Ingredients & Kitchen Tools
Ingredients:
– 1 can (15 oz) chickpeas (garbanzo beans) – Drained and rinsed. For the creamiest texture, remove the skins (see tips below).
– 1/4 cup fresh lemon juice (about 1 large lemon) – Fresh is non-negotiable; bottled juice tastes metallic.
– 1/4 cup tahini (sesame seed paste) – Stir well before measuring as the oil separates.
– 1 small garlic clove (minced) – Adjust to taste; raw garlic provides a sharp kick, but roasted garlic works for a mellow version.
– 2 tablespoons extra-virgin olive oil – Plus more for serving.
– 1/2 teaspoon ground cumin – Adds warmth and depth.
– Salt to taste (about 1/2 teaspoon).
– 2–3 tablespoons ice-cold water – The secret to fluffy hummus.
– Optional: Pinch of smoked paprika, cayenne, or sumac for garnish.
Kitchen Tools:
– Food processor or high-speed blender – Essential for silky smooth results.
– Fine-mesh strainer – For rinsing chickpeas and removing skins.
– Measuring spoons and cups.
– Rubber spatula – To scrape down the bowl.
– Serving bowl and small spoon for drizzling olive oil.
—
Prep Time & Cooking Schedule
This recipe is incredibly fast—perfect for last-minute guests or a quick snack upgrade.
– Prep Time: 10 minutes (including peeling chickpeas)
– Cook Time: 0 minutes (no cooking required if using canned chickpeas)
– Resting Time: 10–15 minutes (recommended for flavors to meld)
Total: About 25 minutes from start to serving.
Planning tip: If using dried chickpeas, soak them overnight and cook for 1–2 hours until tender. Then follow the same steps. Make-ahead note: Hummus tastes even better the next day after the flavors have blended in the fridge.
—
Step-by-Step Instructions

1. Prepare the chickpeas: Drain and rinse the canned chickpeas. For the silkiest texture, gently rub them between your fingers or a clean dish towel to remove the skins. Discard the skins. This step is optional but highly recommended—it eliminates any chalkiness.
2. Blend the tahini and lemon juice: In your food processor, combine the tahini and fresh lemon juice. Process for about 1 minute until the mixture thickens and turns pale (it may look grainy at first, then smooth).
3. Add garlic and seasonings: Add the minced garlic, cumin, and a pinch of salt. Pulse 2–3 times to combine.
4. Add the chickpeas and olive oil: Pour in the rinsed chickpeas and the olive oil. Process for 30 seconds, then scrape down the sides with a spatula.
5. Thin it out: While the processor is running, slowly drizzle in the ice-cold water through the feed tube. Process for 1–2 minutes until the hummus is incredibly smooth, light, and fluffy. The water adds air and structure.
6. Taste and adjust: Stop and taste. Add more salt, lemon juice, or cumin as desired. Process again for 10 seconds. The secret to the best Hummus (Homemade) lies in a generous pinch of salt and a very long blend—don’t rush it! A truly great Hummus Recipe rewards patience with a cloud-like texture.
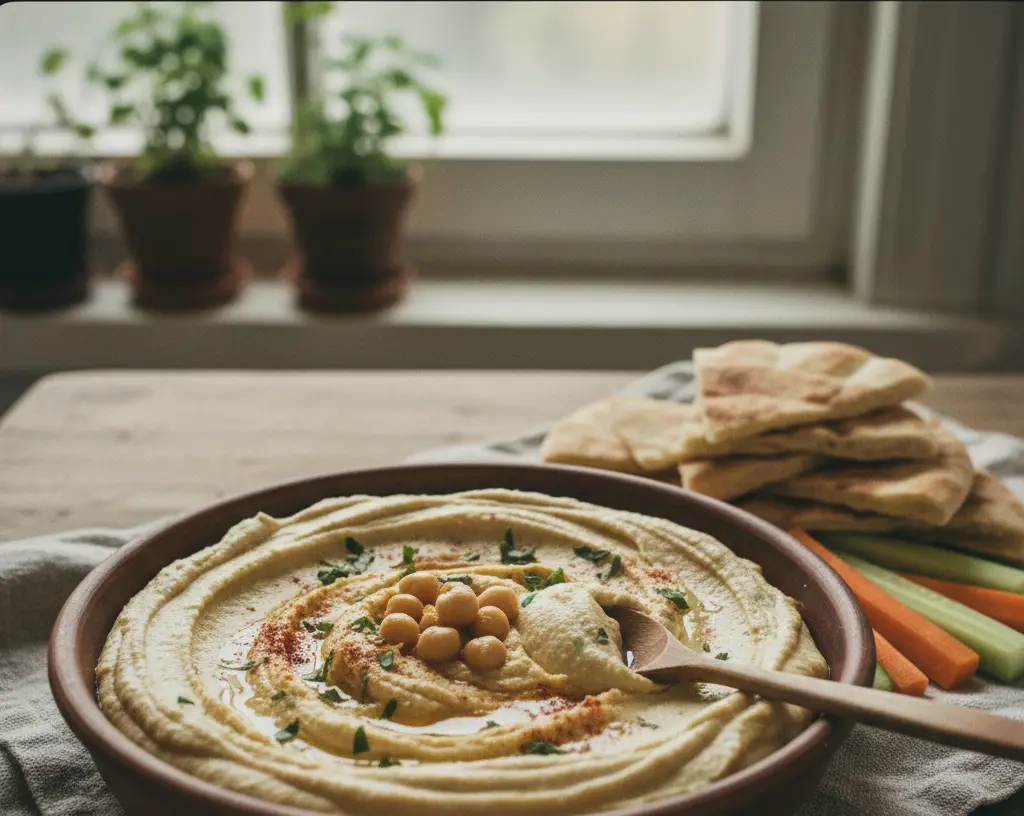
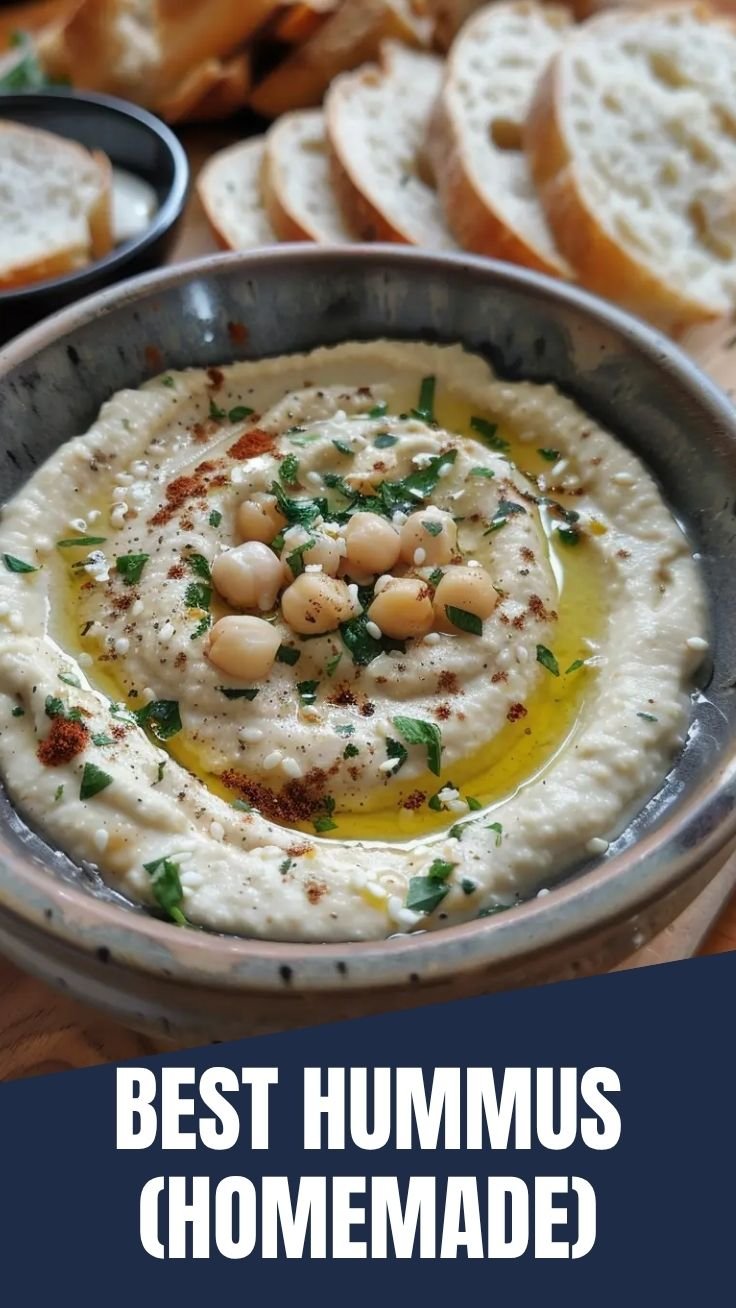
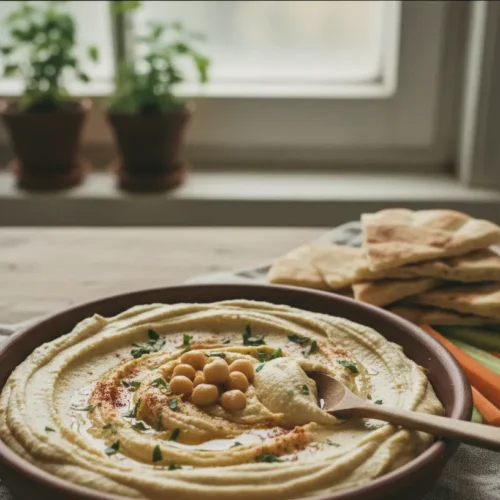
7. Serve: Transfer to a bowl, swirl the top with the back of a spoon, drizzle with olive oil, and sprinkle with paprika, sumac, or fresh parsley.
—
Nutritional Benefits & Advantages
Chickpeas (garbanzo beans) are nutritional powerhouses. They are rich in plant-based protein and dietary fiber, which promote satiety and digestive health. Tahini adds healthy fats, calcium, and iron from sesame seeds. Olive oil provides heart-healthy monounsaturated fats and antioxidants like vitamin E. This dish is naturally:
– Vegan
– Gluten-free
– Dairy-free
Hummus is a great post-workout snack, a brain-boosting afternoon bite, and a perfect addition to any balanced diet. One serving (about 1/4 cup) contains roughly 140 calories, 6g of protein, and only 2g of sugar, making it a smart choice for weight management and sustained energy.
—
Tips Variations & Cooking Advice
– Flavor Twists: Replace cumin with za’atar, harissa paste, or roasted red pepper for a different profile. Add a tablespoon of roasted garlic or pine nuts for extra richness.
– Ingredient Swaps: If you don’t have tahini, try sunflower seed butter (for a nut-free option) or Greek yogurt (for a tangy, dairy version—note: this is no longer vegan).
– Serving Ideas: Use as a dip for pita, veggies, or falafel. Spread it on sandwiches or wraps, drizzle over roasted vegetables, or serve as a base for a grain bowl.
– Dietary Adaptations: To make it oil-free, omit the olive oil and use a bit more water or aquafaba (chickpea can liquid). For a low-FODMAP version, use only the garlic-infused oil (omit raw garlic) and check cumin tolerance.
—
Common Mistakes to Avoid

– Skipping the ice water: This is the most critical step for a light, airy texture. Room-temperature water won’t create the same emulsion.
– Not removing chickpea skins: Skins cause a grainy, gritty texture. It takes 5 minutes but makes a world of difference.
– Using bottled lemon juice: Fresh is far more aromatic and bright. Bottled juice can taste flat or bitter.
– Over-salting before blending: Salt enhances, but too early can overpower. Add gradually and taste at the end.
– Blending too little: Hummus needs a full 1–2 minutes of high-speed blending to become silky. Be patient!
– Adding too much olive oil at once: This can cause the emulsion to break. Drizzle slowly while the processor runs.
—
Storage & Meal Prep Tips
– Refrigeration: Store hummus in an airtight container for up to 5–7 days. Place a layer of plastic wrap directly on the surface to prevent a skin from forming.
– Freezing: Hummus freezes beautifully for up to 3 months. Portion into small containers, leaving a bit of headspace for expansion. Thaw overnight in the fridge.
– Reviving texture: After refrigeration, hummus thickens. Stir in a teaspoon of warm water or lemon juice to loosen it up. Drizzle a little olive oil on top before serving.
– Reheating: Hummus is best served at room temperature. If you prefer it warm, microwave for 15–20 seconds or stir in a warm water bath. Avoid overcooking as it can dry out.
—
Conclusion
Making your own hummus is one of the most rewarding kitchen skills you can learn. You get to control every ingredient, from the quality of the olive oil to the amount of garlic, all while saving money and reducing plastic waste. This Hummus (Homemade) is consistently creamier and more flavorful than store-bought versions, and once you master this simple technique, you’ll never go back. The best part? This Hummus Recipe is endlessly adaptable—you can customize it with different herbs, spices, or a drizzle of chili oil to suit your mood. So pull out your food processor, grab a can of chickpeas, and give it a try. Share your creation with friends, tag us, or try our other dips and spreads for even more Mediterranean inspiration. Enjoy every scoop!
—
FAQs
1. Can I make this hummus without tahini?
Yes! Substitute with sunflower seed butter, almond butter, or even plain Greek yogurt (though it won’t be vegan). The texture will be slightly different but still delicious.
2. How do I fix hummus that is too thick or too thin?
If too thick, add ice water 1 tablespoon at a time while blending. If too thin, add 1 tablespoon of raw chickpeas or canned chickpeas (drained) and blend again until smooth.
3. Can I use dried chickpeas instead of canned?
Absolutely. Soak 1/2 cup dried chickpeas overnight, then cook in fresh water until very tender (about 1.5–2 hours). Drain and proceed with the recipe. Dried chickpeas often yield an even creamier texture.
4. How do I prevent hummus from tasting bland?
The two biggest culprits: not enough salt and not enough lemon juice. Start with 1/2 teaspoon salt and 1/4 cup lemon juice, then adjust to your taste. The cumin also adds necessary depth.
5. Can I make hummus without a food processor?
While a food processor is ideal, a high-speed blender (like a Vitamix) works well, but you may need to double the batch to get good blending action. Using a potato masher or fork will yield a chunky, less smooth result, but it’s still tasty!
Quick way to grow your Hummus (Homemade) garden
Equipment
- food processor
Ingredients
Main Ingredients
- 1 can canned chickpeas rinsed and drained
- 1/4 cup tahini
- 2 tablespoons fresh lemon juice
- 1 clove garlic minced
- 1/2 teaspoon ground cumin
- 2-4 tablespoons cold water
- 1/2 teaspoon salt
Instructions
Instructions
- Combine chickpeas, tahini, lemon juice, garlic, cumin, and salt in a food processor.
- Process until smooth, gradually adding cold water until desired consistency is reached.
- Taste and adjust seasoning as needed, then serve with a drizzle of olive oil and a sprinkle of paprika.