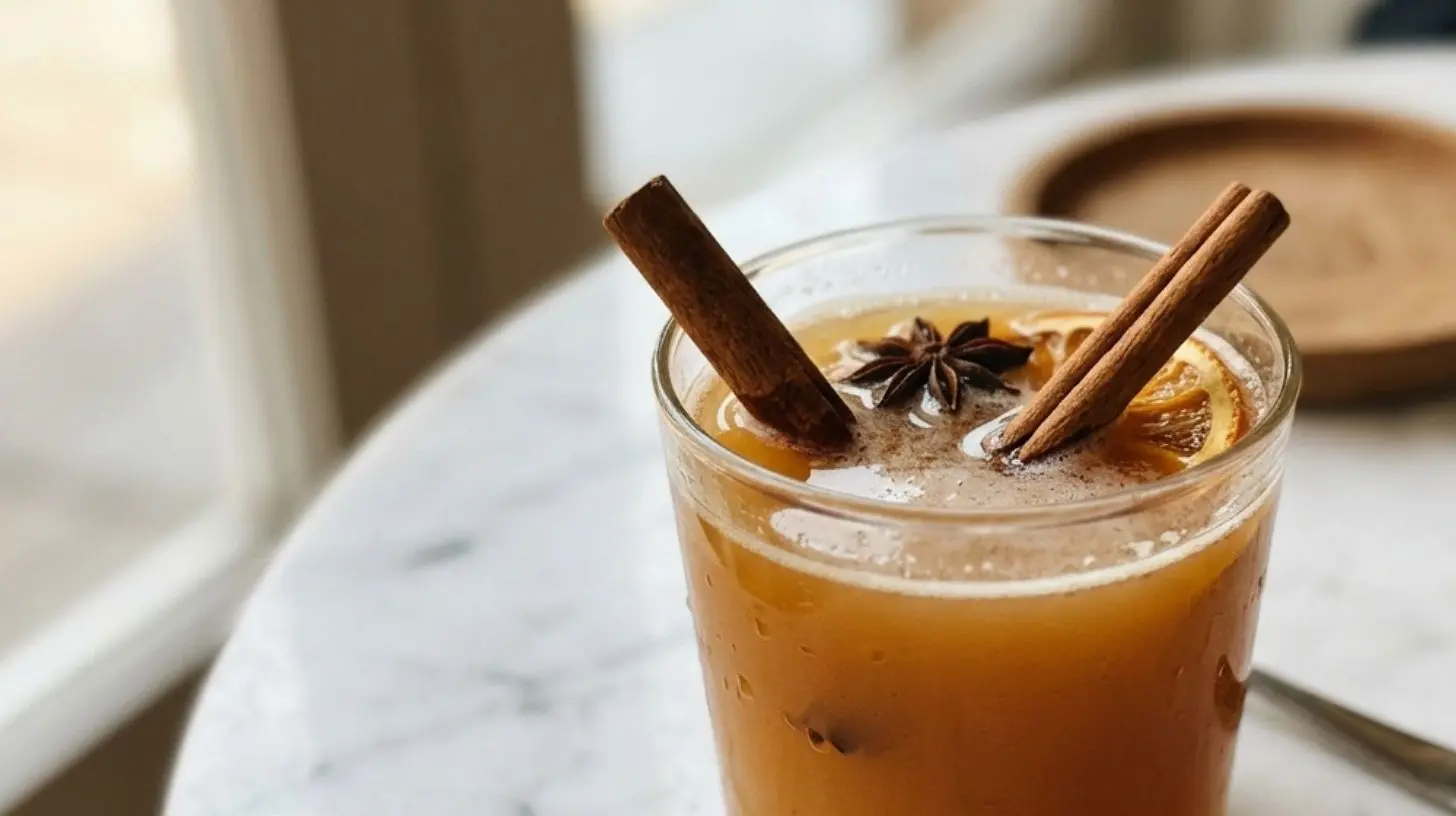
Apple Cider Tree Recipe
Learn how to grow 3 apple cider trees in the best way possible.
Apple seeds
Potting soil
Water
Sunlight
Plant apple seeds in potting soil.
Water the soil regularly to keep it moist.
Place pots in a sunny spot for at least 6 hours a day.
Transplant seedlings to larger pots once they grow taller.
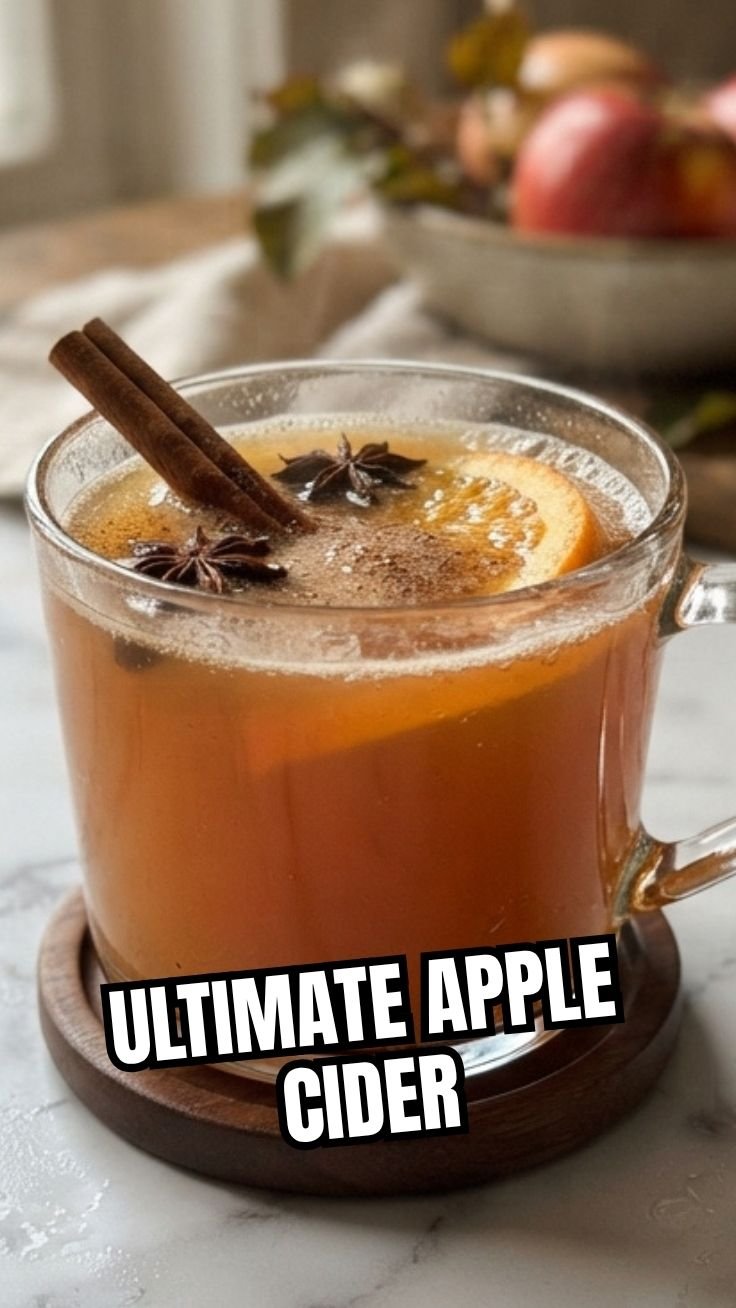
Homemade Apple Cider: A Cozy Fall Recipe Worth Brewing
Have you ever taken a sip of store-bought apple cider and felt something was missing—that deep, aromatic warmth that only comes from scratch? Making your own Apple Cider at home isn’t just about saving money; it’s about controlling the sweetness, choosing the best apple varieties, and infusing it with spices that make your kitchen smell like autumn. Whether you’re planning a cozy weekend gathering or simply want a healthier alternative to sugary drinks, this recipe delivers. And if you’re feeling adventurous, you can even turn it into hard cider with a little patience. Let’s dive into the process that turns simple apples into liquid gold.
Ingredients & Kitchen Tools
Ingredients:
– 10–12 medium apples (mix of sweet and tart, e.g., Honeycrisp, Fuji, Granny Smith) – core and quarter them; no need to peel.
– 1 orange (optional, adds citrus brightness) – quartered.
– 4–5 cinnamon sticks – for that classic spiced flavor.
– 1 tablespoon whole cloves – use sparingly; they’re potent.
– 1 teaspoon whole allspice berries – adds depth.
– ½ cup brown sugar or maple syrup (adjust to taste) – for sweetness.
– Water – enough to cover apples by 1–2 inches.
Kitchen Tools:
– Large stockpot (8–10 quarts) – stainless steel or enameled.
– Fine-mesh strainer or cheesecloth – for a clear cider.
– Wooden spoon – for stirring.
– Potato masher (optional) – to extract more juice.
– Storage jars or bottles – sterilized.
Substitutions:
– Replace brown sugar with honey, agave, or omit for a sugar-free version.
– Swap whole spices with 1–2 teaspoons ground spices (but reduce simmering time to avoid bitterness).
– Use pears or quince for a unique twist, but keep apples as the base.
Prep Time & Cooking Schedule
– Prep time: 15 minutes (washing, coring, quartering apples).
– Cook time: 1.5–2 hours (simmer) + 30 minutes (mashing and straining).
– Resting time: 30 minutes (cooling before straining).
– Total time: Approximately 2.5 hours, but most of it is hands-off.
Plan to make this in the morning or early afternoon so the cider is cool enough to store or serve by evening. The longer you simmer, the more concentrated the flavor becomes—but don’t exceed 2 hours or the spices may turn bitter.
Step-by-Step Instructions
1. Prepare the apples: Wash and core the apples (leave skins on for color and pectin). Quarter them into your stockpot. Add the orange quarters, cinnamon sticks, cloves, allspice, and sweetener.
2. Add water: Pour in enough water to cover the fruit by about 1–2 inches. Do not overfill; you want a concentrated brew.
3. Simmer, don’t boil: Bring to a gentle boil, then reduce heat to low. Cover and simmer for 1.5–2 hours, stirring occasionally. The apples will soften and release their juices. Watch the temperature—a steady simmer (around 200°F) extracts flavor without burning.
4. Mash and steep: Using a potato masher, crush the apples to release remaining liquid. Let the mixture sit off heat for 30 minutes. This step intensifies the Apple Cider profile and allows the spices to mingle.
5. Strain: Line a fine-mesh strainer with cheesecloth and place over a large bowl or pot. Pour the mixture through. Press gently on the solids to extract every drop—but avoid pressing too hard or the cider becomes cloudy.
6. Cool and taste: Let the cider cool to room temperature. Taste and adjust sweetness or spice. If you plan to make hard cider, let the liquid cool completely before adding yeast (see tips below). For non-alcoholic cider, proceed to storage.
At this point, you have a rich, spiced Apple Cider that can be served hot or cold. If you want a fermented version, transfer the cooled cider to a sanitized fermentation vessel, add champagne yeast, and airlock—then wait 2–3 weeks for a bubbly hard cider.
Nutritional Benefits & Advantages
Homemade apple cider is packed with antioxidants from the apple skins (quercetin, vitamin C) and anti-inflammatory compounds from cinnamon and cloves. Unlike commercial versions, you control the sugar—each 8-ounce serving contains about 100–120 calories (depending on sweetener). The pectin in apple skins may support digestive health. Plus, the lack of preservatives means you’re getting pure, whole-food goodness.
Tips, Variations & Cooking Advice
– Flavor variations: Add a sliced ginger root for a spicy kick, or a vanilla bean for sweetness. For a smoky note, use a few lapsang souchong tea leaves during simmering.
– Alcohol option: To turn your cider into hard cider, add ½ teaspoon of yeast (champagne or ale) per gallon after cooling to 70°F, then ferment in a dark place. Bottle with priming sugar for carbonation.
– Dietary adaptations: Gluten-free (naturally), dairy-free, vegan. Use maple syrup for a refined sugar–free version.
– Cooking method: Try a slow cooker on low for 6–8 hours for an even deeper flavor.
– Portion changes: Halve the recipe for a small batch, or double and freeze excess.
Common Mistakes to Avoid
– Boiling too hard: Aggressive boiling evaporates water and concentrates acidity, making the cider tart and murky. Keep it at a gentle simmer.
– Skipping the mash: Without mashing, you lose up to 30% of the juice. Give the apples a good crush.
– Over-spicing: Cloves and allspice are strong; remove them after 1 hour if you prefer a milder taste.
– Not straining properly: Sediment makes cider spoil faster. Use a double layer of cheesecloth for a clean finish.
– Fermenting with unsterilized equipment (for hard cider): Bacteria can ruin the batch. Always sanitize everything.
Storage & Meal Prep Tips
– Refrigeration: Store in airtight containers for up to 1 week. Glass jars are best.
– Freezing: Pour into freezer-safe containers, leaving 1 inch headspace. Freeze for up to 3 months. Thaw overnight in the fridge.
– Reheating: Warm on the stovetop over low heat—do not boil, as that can alter the flavor. Add a fresh cinnamon stick for garnish.
– Meal prep: Make a double batch and freeze in 1-cup portions for quick hot cider or as a base for marinades and sauces.
Conclusion
Making your own Apple Cider is a rewarding way to celebrate fall flavors while controlling every ingredient. From the first simmer to the final sip, you’ll taste the difference that fresh apples and whole spices make. And if you want to experiment, turning it into hard cider opens up a whole new world of homemade beverages. Try this recipe, share your results with friends, and enjoy the cozy season. Have you ever attempted a fermented version? Let us know in the comments!
FAQs
1. Can I use apple juice instead of whole apples?
Yes, but you’ll miss the pectin and depth from apple skins. If using juice, skip the simmering and just heat with spices for 30 minutes.
2. How do I make sugar-free apple cider?
Simply omit the sweetener. The natural sugar in apples provides enough sweetness, especially if you use sweeter varieties like Fuji or Gala.
3. My cider tastes bitter. What went wrong?
Overcooking the spices or burning the sugars can cause bitterness. Next time, add spices after 1 hour of simmering, and avoid boiling.
4. Can I make this in a slow cooker?
Absolutely. Add all ingredients and cook on low for 6–8 hours. Mash, strain, and enjoy.
5. How long does homemade cider last if not refrigerated?
Unrefrigerated, it will spoil within 24 hours due to natural sugars. Always refrigerate or freeze for longer storage.