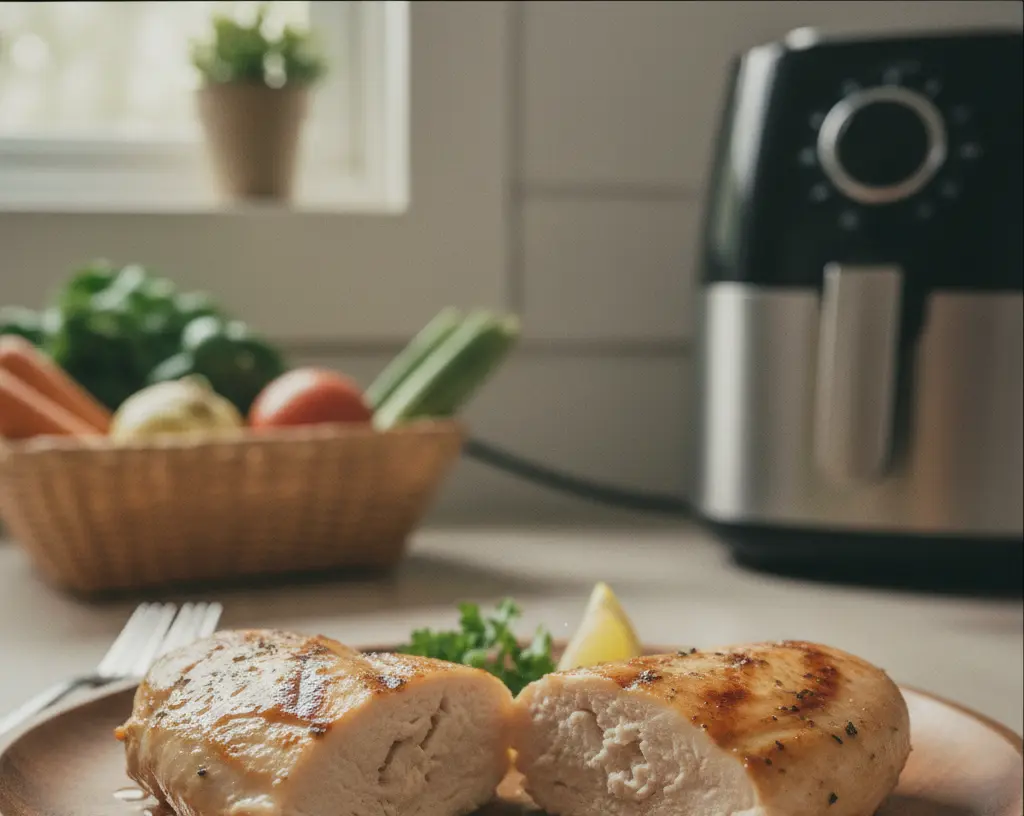
Air Fryer Chicken Breast
Learn how to make juicy chicken breast in just 22 minutes using an air fryer.
Chicken Breast
Olive Oil
Garlic Powder
Onion Powder
Salt
Season chicken breast with salt.
Rub chicken breast with olive oil.
Sprinkle garlic powder and onion powder on chicken.
Preheat air fryer to 400°F for 3 minutes.
Place chicken in air fryer basket.
Cook chicken for 22 minutes, flipping halfway through.
Serve and enjoy!
Tired of Dry Chicken? This Air Fryer Method Changes Everything
Have you ever wondered how to achieve perfectly cooked chicken breast that’s juicy on the inside and golden on the outside without slaving over a stove? Air Fryer Chicken Breast delivers exactly that, and when you combine it with techniques for crispy air fryer chicken, you get a meal that feels indulgent yet is incredibly simple to prepare. Making this at home is valuable because you control the ingredients, adjust the seasoning to your preference, and save money compared to takeout, all while enjoying a healthier version of a classic favorite.
Ingredients & Kitchen Tools
Main Ingredients
– Boneless skinless chicken breasts (2 medium): About 6–8 oz each; pound to even thickness for uniform cooking
– Olive oil or avocado oil spray (1–2 tbsp): Helps the seasoning adhere and promotes browning
– Salt (1 tsp): Use fine sea salt for even distribution
– Black pepper (½ tsp): Freshly ground adds more depth
– Garlic powder (1 tsp): Avoid fresh garlic here—it burns in the air fryer
– Paprika (1 tsp): Adds color and mild smokiness; smoked paprika works beautifully
– Onion powder (½ tsp): Optional but rounds out the savory profile
– Italian seasoning or dried herbs (½ tsp): Thyme, oregano, or rosemary all pair well
Kitchen Tools
– Air fryer: Any basket-style or oven-style model works; preheating is key
– Meat mallet or rolling pin: To pound chicken to even thickness
– Mixing bowl: For tossing the chicken with oil and spices
– Tongs: For flipping without piercing the meat
– Instant-read thermometer: Essential for doneness—target 165°F internally
– Cutting board and knife: For resting and slicing
Optional Substitutions
– Chicken thighs: Juicier and more forgiving; adjust cook time by 2–3 minutes
– Coconut oil spray: For a dairy-free, slightly tropical flavor
– Cajun or jerk seasoning: Swap out the paprika blend for a bolder kick
Prep Time & Cooking Schedule
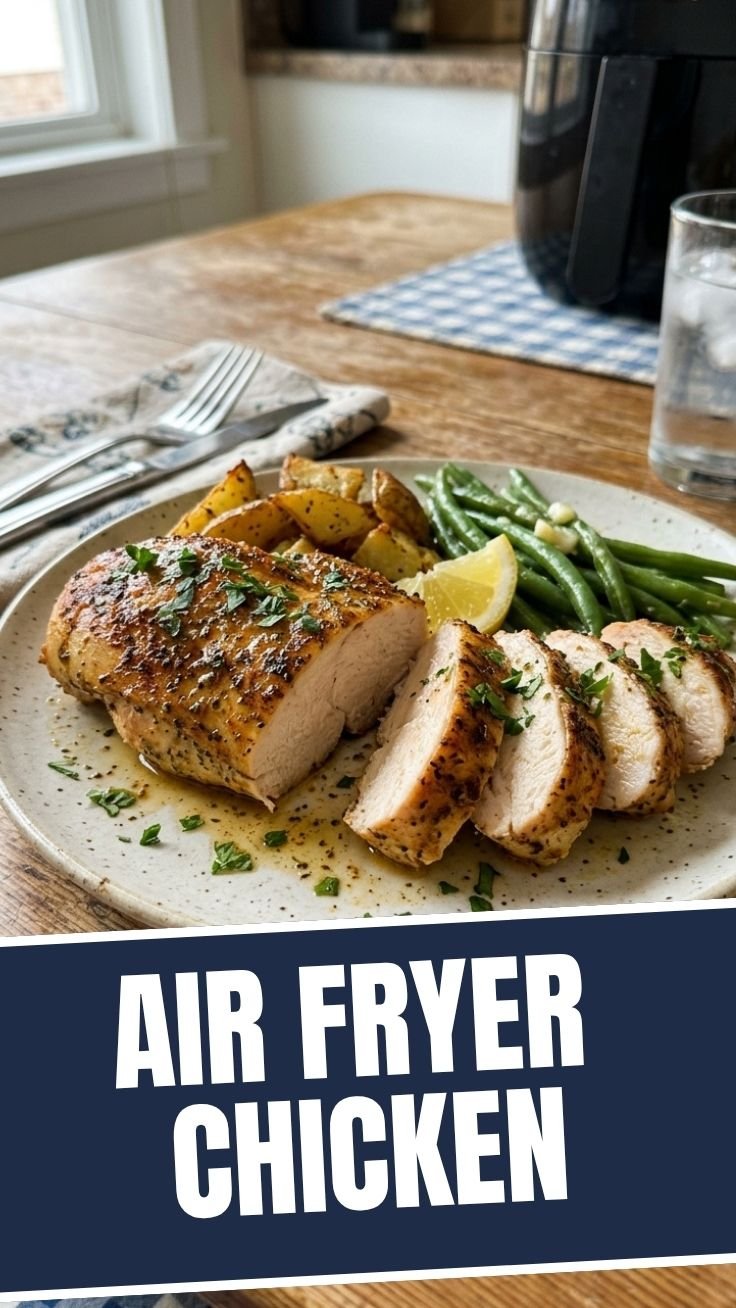
Total active time is about 35–40 minutes, with only 10 minutes of hands-on work.
– Prep time: 10 minutes (pounding, seasoning, preheating)
– Marinating time: 15–30 minutes (optional but recommended—even a quick rest helps flavor penetrate)
– Cook time: 12–15 minutes at 375°F, flipping halfway
– Resting time: 5 minutes (non-negotiable for juicy results)
Pro planning tip: If you’re meal prepping, season the chicken up to 24 hours ahead and refrigerate. The salt will gently brine the meat, improving moisture retention during cooking.
Step-by-Step Instructions
Step 1: Pat the chicken breasts dry with paper towels. Removing surface moisture is critical for achieving that coveted golden crust.
Step 2: Place each breast between two sheets of plastic wrap or parchment paper and pound to an even thickness of about ¾ inch. This ensures the Air Fryer Chicken Breast cooks uniformly without a thin end drying out while the thick end remains undercooked.
Step 3: In a mixing bowl, combine the olive oil spray, salt, pepper, garlic powder, paprika, onion powder, and Italian seasoning. Add the chicken and toss until each piece is evenly coated. Let it rest for 15 minutes at room temperature or up to 30 minutes in the fridge.
Step 4: Preheat your air fryer to 375°F for 3–5 minutes. A hot start is essential for that crispy air fryer chicken texture you’re after.
Step 5: Arrange the chicken in a single layer in the air fryer basket. Do not overcrowd—leave at least ½ inch between pieces for proper air circulation. Cook for 6 minutes, then flip and cook for another 6–8 minutes, depending on thickness.
Step 6: Check the internal temperature with an instant-read thermometer inserted into the thickest part. When it reads 160°F, remove the chicken immediately. Carryover cooking will bring it to the safe 165°F during resting.
Step 7: Transfer to a cutting board and tent loosely with foil. Rest for 5 minutes before slicing against the grain.
Nutritional Benefits & Advantages
This cooking method offers several health and dietary advantages over pan-frying or deep-frying:
– Lower fat content: Because you use minimal oil (spray), the chicken retains its natural moisture without absorbing excess fats. A typical serving contains approximately 220–250 calories and 4–5 grams of fat, compared to 300+ calories for pan-seared versions.
– High-quality protein: Each breast provides about 35–40 grams of complete protein, supporting muscle maintenance, satiety, and metabolic health.
– Controlled sodium: You decide how much salt goes in—store-bought seasoned versions often contain double the sodium.
– Diet-friendly: Naturally gluten-free, low-carb, keto-friendly, and adaptable to dairy-free or Whole30 diets with minor seasoning swaps.
– Vitamin B6 and niacin: Chicken breast is rich in B vitamins essential for energy metabolism and nervous system function.
Tips Variations & Cooking Advice
Flavor Variations
– Lemon herb: Add 1 tbsp lemon zest and 2 tsp dried thyme to the seasoning mix
– Spicy Southwest: Use chili powder, cumin, and a pinch of cayenne; serve with lime crema
– Garlic parmesan: After cooking, brush with melted butter and sprinkle grated parmesan and parsley
– Teriyaki glaze: Swap the dry seasoning for a brush of low-sodium teriyaki sauce in the last 2 minutes of cooking
Ingredient Swaps
– Chicken thighs: Juicier and more flavorful; cook at 375°F for 14–16 minutes
– Bone-in breasts: Increase cook time to 18–22 minutes and flip once
– Panko crust: For an extra-crunchy exterior, dip seasoned chicken in beaten egg, then coat with panko mixed with oil spray; cook at 380°F for 12–14 minutes
Alternative Cooking Methods
– Oven-baked: Place on a wire rack over a baking sheet at 400°F for 18–22 minutes
– Grilled: Direct heat over medium-high for 5–7 minutes per side
Dietary Adaptations
– Gluten-free: Already GF; ensure spice blends are certified gluten-free
– Dairy-free: Use olive oil spray and skip any cheese topping
– Low-sodium: Reduce salt to ½ tsp and rely on herbs and spices for flavor
Common Mistakes to Avoid
Skipping the preheat – Adding chicken to a cold air fryer leads to uneven cooking and reduced browning. Always preheat for at least 3 minutes.
Overcrowding the basket – When pieces touch, steam builds instead of dry heat circulating. This produces a pale, steamed texture instead of a golden crust. Cook in batches if needed.
Not pounding to even thickness – A breast that’s 1 inch thick on one end and ½ inch on the other will yield dry wings and undercooked center. Even thickness is non-negotiable.
Using too much oil – Excess oil creates smoke inside the air fryer and a greasy exterior. A light spray or 1–2 teaspoons tossed is plenty.
Skipping the rest – Cutting immediately releases all the juices onto the cutting board. Resting 5 minutes allows the muscle fibers to reabsorb moisture.
Relying on time alone – Every air fryer runs slightly differently. Always use a thermometer to confirm 165°F internally.
Storage & Meal Prep Tips
Refrigeration: Store cooled chicken in an airtight container for up to 4 days. Slice before storing for quicker reheating, or keep whole to retain more moisture.
Freezing: Wrap individual pieces tightly in plastic wrap, then place in a freezer-safe bag. Label with the date—it stays fresh for up to 3 months. Thaw overnight in the refrigerator before reheating.
Reheating to maintain texture:
– Air fryer (best method): 350°F for 3–4 minutes, flipping once—this restores the crispy exterior
– Oven: 350°F for 8–10 minutes, covered with foil to prevent drying
– Microwave (last resort): Place on a plate with a damp paper towel over it for 1–2 minutes at 50% power; expect slightly softer texture
Meal prep idea: Cook 4–6 breasts at once, slice them, and portion into containers with roasted vegetables and quinoa or rice for grab-and-go lunches throughout the week.
Conclusion
Mastering Air Fryer Chicken Breast is one of the most practical skills you can add to your cooking repertoire. With minimal effort and a handful of pantry spices, you get consistently juicy, flavorful results that rival any restaurant dish. Pair it with the techniques for crispy air fryer chicken, and you’ll never dread chicken breast again—it’s that reliable. I encourage you to try this method this week, adjust the seasonings to your taste, and share your results in the comments. Your air fryer is waiting.
FAQs
Can I use frozen chicken breasts in the air fryer?
Yes, but you must thaw them completely in the refrigerator first for even cooking. Cooking from frozen often results in a burnt exterior and raw center. If you’re in a hurry, use the defrost setting on your microwave, then pat dry and season.
Why is my air fryer chicken breast dry?
The most common causes are overcooking (check with a thermometer), uneven thickness (pound to ¾ inch), or skipping the rest period. Also, ensure you’re not using too high a temperature—stick to 375°F for boneless breasts.
How do I get the seasoning to stick better?
Lightly spray the chicken with oil before adding dry spices, then toss well. Alternatively, make a thin paste by mixing the oil and spices together first, then coating the chicken.
Can I cook multiple breasts at once?
Yes, but avoid stacking or overcrowding. Cook in a single layer with space between pieces. If your air fryer basket is small, batch-cook and keep finished pieces warm in a low oven (200°F) while the next batch cooks.
How long does cooked air fryer chicken last in the fridge?
Properly stored in an airtight container, it stays fresh for up to 4 days. For longer storage, freeze for up to 3 months. Reheat in the air fryer at 350°F for 3–4 minutes to restore crispiness.
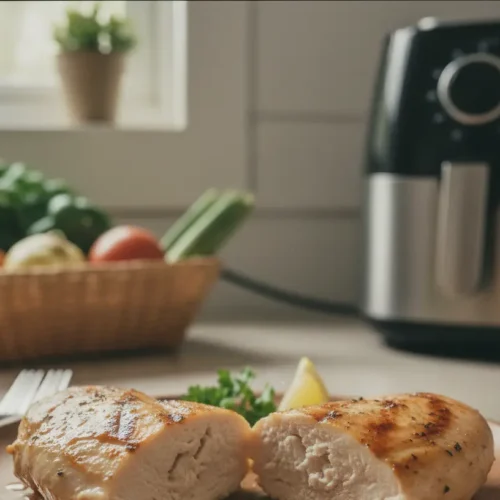
Best way to grow perfect Air Fryer Chicken Breast in 22 minutes
Equipment
- Air Fryer
- Small bowl
- Paper towels
- Meat thermometer
- Cutting board
Ingredients
Main Ingredients
- 4 medium boneless, skinless chicken breasts
- 1 tablespoon olive oil
- 1 teaspoon paprika
- 1 teaspoon garlic powder
- 0.5 teaspoon onion powder
- 0.5 teaspoon dried thyme
- 0.5 teaspoon salt
- 0.25 teaspoon black pepper
Instructions
Cooking in Air Fryer
- Preheat your air fryer to 375°F (190°C) for 5 minutes.
- Pat the chicken breasts dry with paper towels to ensure a crispy exterior.
- In a small bowl, combine paprika, garlic powder, onion powder, dried thyme, salt, and black pepper to create your seasoning blend.
- Drizzle olive oil over the chicken breasts and rub thoroughly, then sprinkle the seasoning mixture evenly on all sides, pressing gently to adhere.
- Place the seasoned chicken breasts in the air fryer basket in a single layer, ensuring they are not overlapping.
- Cook for 10-12 minutes, then flip the chicken breasts and continue to cook for another 5-7 minutes, or until an internal temperature of 165°F (74°C) is reached.
- Once cooked, remove the chicken from the air fryer and let it rest on a cutting board for 5 minutes before slicing and serving.