Caramel Apple Trees
Let's make yummy caramel apples that look like trees!
Apples
Caramel candies
Green food coloring
Pretzel sticks
Sprinkles
Wash the apples and remove the stems.
Melt the caramel candies in a saucepan.
Add a few drops of green food coloring to the melted caramel.
Dip each apple into the green caramel, coating it completely.
Insert a pretzel stick into the top of each apple as the tree trunk.
Sprinkle colorful sprinkles on top of the caramel for decoration.
Let the caramel apples cool and harden before enjoying your caramel apple trees!
The Ultimate Guide to Perfect Homemade Caramel Apples
What if you could capture that irresistible autumn flavor right in your own kitchen without the sticky mess of store-bought versions? Preparing homemade Caramel Apples is not only surprisingly simple but also allows you to control the quality of ingredients, ensuring a rich, buttery coating that clings perfectly to every tart apple slice. This guide will walk you through every step, from selecting the best fruit to avoiding common pitfalls so you can create a treat that rivals any professional candy shop. Whether you are planning a fall party or simply craving a nostalgic dessert, mastering this recipe will become a cherished tradition. The key to perfect Caramel Apples lies in understanding the caramelization process and how it interacts with your chosen apple variety.
Ingredients & Kitchen Tools
For the Caramel Coating
– 1 cup (200g) granulated sugar: Provides the base sweetness and structure for the caramel.
– ½ cup (120ml) heavy cream: Adds richness and a smooth, velvety texture. For a dairy-free version, use full-fat coconut cream.
– 4 tablespoons (60g) unsalted butter: Enhances flavor and helps prevent crystallization. Use salted butter if you prefer a slightly salty-sweet finish.
– ¼ cup (60ml) light corn syrup: Prevents sugar crystals from forming, ensuring a silky sauce. Substitute with honey or golden syrup for a deeper flavor.
– 1 teaspoon vanilla extract: Adds warmth and rounds out the caramel notes.
– Pinch of sea salt: Balances sweetness and highlights the caramel’s complexity.
For the Apples & Assembly
– 6 medium crisp apples (Granny Smith or Honeycrisp): Their tartness offsets the sweet caramel. Granny Smith holds its shape best during cooking.
– 6 wooden sticks or popsicle sticks: For easy handling when dipping.
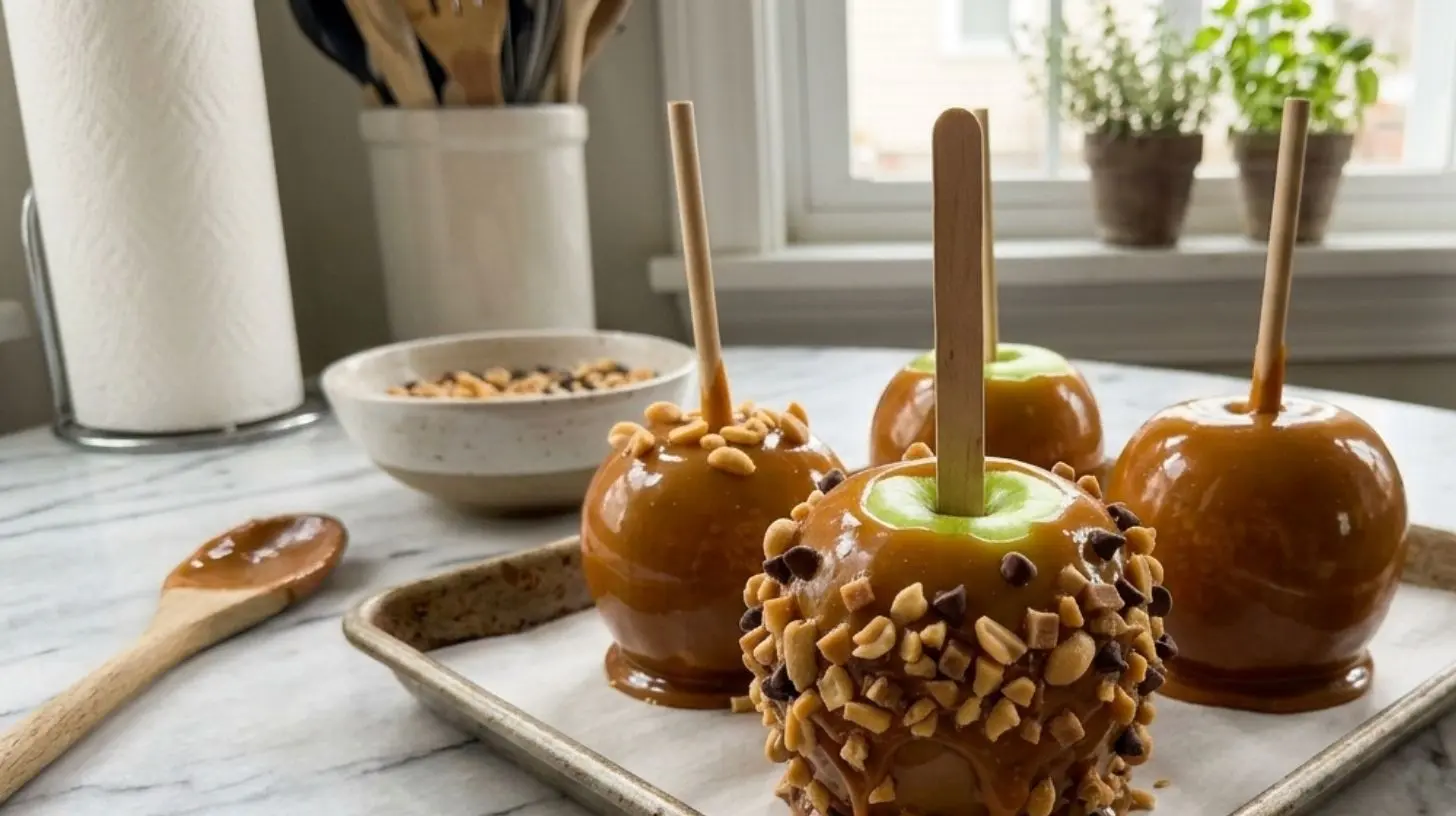
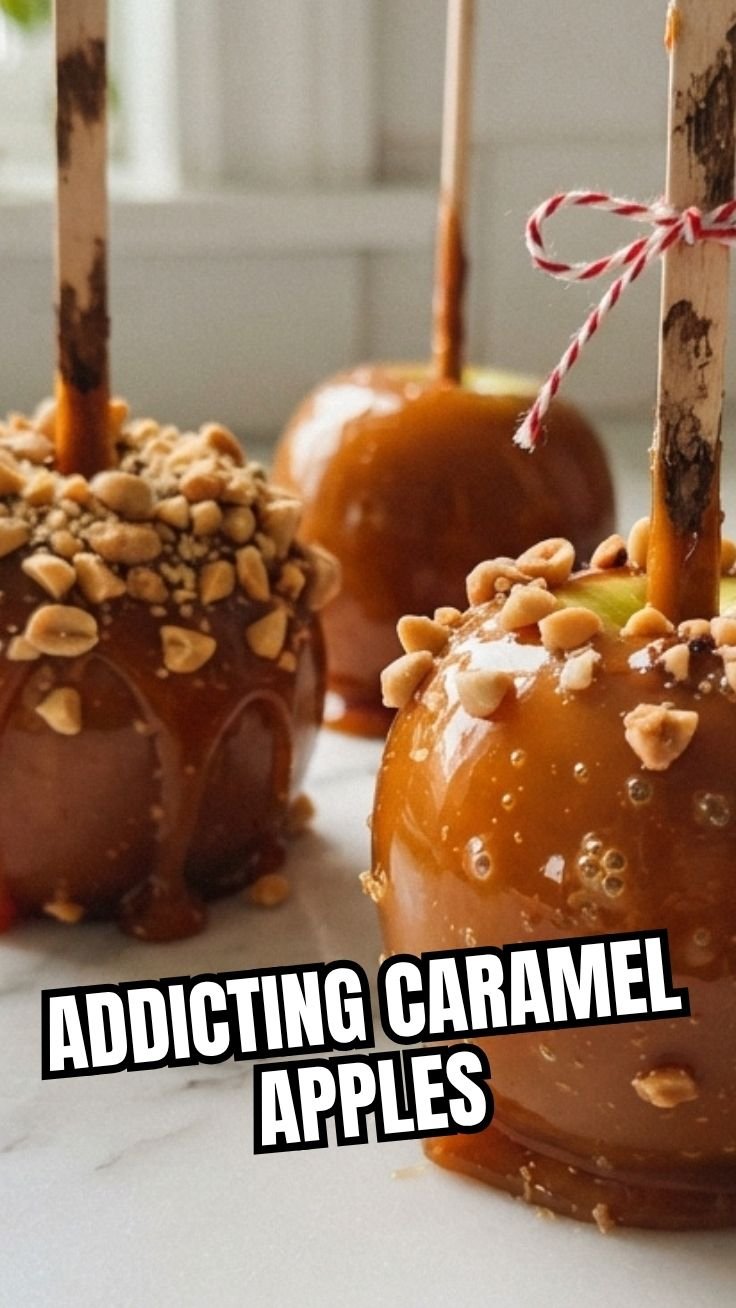
– Optional toppings: Chopped nuts (pecans, peanuts), sprinkles, mini chocolate chips, crushed pretzels, or shredded coconut.
Essential Tools
– Candy thermometer: Critical for achieving the correct caramel temperature (soft-ball stage: 238-245°F / 114-118°C). Without it, you risk a runny or grainy result.
– Heavy-bottomed saucepan: Distributes heat evenly and prevents scorching.
– Parchment paper or a silicone baking mat: For setting the dipped apples.
– Silicone spatula: Gentle on the pan and easy to scrape caramel clean.
Prep Time & Cooking Schedule
– Prep time: 10 minutes (wash, dry, and stick apples; measure ingredients).
– Cooking time: 8–10 minutes (stirring caramel to reach the correct temperature).
– Cooling and setting time: 20–30 minutes at room temperature, then optional 10–15 minutes in the refrigerator for a firmer coat.
– Total time: Approximately 40–50 minutes, making it a quick yet rewarding project.
Plan to make these on a low-humidity day, as humidity can cause the caramel to become tacky and not set properly. Line a baking sheet with parchment paper before you begin so you are ready to transfer the finished apples immediately.
Step-by-Step Instructions
1. Prepare the Apples: Wash and thoroughly dry 6 crisp apples—any moisture will cause the caramel to slide off. Remove the stems and push a wooden stick firmly into the top of each apple. Set them on the prepared baking sheet.
2. Make the Caramel Base: In a heavy-bottomed saucepan, combine 1 cup granulated sugar, ½ cup heavy cream, 4 tablespoons butter, and ¼ cup corn syrup. Cook over medium heat, stirring gently with a silicone spatula until the butter melts and the sugar dissolves. Once the mixture is smooth, stop stirring and attach a candy thermometer.
3. Heat to Soft-Ball Stage: Increase the heat to medium-high and let the caramel come to a rolling boil. Continue boiling without stirring until the thermometer reads 238–245°F (114–118°C). This step is essential for achieving a thick, chewy coating. Immediately remove from heat and stir in 1 teaspoon vanilla extract and a pinch of sea salt. Let the caramel cool for 2–3 minutes so it thickens slightly but remains pourable.
4. Dip the Apples: Hold an apple by the stick, tilt the saucepan slightly, and rotate the apple in the warm caramel until fully coated. Lift it out and let excess drip back into the pan. Give it a quick shake to encourage even coverage.
5. Add Toppings (Optional): If using nuts or sprinkles, press them onto the caramel immediately after dipping while it is still wet. Place each finished apple on the parchment-lined sheet.
6. Set the Coating: Let the apples cool at room temperature for at least 20 minutes. For a firmer shell, refrigerate for 10–15 minutes before serving. A key tip for perfect Caramel Apples is to use room-temperature cream and butter to help the caramel achieve a smooth texture. For more creative twists, explore our collection of Caramel Apple Recipes for variations that feature chocolate drizzles or spiced toppings.
Nutritional Benefits & Advantages
While undeniably a treat, these homemade Caramel Apples offer some nutritional advantages over store-bought versions. Apples are a rich source of dietary fiber (about 4 grams per medium apple) and vitamin C, which supports immune health. By controlling the sugar and cream content, you can reduce the overall processed sugar load compared to commercial candies. The optional addition of nuts adds healthy fats and protein, making this dessert more satisfying and balanced. Plus, the absence of preservatives and artificial stabilizers allows you to enjoy a cleaner, more natural indulgence that aligns with mindful eating practices.
Tips Variations & Cooking Advice
– Flavor Variations: Replace vanilla extract with bourbon, rum, or almond extract for an adult twist. Stir in a teaspoon of cinnamon or pumpkin pie spice for a seasonal kick.
– Dairy-Free Adaptation: Substitute heavy cream with full-fat coconut cream and butter with coconut oil. The caramel will have a slight coconut undertone but still set beautifully.
– Dietary Modifications: For a gluten-free version, ensure your vanilla extract and any toppings (like pretzels) are certified gluten-free. Use organic apples to reduce pesticide exposure.
– Alternative Cooking Method: If you do not have a candy thermometer, test the caramel by dropping a small spoonful into a bowl of cold water—it should form a soft, pliable ball that holds its shape when pressed.
– Portion Adjustments: Double the caramel recipe if you are making more than 6 apples, but use a larger pot to prevent overflowing while boiling.
Common Mistakes to Avoid
– Using Wet Apples: Even a drop of moisture on the apple skin will cause the caramel to separate and slide off. Pat apples dry with a paper towel after washing, and let them come to room temperature so they do not cool the caramel too quickly.
– Overcooking the Caramel: If the temperature exceeds 248°F (120°C), the caramel will become hard and brittle rather than chewy. Use a reliable candy thermometer and remove the pan from heat as soon as the target range is reached.
– Stirring While Boiling: After the sugar dissolves, avoid stirring the boiling caramel. Agitation can introduce air bubbles and encourage crystallization, leading to a grainy texture.
– Dipping Into Hot Caramel: If the caramel is too hot (above 120°F / 49°C), it will run off the apple and slide to the bottom. Let it cool for at least 2 minutes after removing from heat.
– Skipping the Parchment Paper: Placing hot caramel apples directly on a baking sheet will cause them to stick permanently. Always use parchment or a silicone mat.
Storage & Meal Prep Tips
– Storage: Store finished Caramel Apples in the refrigerator, uncovered or loosely wrapped in wax paper, for up to 5 days. Do not seal them in an airtight container, as condensation will make the caramel sticky.
– Freezing: Wrap each apple individually in plastic wrap, then place in a freezer-safe bag. They will keep for up to 2 months. Thaw in the refrigerator overnight before serving.
– Reheating: If the caramel becomes too firm after refrigeration, let the apple sit at room temperature for 10 minutes before eating. Do not microwave, as this will melt the coating unevenly.
– Meal Prep Tip: You can prepare the caramel sauce up to 3 days in advance and store it in the refrigerator. Reheat gently in a saucepan over low heat, stirring constantly, until it reaches a dippable consistency (about 200°F / 93°C).
Conclusion
Making Caramel Apples at home is a rewarding process that yields a superior treat compared to store-bought options. By carefully controlling temperature, selecting crisp tart apples, and avoiding moisture, you achieve a thick, glossy coating that clings perfectly and delivers a satisfying crunch. We encourage you to experiment with toppings and flavor variations to create your signature version. Whether you enjoy them as a seasonal snack or gift them to friends, these handcrafted delights will impress. Share your results in the comments below, and for more unique ideas, explore our curated collection of Caramel Apple Recipes to inspire your next kitchen adventure.
FAQs
1. Why does my caramel slide off the apples?
Caramel slides off due to moisture on the apple skin or because the caramel was too hot when dipped. Always dry apples thoroughly after washing and let them come to room temperature. Allow the caramel to cool to about 110–120°F (43–49°C) before dipping.
2. Can I use a different type of apple?
Yes, but tart and firm varieties like Granny Smith, Honeycrisp, or Pink Lady work best. Softer apples like Red Delicious may become mushy under the caramel coating.
3. Can I make this dairy-free or vegan?
Yes. Substitute heavy cream with full-fat coconut cream and butter with coconut oil or vegan butter. The caramel will have a slight coconut flavor. Ensure your sugar is vegan-friendly if needed.
4. What is the best way to reheat leftover caramel?
Place leftover caramel sauce in a saucepan over low heat, stirring frequently until smooth. Add a splash of cream or milk if it is too thick. Do not microwave, as it can scorch unevenly.
5. How do I prevent caramel from crystallizing?
Avoid stirring once the sugar is dissolved and the mixture is boiling. Use corn syrup or an acid like lemon juice (¼ teaspoon per batch) to inhibit crystallization. Also, ensure your saucepan is completely clean of any sugar crystals.
6. Can I add sprinkles or toppings before the caramel sets?
Yes, add toppings immediately after dipping while the caramel is still warm and wet. If you wait too long, the toppings will not stick. Press them gently for better adhesion.