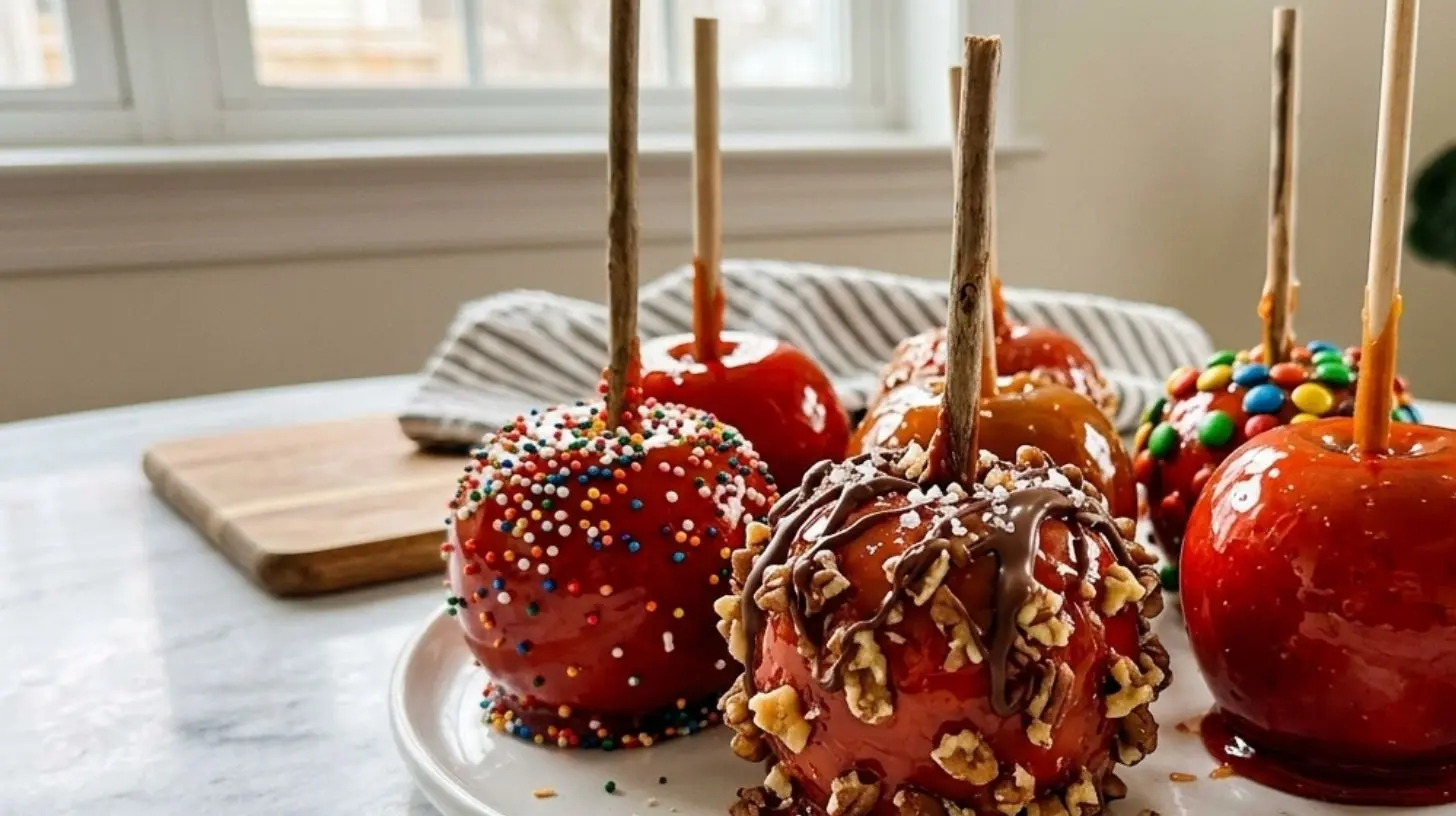
Best way to grow 5 Candy Apples
Learn how to make delicious candy apples at home.
Apples
Sugar
Corn Syrup
Water
Food coloring
Wash and dry the apples thoroughly.
Insert a stick into each apple.
Combine sugar, corn syrup, and water in a pot and boil until it reaches hard crack stage.
Add a few drops of food coloring to the mixture.
Dip each apple in the candy mixture, swirling to coat evenly.
The Ultimate Guide to Perfect Candy Apples & Caramel Apples at Home
Have you ever bitten into a store-bought candy apple only to find the coating crumbles into a sticky mess or the apple itself is mealy and disappointing? There’s nothing quite like the nostalgic joy of a perfectly glossy Candy Apples with a crisp, crackling shell that shatters with each bite. But mastering this classic confection at home can feel intimidating—until now. Preparing your own not only ensures peak freshness and flavor control, but it also saves money and lets you customize every detail. Whether you’re craving the classic red candy shell or the buttery richness of caramel apples, this guide will walk you through every step for foolproof results.
Ingredients & Kitchen Tools
For the Candy Apples (Classic Red Coating):
– 6 medium Granny Smith apples (firm, tart apples provide the best contrast to the sweet coating)
– 2 cups granulated sugar (creates that signature hard, glossy shell)
– 1/2 cup light corn syrup (prevents sugar crystallization)
– 3/4 cup water
– 1/2 teaspoon red food coloring (gel works best for vibrant color without thinning the syrup)
– 1 teaspoon vanilla extract (optional, but adds depth)
For the Caramel Apples (Rich Butter Coating):
– 6 medium apples (Honeycrisp or Fuji work beautifully)
– 1 package (14 oz) soft caramel candies, unwrapped
– 2 tablespoons heavy cream or milk (adjusts consistency)
Kitchen Tools:
– 6 sturdy wooden sticks (skewers or craft sticks)
– Candy thermometer (essential for precision—don’t skip this)
– Medium heavy-bottomed saucepan (prevents scorching)
– Parchment paper or silicone baking mat (non-stick surface)
– Pastry brush dipped in cold water (to wash down sugar crystals from pan sides)
Optional Substitutions:
– Swap corn syrup with 1/2 teaspoon cream of tartar added to sugar syrup
– Use natural coloring like beet powder for red hue, or skip color entirely for clear candy
– For dairy-free caramel, use coconut cream instead of heavy cream
Prep Time & Cooking Schedule
– Prep Time: 10 minutes (wash and dry apples thoroughly, insert sticks)
– Candy Cooking Time: 15–20 minutes (reaching hard crack stage at 300°F/149°C)
– Caramel Melting Time: 8–10 minutes (gentle stirring on low heat)
– Resting Time: 20 minutes (allowing coating to set completely at room temperature)
– Total Active Time: Approximately 30 minutes
Pro Tip: Dry apples are non-negotiable. Any moisture on the apple skin will cause the candy shell to slide off or create bubbles. Let washed apples sit on paper towels for 30 minutes, then wipe again just before dipping.
Step-by-Step Instructions
1. Prepare the Apples: Wash each apple thoroughly to remove any wax coating. Dry completely with a clean towel. Insert a wooden stick into the stem end, pushing about halfway through the apple’s core. Place on a baking sheet lined with parchment paper.
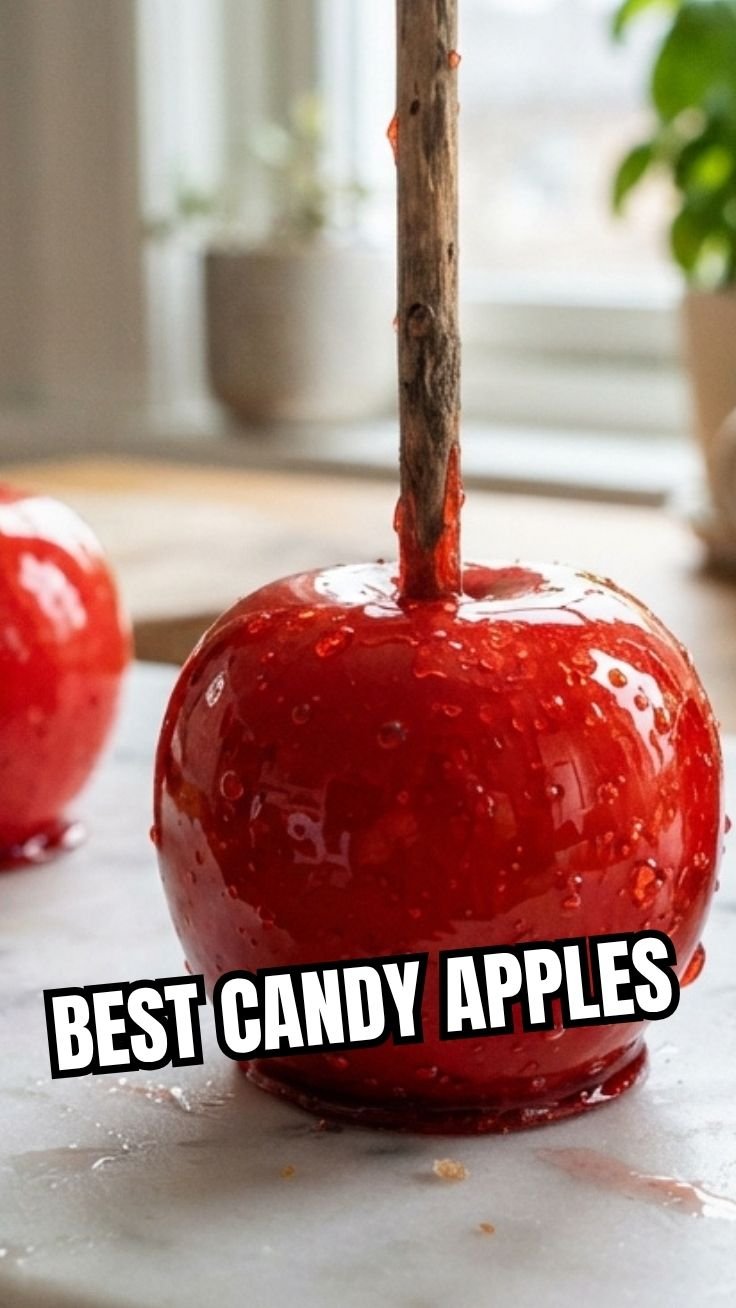
2. Make the Candy Coating: In a heavy saucepan, combine sugar, corn syrup, and water. Stir gently over medium heat until sugar dissolves completely. Stop stirring once the mixture boils—agitation can cause crystallization. Clip a candy thermometer to the pan and cook without stirring until the mixture reaches 300°F (hard crack stage) .
3. Add Color and Flavor: Remove from heat immediately. Carefully stir in food coloring and vanilla extract. The mixture will bubble vigorously—stand back to avoid steam burns. Let the candy sit for 1–2 minutes until bubbles subside slightly.
4. Dip the Apples: Holding each apple by the stick, tilt the pan and dip the apple into the hot candy at a 45-degree angle. Rotate slowly to coat all sides. Lift and let excess drip off for 2–3 seconds. Place on parchment paper and gently twirl the stick to prevent a thick puddle from forming.
5. Prepare Caramel Apples (Alternative): While the candy apples set, melt caramel candies with heavy cream in a separate saucepan over low heat, stirring constantly until smooth. If you prefer the rich, buttery texture of caramel apples, dip cooled apples into this caramel mixture instead of the sugar syrup. For a layered look, dip in caramel first, let set for 10 minutes, then dip in candy coating.
6. Cool and Set: Allow apples to rest undisturbed at room temperature for 20 minutes. Do not refrigerate immediately—sudden temperature changes can cause the candy to crack or sweat.
Nutritional Benefits & Advantages
While Candy Apples are undeniably a treat, the starring ingredient—apples—provides real nutritional value. A medium apple with skin offers about 4 grams of fiber, primarily pectin, which supports digestive health and helps regulate blood sugar. Apples are also rich in vitamin C and antioxidants like quercetin, known for anti-inflammatory properties. The candy coating adds sugar, but by making caramel apples or candy apples at home, you control portion size and avoid artificial preservatives found in commercial versions. For a lighter option, use dark chocolate coating (rich in flavonoids) or a simple honey-cinnamon glaze.
Tips Variations & Cooking Advice
Flavor Twists:
– Add 1/2 teaspoon cinnamon or nutmeg to the sugar syrup for spiced candy apples
– Dip finished apples in crushed nuts, sprinkles, or crushed pretzels immediately after coating
– For a salted caramel version, sprinkle flaky sea salt over warm caramel before it sets
Dietary Adaptations:
– Gluten-Free: Classic candy and caramel apples are naturally gluten-free—just verify caramel candy packages
– Vegan Option: Use refined sugar and vegan caramel made from coconut milk and brown sugar
Texture Adjustments:
– For thinner candy coating, reduce sugar to 1 3/4 cups
– For thicker caramel, add 2 fewer tablespoons of cream
– If candy hardens too quickly in the pan, reheat gently over low heat, stirring occasionally
Common Mistakes to Avoid
– Mistake #1: Wet apples. Even invisible moisture causes the coating to slide off or become cloudy. Solution: Dry apples thoroughly, then wipe with a clean paper towel dipped in vinegar to remove wax—rinse and dry again.
– Mistake #2: Inaccurate temperature. Using a candy thermometer is essential. Candy that doesn’t reach 300°F will be sticky and chewy rather than shatteringly crisp.
– Mistake #3: Overcooking caramel. Burnt caramel becomes bitter and grainy. Solution: Melt on low heat and stir constantly; remove from heat as soon as lumps disappear.
– Mistake #4: Refrigerating too soon. Sudden cold causes condensation, making the candy shell sweat and soften. Always set at room temperature first, then store in a cool, dry place.
Storage & Meal Prep Tips
Candy Apples:
– Store in a cool, dry place (60–70°F) for up to 3 days. Avoid refrigeration—high humidity causes the candy to become sticky.
– Wrap individually in cellophane bags tied with ribbon to maintain crispness and prevent sticking.
Caramel Apples:
– Refrigerate in an airtight container for up to 1 week. Caramel softens at room temperature, so keep chilled.
– Bring to room temperature for 10 minutes before serving for optimal texture.
Freezing: Not recommended for candy apples (shell cracks during thawing). Caramel apples can be frozen for up to 2 months—wrap tightly in plastic wrap and then foil. Thaw in the refrigerator overnight.
Conclusion
Mastering homemade confectionery doesn’t have to be a sticky mess. By controlling the temperature, prepping your apples meticulously, and understanding the science behind sugar stages, you can create stunning Candy Apples and velvety caramel apples that rival any fair or bakery version. The secret lies in patience and precision—qualities that reward you with that perfect satisfying crackle or luxurious caramel pull. Whether you’re making these for a Halloween party, a holiday gathering, or simply a weekend indulgence, the homemade touch makes all the difference. Try this recipe today and share your colorful creations with friends—tag us so we can celebrate your success!
FAQs
Q: Can I use any apple variety?
A: Firm, tart apples like Granny Smith are ideal because their acidity balances the sweetness. Honeycrisp and Fuji also work well, but avoid softer varieties like Red Delicious, which can become mushy.
Q: Why did my candy coating turn grainy?
A: Sugar crystallization is the culprit. This happens when sugar granules fall back into the syrup or when the mixture is stirred during boiling. Use a clean pastry brush dipped in cold water to wash down any crystals that form on the pan sides.
Q: How do I keep the caramel from sliding off?
A: Chill the apples in the refrigerator for 10 minutes before dipping in warm caramel. The temperature contrast helps the caramel adhere. Also, ensure apples are completely dry.
Q: Can I make these dairy-free?
A: Absolutely. For candy apples, the coating is dairy-free by nature. For caramel, replace heavy cream with full-fat coconut cream and use vegan caramel candies or a homemade version with coconut milk and brown sugar.
Q: How long do they stay fresh at room temperature?
A: Candy apples last up to 3 days in a cool, dry place. Caramel apples should be refrigerated and consumed within 1 week. After that, the apple quality declines, and the coating may weep or soften.