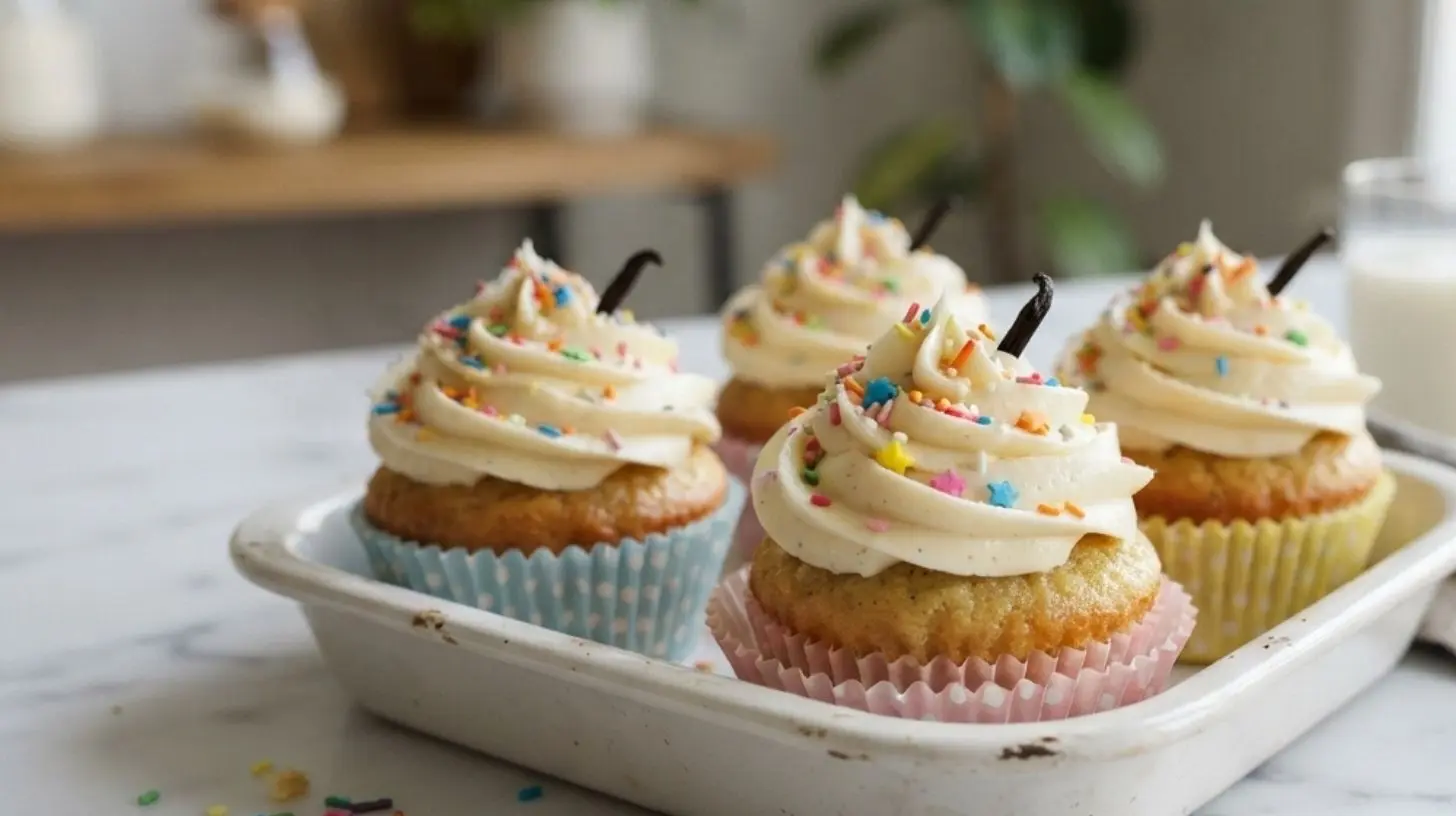
Perfect Vanilla Cupcakes
Learn how to bake delicious vanilla cupcakes.
Flour
Sugar
Vanilla Extract
Butter
Eggs
Preheat the oven to 350°F.
Mix flour, sugar, and butter in a bowl.
Add eggs and vanilla extract, then mix well.
Pour batter into cupcake liners.
Bake for 20 minutes or until golden brown.
The Ultimate Guide to Perfect Vanilla Cupcakes: A Baker’s Secret to Fluffy, Moist Bliss
Have you ever wondered why some Vanilla Cupcakes taste like a cloud while others turn out dry and dense? The secret isn’t magic—it’s the right balance of technique, ingredients, and a whisper of patience. Making these from scratch at home isn’t just about saving money; it’s about controlling every bite, avoiding artificial flavors, and creating a dessert that fills your kitchen with a warm, nostalgic aroma. Whether you’re a weekend baker or a novice, this guide will walk you through every step, from creaming butter to piping a silky vanilla frosting that crowns your creation. Let’s unlock the secret to bakery-quality treats right in your own oven.
—
Ingredients & Kitchen Tools
For the Vanilla Cupcakes (makes 12):
– 1½ cups all-purpose flour – Sift for a lighter crumb; substitute with gluten-free 1:1 blend if needed.
– 1 cup granulated sugar – Fine sugar dissolves better; avoid caster sugar if you don’t have it.
– ½ cup unsalted butter, softened – Room temperature is crucial; salted butter works but reduce added salt.
– 2 large eggs, room temperature – Cold eggs can curdle the batter; bring them to room temp by soaking in warm water for 5 minutes.
– 2 tsp vanilla extract – Pure vanilla, not imitation, for deep flavor.
– ½ cup whole milk – Buttermilk or almond milk work, but adjust acidity.
– 1½ tsp baking powder – Freshness matters; test by dropping a pinch in water—it should fizz.
– ¼ tsp salt – Enhances sweetness; fine sea salt preferred.
For the Vanilla Frosting:
– 1 cup unsalted butter, softened – For a stable, creamy base.
– 3–4 cups powdered sugar – Sift to avoid lumps.
– 2–3 tbsp heavy cream or milk – Adjust for desired consistency.
– 1 tsp vanilla extract – Same rule as above.
– Optional: Pinch of salt, food coloring, or sprinkles.
Kitchen Tools:
– Electric mixer (hand or stand), muffin tin with 12 liners, medium mixing bowls, rubber spatula, cooling rack, piping bag with star tip.
—
Prep Time & Cooking Schedule
– Prep time: 20 minutes (including bringing ingredients to room temperature)
– Bake time: 15–18 minutes at 350°F (175°C)
– Cooling time: 30 minutes before frosting
– Total time: approximately 1 hour
Plan ahead: set out butter and eggs 30–60 minutes before starting. The bake time is short, so preheat your oven early and position the rack in the center.
—
Step-by-Step Instructions
1. Preheat & prepare. Line a 12-cup muffin tin with paper liners. Preheat oven to 350°F (175°C). In a small bowl, whisk together flour, baking powder, and salt. Set aside.
2. Cream butter and sugar. In a large bowl, beat softened butter and sugar on medium-high speed for 3–4 minutes until pale and fluffy. Scrape down the bowl.
3. Add eggs and vanilla. Beat in eggs one at a time, mixing well after each. Add vanilla extract. The mixture may look slightly curdled—don’t panic; it’s normal.
4. Alternate dry and wet ingredients. Reduce speed to low. Add one-third of the flour mixture, then half of the milk, mixing until just combined. Repeat, ending with the flour. Do not overmix—stop as soon as streaks disappear. Overworking develops gluten, making tough Vanilla Cupcakes.
5. Fill and bake. Divide batter evenly among liners (about ⅔ full). Bake for 15–18 minutes until a toothpick inserted in the center comes out clean or with a few moist crumbs. Let cool in the pan for 5 minutes, then transfer to a wire rack to cool completely.
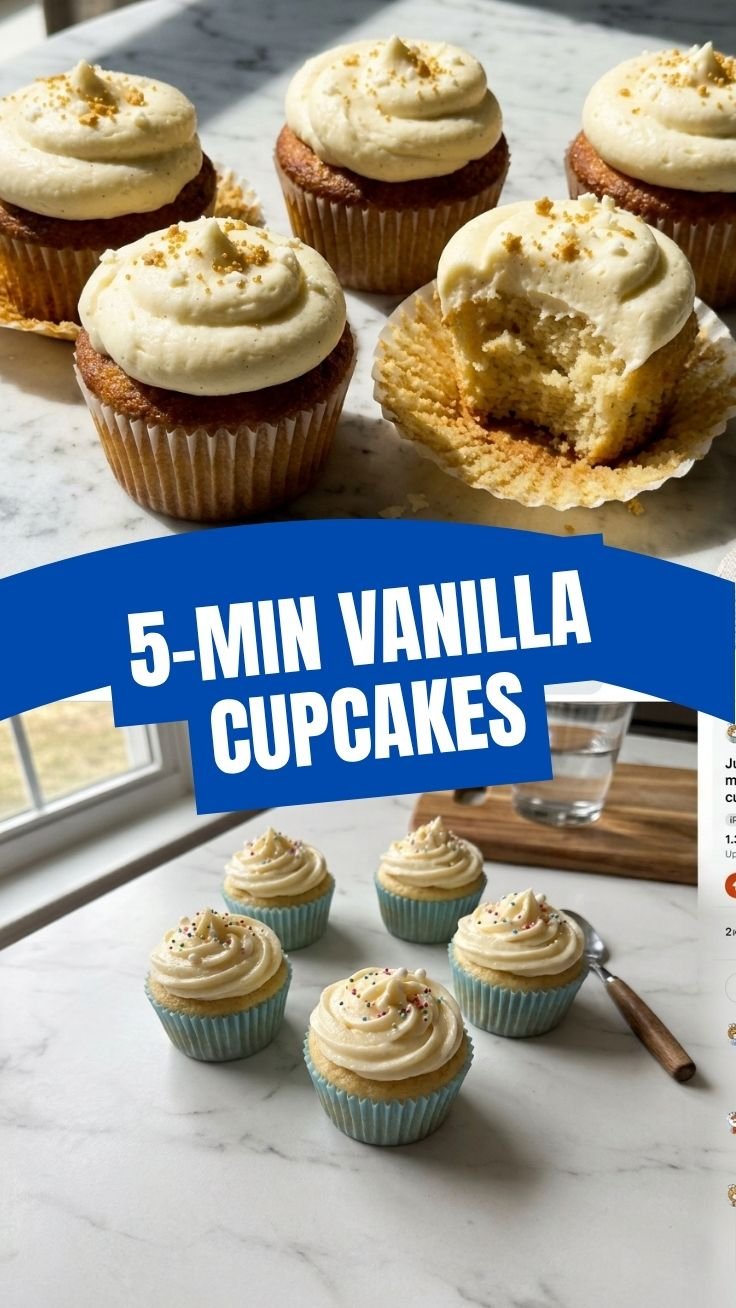
6. Make the frosting. While cupcakes cool, beat butter until creamy. Gradually add powdered sugar, then heavy cream and vanilla. Beat on high for 2 minutes until light and fluffy. If you prefer a richer finish, pipe a generous swirl of vanilla frosting on each cooled cupcake.
—
Nutritional Benefits & Advantages
While cupcakes are a treat, homemade versions offer real advantages. You control the sugar level—reduce by ¼ cup if you prefer less sweetness. Using whole milk adds calcium and vitamin D, while butter provides healthy fats for satiety. By avoiding store-bought mixes, you eliminate preservatives, hydrogenated oils, and artificial stabilizers. For a lighter option, substitute half the butter with unsweetened applesauce (reducing fat by about 30%) and use Greek yogurt instead of milk for extra protein. The result? A dessert that feels indulgent yet guilt-free.
—
Tips Variations & Cooking Advice
– Flavor twists: Add 1 tsp lemon zest or ½ tsp almond extract alongside vanilla. Swap half the milk with sour cream for extra moisture.
– Dietary adaptations: For gluten-free, use a 1:1 gluten-free flour blend. For dairy-free, use vegan butter and oat milk; the texture remains soft.
– Portion changes: Make mini cupcakes (bake 10–12 minutes) or jumbo (20–22 minutes). Adjust frosting accordingly.
– Temperature cues: Cupcakes are done when the edges are golden and the center springs back lightly. Underbaking leads to sinking; overbaking dries them out.
—
Common Mistakes to Avoid
– Overmixing the batter: This activates gluten, resulting in tough, dense cupcakes. Mix until just combined.
– Cold ingredients: Butter and eggs at room temperature emulsify better, creating a finer crumb. Cold butter won’t cream properly.
– Skipping the sifting: Lumpy powdered sugar or flour creates pockets of dryness. Always sift dry ingredients.
– Opening the oven too early: The first 10 minutes of baking are critical. Opening the door can cause the cupcakes to collapse.
– Frosting warm cupcakes: The frosting will melt and slide off. Wait until they are fully cool (about 30 minutes).
—
Storage & Meal Prep Tips
– Room temperature: Store unfrosted cupcakes in an airtight container for up to 2 days. Frosted cupcakes keep at room temp for 1 day (if not too hot).
– Refrigeration: Place frosted cupcakes in the fridge for up to 5 days. Let them sit at room temp for 15 minutes before serving to soften the buttercream.
– Freezing: Wrap unfrosted cupcakes individually in plastic wrap, then foil, and freeze for up to 3 months. Thaw at room temperature before frosting. Frosting can be frozen separately in a piping bag for 2 months.
– Reheating: For a warm, just-baked feel, microwave an unfrosted cupcake for 10 seconds. Avoid reheating frosted ones.
—
Conclusion
Mastering the art of Vanilla Cupcakes at home is a rewarding skill that elevates any gathering. With this guide, you’ve learned the science behind a fluffy crumb, the importance of room-temperature ingredients, and how to pipe a dreamy vanilla frosting that turns a simple cupcake into a showstopper. The beauty of this recipe lies in its adaptability—swap flours, experiment with extracts, or double the batch for a party. I encourage you to try it this weekend, share your results with friends, and explore other variations like chocolate or red velvet. Happy baking!
—
FAQs
1. Can I use a different type of flour? Yes. Cake flour yields an even lighter texture, but all-purpose works perfectly. For gluten-free, use a 1:1 baking blend. Avoid almond flour alone—it lacks structure.
2. My cupcakes sank in the middle. What went wrong? This usually happens from underbaking, overmixing, or opening the oven door too early. Ensure your oven is at the correct temperature (use an oven thermometer) and bake until a toothpick comes out clean.
3. How can I make the frosting less sweet? Reduce powdered sugar to 2½ cups and add a pinch of salt. You can also substitute half the butter with cream cheese for a tangy twist.
4. Can I make these cupcakes dairy-free? Absolutely. Use vegan butter, oat milk, or almond milk. For the frosting, use a dairy-free butter stick (not spread) and a splash of almond milk. The texture remains wonderfully moist.
5. How far in advance can I make these? Bake the cupcakes up to 2 days ahead and store unfrosted at room temperature. Frost on the day of serving for the best appearance. Frosting can be made up to 3 days in advance and refrigerated—rewhip before piping.