Quick way to grow Strawberry Earthquake Cake
A fun and easy recipe to make a delicious strawberry cake.
Strawberry Cake Mix
Strawberries
Whipped Cream
Chocolate Syrup
Sprinkles
Preheat the oven to the temperature on the cake mix box.
Cut the strawberries into slices.
Mix the cake batter according to the instructions on the box.
Add the sliced strawberries into the cake batter.
Pour the batter into a cake pan and bake in the oven.
Let the cake cool down before decorating with whipped cream, chocolate syrup, and sprinkles.
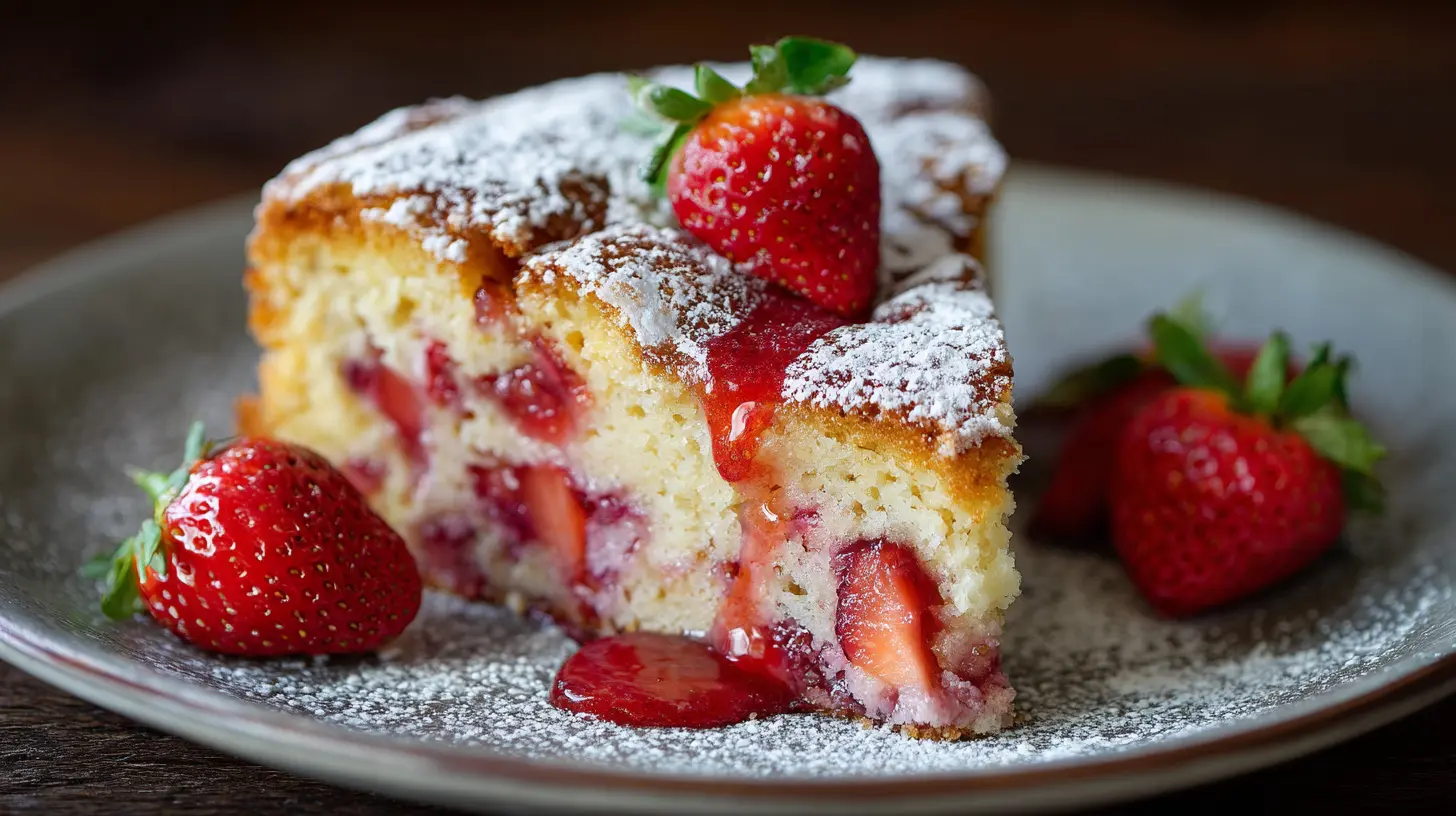
How to Make the Perfect Strawberry Earthquake Cake: A Delightful Dessert Experience
Have you ever wondered what makes a dessert truly unforgettable? The answer might just lie in the mesmerizing layers and delightful flavors of a Strawberry Earthquake Cake! This spectacular sweet treat combines the freshness of strawberries with the richness of cake and cream cheese for an explosion of flavors that will have your guests asking for seconds. Among popular Dessert Cakes, this one stands out for its unique “earthquake” appearance where the layers dramatically shift during baking, creating an impressive visual effect alongside irresistible taste combinations.
Ingredients & Kitchen Tools
For the Cake:
– 1 box white cake mix (plus ingredients called for on the box)
– 8 oz cream cheese, softened
– ½ cup unsalted butter, softened
– 2½ cups powdered sugar
– 2 cups fresh strawberries, diced (reserve a few slices for garnish)
– 1 cup white chocolate chips
– ½ cup shredded coconut (optional for texture)
– 1 tsp vanilla extract
– Red food coloring (optional for enhanced color)
Kitchen Tools:
– 9×13 inch baking dish (glass works best to see the layers)
– Electric mixer (stand or hand mixer)
– Mixing bowls (various sizes)
– Measuring cups and spoons
– Rubber spatula
– Parchment paper (for easy removal)
– Knife and cutting board (for strawberries)
Prep Time & Cooking Schedule
Prep Time: 20 minutes
Baking Time: 40-45 minutes
Cooling Time: At least 2 hours (overnight cooling yields the best flavor development)
Total Time: Approximately 3 hours (plus overnight cooling if possible)
Plan to prepare this cake at least 3-4 hours before serving to allow proper setting. For the best flavor profile, consider making it the day before your event.
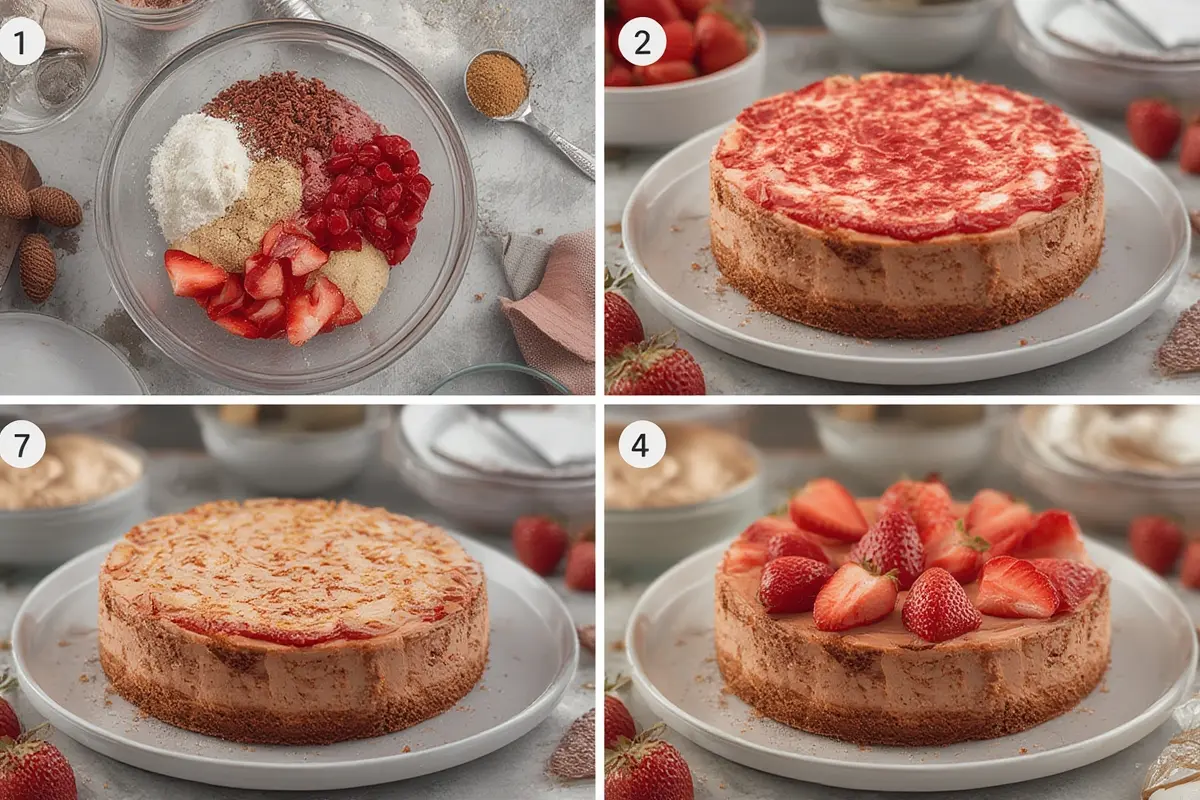
Step-by-Step Instructions
1. Prepare the Pan: Preheat your oven to 350°F (175°C). Lightly grease your 9×13 baking dish with butter or cooking spray.
2. Create the Base: Prepare the white cake mix according to package directions, but add 2-3 drops of red food coloring for a subtle pink hue. Fold in half of the diced strawberries. Pour the batter into the prepared baking dish and spread evenly.
3. Make the Cream Cheese Mixture: In a medium bowl, beat the softened cream cheese and butter until smooth and fluffy. Gradually add the powdered sugar and vanilla, continuing to mix until well combined. This creamy layer gives the Strawberry Earthquake Cake its distinctive rich flavor that contrasts beautifully with the fruity components.
4. Create the “Earthquake” Effect: Drop spoonfuls of the cream cheese mixture randomly over the cake batter. Do not spread or swirl – this is what creates the earthquake appearance during baking.
5. Add Toppings: Sprinkle the remaining strawberries, white chocolate chips, and coconut (if using) evenly over the top. Many Dessert Cakes use similar layering techniques, but the earthquake method creates unique texture variations.
6. Bake: Place in the preheated oven and bake for 40-45 minutes, or until the center is set and the edges are golden brown.
7. Cool Completely: Allow the cake to cool at room temperature for at least 2 hours before serving, or refrigerate overnight for the best flavor development.
Nutritional Benefits & Advantages
This dessert offers more than just amazing flavor. Strawberries are packed with vitamin C, antioxidants, and dietary fiber. When choosing fresh, seasonal berries, you’re adding significant nutritional value to your indulgence. The calcium from dairy components provides additional benefits, making this a slightly more nutritious option than many traditional desserts.
Tips, Variations & Cooking Advice
– Berry Substitutions: Try using a mix of berries like raspberries and blueberries for a mixed berry earthquake cake.
– Dairy-Free Option: Substitute the butter and cream cheese with dairy-free alternatives.
– Extra Richness: Add a tablespoon of strawberry jam to the cake batter for intensified flavor.
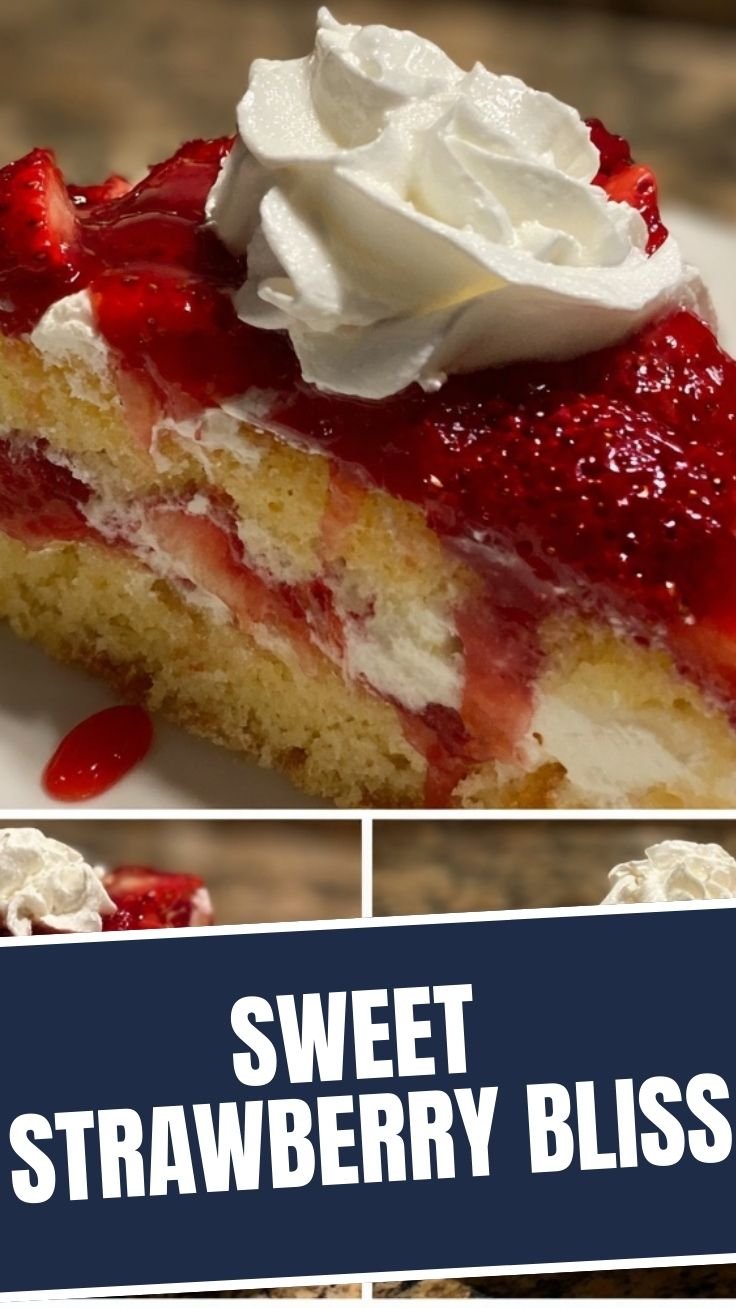
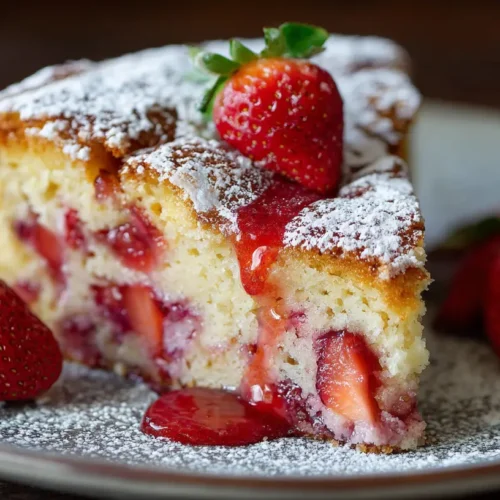
– Presentation Upgrade: Serve with a dollop of whipped cream and fresh strawberry slices.
– Flavor Boost: Add ¼ teaspoon of almond extract to the cake batter for a sophisticated flavor profile.
Common Mistakes to Avoid

1. Over-mixing the Batter: This can lead to a dense, tough cake. Mix just until ingredients are combined.
2. Spreading the Cream Cheese Layer: Remember, the “earthquake” effect comes from allowing the layers to melt and sink naturally during baking.
3. Using Cold Ingredients: Ensure cream cheese and butter are properly softened to room temperature for a smooth mixture.
4. Cutting Too Soon: Not allowing sufficient cooling time will result in a messy, difficult-to-serve cake.
Storage & Meal Prep Tips
Store leftover cake covered in the refrigerator for up to 4 days. The flavors actually continue to develop, making day-two cake sometimes even better than fresh! For longer storage, cut into individual portions and freeze for up to 1 month. Thaw overnight in the refrigerator before serving.
Conclusion
Creating a Strawberry Earthquake Cake at home is a delightful way to elevate your dessert game and impress your family and friends. The beauty of this recipe lies in its forgiving nature – even if it doesn’t look perfect, the taste will be absolutely divine. Unlike other Dessert Cakes that require precise decorating skills, this earthquake-style creation celebrates beautiful imperfection. Why not make this your signature dessert for your next gathering?
FAQs
Can I use frozen strawberries instead of fresh?
Yes, but thaw and drain them well before using to prevent excess moisture in the cake.
Why didn’t my cake develop the “earthquake” appearance?
This usually happens when the cream cheese mixture is spread too evenly. Drop it in dollops and resist the urge to spread for the best effect.
Can I make this cake gluten-free?
Absolutely! Simply substitute the cake mix with a gluten-free version and follow the same instructions.
How do I know when the cake is properly baked?
The edges should be golden brown, and a toothpick inserted into the cake portion (not the cream cheese) should come out clean.
Can I prepare this cake in advance for a party?
Yes! This cake actually tastes better when made a day ahead and refrigerated overnight.
Quick way to grow Strawberry Earthquake Cake
Equipment
- 9x13 inch baking pan
- large bowl
- mixer
Ingredients
Cake
- 1 box strawberry cake mix
- 1 cup water
- 1/3 cup vegetable oil
- 3 eggs
Filling
- 8 ounces cream cheese, softened
- 2 cups powdered sugar
- 2 tablespoons milk
Instructions
Preparation
- Preheat your oven to 350°F (175°C) and lightly grease a 9x13 inch baking pan.
- In a large bowl, combine the strawberry cake mix, water, vegetable oil, and eggs, then mix until smooth and pour the batter into the prepared baking pan.
Filling & Baking
- In a separate bowl, beat together the softened cream cheese, powdered sugar, and milk until the mixture is smooth and creamy.
- Drop spoonfuls of the cream cheese mixture over the cake batter, then use a knife to swirl the cream cheese into the batter.
- Bake for 35-40 minutes, or until a toothpick inserted into the center comes out clean, then let the cake cool completely before serving.