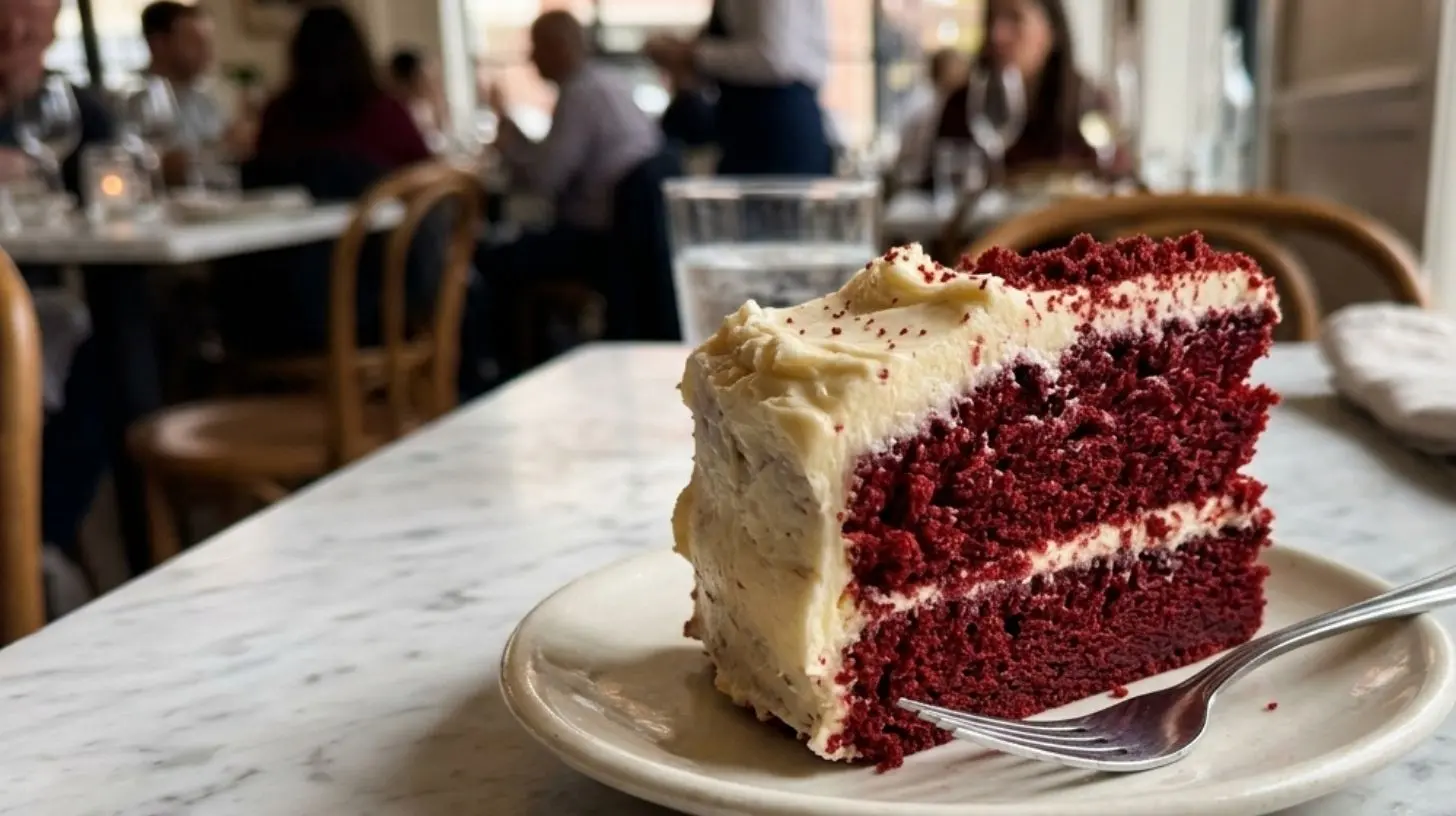
Quick way to grow your Red Velvet Cake
A simple recipe to make a delicious Red Velvet Cake.
Flour
Sugar
Cocoa powder
Buttermilk
Red food coloring
Preheat the oven to 350°F.
Mix the dry ingredients in a bowl.
Cream the butter and sugar together.
Add the buttermilk, red food coloring, and vanilla extract to the mixture.
Pour the batter into a cake pan and bake for 30-35 minutes.
The Ultimate Guide to Making the Perfect Red Velvet Cake at Home
Have you ever wondered what makes a Red Velvet Cake so irresistibly decadent, with its striking crimson hue and velvety texture? Preparing this iconic dessert at home not only fills your kitchen with an intoxicating aroma but also allows you to control the quality of ingredients, ensuring a truly memorable treat. Whether it’s for a holiday celebration like Juneteenth or simply a weekend indulgence, mastering this recipe is a rewarding culinary adventure. Let’s dive into the secrets of creating the perfect Red Velvet Cake paired with a luscious cream cheese frosting—a combination that balances rich cocoa notes with tangy sweetness.
Ingredients & Kitchen Tools
For the Cake:
– All-purpose flour (2½ cups): Sifted for lightness. Substitute with gluten-free 1:1 blend for dietary needs.
– Unsweetened cocoa powder (2 tbsp): Use Dutch-process for deeper color.
– Granulated sugar (1½ cups): Caster sugar dissolves faster.
– Baking soda (1 tsp) & baking powder (½ tsp): Double leavening for lift.
– Salt (½ tsp): Enhances flavor.
– Vegetable oil (1 cup): Keeps crumb moist; canola or sunflower work well.
– Buttermilk (1 cup): Essential for tanginess and tender crumb. Substitute: 1 cup milk + 1 tbsp lemon juice.
– Large eggs (2): Room temperature for better emulsion.
– Red food coloring (2 tbsp): Gel-based for vibrant color. For natural option, use beet powder (3 tbsp).
– White vinegar (1 tsp): Reacts with baking soda for lift.
– Vanilla extract (2 tsp): Pure over imitation.
For Cream Cheese Frosting:
– Cream cheese (16 oz): Full-fat for stability; softened.
– Unsalted butter (½ cup): Softened.
– Powdered sugar (4 cups): Sifted to avoid lumps.
– Vanilla extract (1 tsp).
Kitchen Tools:
– 9-inch round cake pans (2)
– Electric mixer (stand or hand)
– Mixing bowls (large + medium)
– Rubber spatula, whisk, measuring cups/spoons
– Cooling rack, parchment paper, offset spatula
Prep Time & Cooking Schedule
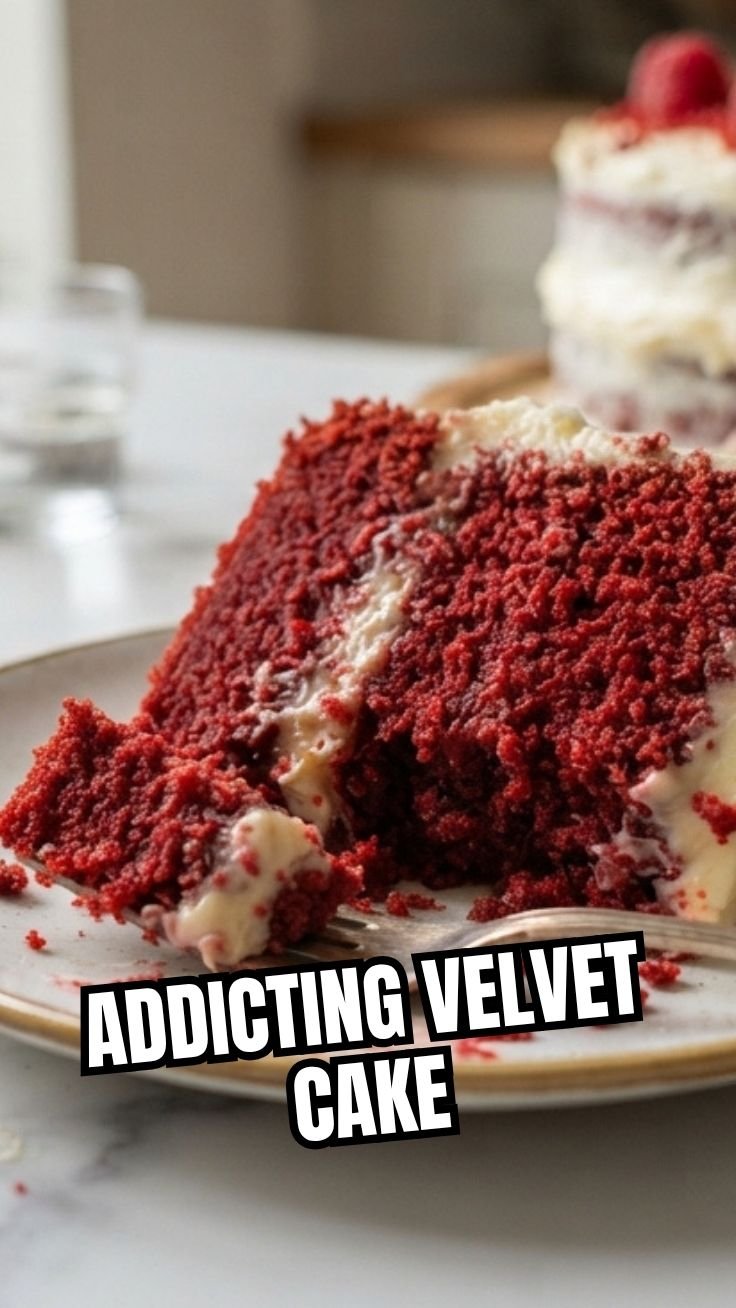
Total Time: 3 hours (including cooling and frosting)
– Prep Time: 20 minutes (measure ingredients, grease pans)
– Baking Time: 25–30 minutes at 350°F (177°C)
– Cooling Time: 1 hour for layers, plus 30 minutes for frosting set
– Chill Time (optional): 15 minutes in freezer to firm layers before frosting
Pro Tip: Bake the layers a day ahead—wrap cooled cakes in plastic wrap and refrigerate. This enhances moisture and makes frosting easier.
Step-by-Step Instructions
1. Preheat and Prepare: Heat oven to 350°F. Grease two 9-inch pans with butter and dust with cocoa powder (prevents white flour spots).
2. Mix Dry Ingredients: In a medium bowl, whisk flour, cocoa powder, baking soda, baking powder, and salt. Set aside.
3. Combine Wet Ingredients: In a large bowl, beat oil and sugar until light. Add eggs one at a time, then vanilla. Key tip: Do not overmix—incorporate just until smooth.
4. Alternate Additions: Add dry mixture in three parts, alternating with buttermilk, starting and ending with flour. Stir in red gel coloring until batter is evenly crimson.
5. Final Activation: Fold in white vinegar (creates finer crumb). Pour batter evenly into pans.
6. Bake: 25–30 minutes. A toothpick inserted in center should come out clean. Cool in pans for 10 minutes, then transfer to rack.
7. Frosting: Beat cream cheese and butter until fluffy (3 minutes). Gradually add powdered sugar, then vanilla. Refrigerate frosting for 10 minutes before spreading.
8. Assemble: Level cake tops if domed. Use a crumb coat (thin layer of frosting), chill 15 minutes, then finish with remaining below cream cheese frosting.
Practical Tips:
– For even layers, weigh batter (about 550g per pan).
– If your cocoa powder clumps, sift it with the flour.
– The secret to tangy depth? Use Red Velvet Cake buttermilk from a cultured batch.
Nutritional Benefits & Advantages
While this cake is an indulgence, it offers surprising perks:
– Cocoa powder provides antioxidants (flavonoids) supporting heart health.
– Cream cheese adds calcium and probiotics for digestive health.
– Buttermilk contains fewer calories than heavy cream and aids in crumb tenderness.
– Vegetable oil (unsaturated fats) is heart-friendlier than butter in the cake base.
Serving Size: One slice (1/12 of cake) ~450 calories. For lighter version, reduce sugar by 1/4 cup and use low-fat cream cheese.
Tips Variations & Cooking Advice
Flavor Twists:
– Add 1 tsp espresso powder to deepen cocoa notes.
– Replace 1/4 cup flour with almond flour for nutty undertones.
Dietary Adaptations:
– Gluten-Free: Use cup-for-cup GF flour blend. Add 1 tsp xanthan gum if not included.
– Dairy-Free: Substitute buttermilk with oat milk + lemon juice; use vegan cream cheese (e.g., Kite Hill).
– Egg-Free: Use 2 flax eggs (2 tbsp ground flax + 6 tbsp water).
Cooking Advice:
– For cupcakes: Bake 18–20 minutes (yields 24).
– For a naked cake: Use minimal frosting between layers and top.
Common Mistakes to Avoid
1. Overmixing batter → Leads to dense cake. Mix only until flour disappears.
2. Skipping cocoa powder → Without it, you get a vanilla cake, not velvet. It’s essential for texture and flavor.
3. Using cold cream cheese → Results in lumpy frosting. Always bring to room temperature.
4. Skipping the vinegar → Vinegar reacts with baking soda for rise. Don’t omit!
Storage & Meal Prep Tips
– Room Temperature: In an airtight container, frosted cake lasts 2 days (cool, dry place).
– Refrigeration: Wrapped unfrosted layers keep 5 days; frosted cake up to 1 week.
– Freezing: Wrap layers tightly in plastic + foil. Freeze up to 3 months. Thaw overnight in fridge.
– Reheating: Microwave slices for 10 seconds (removes chill). For frozen layers, bake at 300°F for 10 minutes.
Conclusion
There you have it—a foolproof guide to creating a show-stopping dessert that captures both tradition and innovation. By following these steps, you’ll enjoy a cake that’s moist, tangy, and perfectly complemented by the silky Red Velvet Cake pairing with cream cheese frosting. Remember, practice makes perfect: bake it for a birthday, a holiday, or just because. The deep red color and velvety crumb will impress every time. Try this recipe today, share your results in the comments, and explore our other layer cake guides for more inspiration!
FAQs
1. Can I make this cake without red food coloring?
Yes! Use 3 tbsp beet powder mixed with 2 tbsp water—the color may be slightly subdued, but the flavor remains authentic.
2. Why did my cream cheese frosting turn out runny?
Likely due to overbeating or warm cream cheese. Chill frosting for 15 minutes before using. Ensure butter and cream cheese are just softened, not melted.
3. How do I get moister layers?
Brush each cooled layer with simple syrup (1:1 sugar-water) or milk. This mimics the texture of bakery cakes.
4. Can I substitute buttermilk?
Absolutely. Mix 1 cup milk with 1 tbsp lemon juice or white vinegar. Let sit 5 minutes until curdled.
5. Why did my cake sink in the middle?
Oven temperature might be too low (check with thermometer) or you opened the door too early. Bake at 350°F consistently.