
Quick Grilled Cheese
Learn how to make a delicious grilled cheese sandwich in just 5 minutes.
Bread
Butter
Cheese slices
Heat a skillet on medium heat.
Spread butter on one side of each bread slice.
Place cheese slices on the non-buttered side of one bread slice.
Join the two slices of bread together, with the buttered sides facing outwards.
Place the sandwich in the skillet and cook each side for 2-3 minutes until golden brown.
Why Everyone’s Obsessed with This Perfectly Golden Grilled Cheese (and Why You Should Make It at Home)
Have you ever craved that crispy, buttery, perfectly golden-brown sandwich that instantly transports you back to childhood? That iconic Grilled Cheese is more than just a quick meal—it’s a culinary canvas that deserves your attention. While grabbing a pre-made version from a diner is convenient, preparing it at home gives you total control over the quality of ingredients, the level of toastiness, and the gooey factor. Not to mention, you can experiment with gourmet twists that elevate this comfort food classic. Whether you’re looking for quick sandwich recipes or a comforting lunch, mastering the art of the perfect grilled cheese is an essential kitchen skill that pays off with every bite.
Ingredients & Kitchen Tools
For the Perfect Grilled Cheese:
– Bread (4 slices): Opt for thick-cut sourdough, brioche, or Texas toast. Avoid thin bread—it burns before the cheese melts.
– Butter (2-3 tbsp): Unsalted works best to control saltiness. Leave it out for 10 minutes to soften for even spreading.
– Cheese (4-6 slices): Use a blend—sharp cheddar for flavor, mozzarella for stretch, or Gruyère for nuttiness. Pre-shredded cheese won’t melt as smoothly due to anti-caking agents.
– Optional Fillings: Ham, caramelized onions, sliced apple, or a pinch of smoked paprika.
Kitchen Tools:
– Non-stick skillet or cast-iron pan (10-12 inches)
– Spatula (preferably metal or flexible silicone)
– Butter knife for even spreading
– Cutting board and serrated knife for bread prep
– Lid or baking sheet (optional for melting)
Prep Time & Cooking Schedule
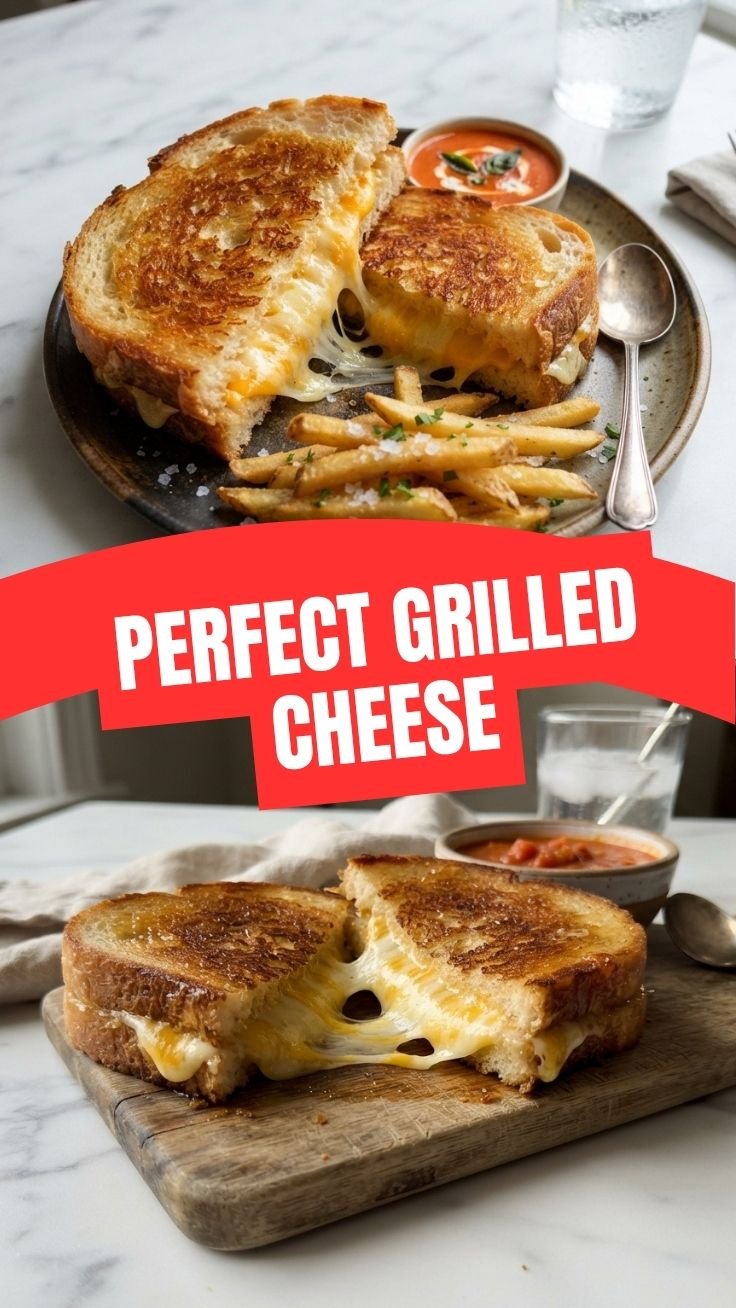
– Prep Time: 5 minutes (slice bread, grate cheese if needed)
– Cooking Time: 8–10 minutes per sandwich (3–4 minutes per side)
– Resting Time: 1–2 minutes after cooking (lets cheese set slightly)
– Total Time: 15 minutes
Context: This recipe comes together quickly, making it ideal for weeknight dinners or lazy Sunday lunches. The key is to pre-measure everything before you start—once the pan is hot, you won’t have time to grate cheese.
Step-by-Step Instructions
1. Preheat your skillet over medium-low heat. Medium heat can burn butter; low heat yields a gummy interior. A medium-low flame ensures the cheese melts fully without scorching the bread.
2. Spread butter on one side of each bread slice. Use ½ tablespoon per slice—don’t skimp. For extra flavor, mix softened butter with a pinch of garlic powder or fresh herbs.
3. Assemble the sandwich: Place one slice bread (buttered side down) in the skillet. Layer cheese evenly over the bread. Add optional fillings if desired, then top with second slice (buttered side up).
4. Cook for 3–4 minutes until the bottom is deep golden brown. Look for texture cues: If you hear a sizzle too aggressive, lower the heat. The edges should start looking translucent as cheese melts.
5. Flip carefully using the spatula. Cook another 3–4 minutes. Press gently with the spatula—this improves contact and ensures an even crust.
6. Remove from heat and let rest for 1–2 minutes. This critical step prevents the cheese from oozing out when cut. Use a serrated knife for a clean slice.
Pro tip: For an extra-crispy exterior, add a tiny dusting of grated Parmesan to the buttered bread before cooking. And if you’re exploring other sandwich recipes, this foundation works beautifully for creating a classic Grilled Cheese with customized fillings.
Nutritional Benefits & Advantages
This grilled cheese provides several health advantages when made consciously:
– Protein and calcium from cheese support muscle repair and bone health.
– Whole-grain bread options add fiber for better digestion.
– Butter (especially grass-fed) offers fat-soluble vitamins like A, D, and K2.
– When paired with a side of tomato soup (rich in lycopene), you create a balanced meal with antioxidants that boost heart health.
Dietary advantage: Unlike many fast-food versions, homemade grilled cheese lets you control sodium—use less salt or swap for reduced-sodium cheese.
Tips Variations & Cooking Advice
Flavor Variations:
– Italian style: Provolone + fresh basil + sun-dried tomatoes
– Southwest kick: Pepper Jack + sliced jalapeños + avocado
– Sweet twist: Brie + fig jam + sliced pear
Alternative Cooking Methods:
– Air fryer: 360°F for 5 minutes, flip, 3 minutes more
– Panini press: Preheat high, press for 4 minutes
– Oven bake: 400°F for 10 minutes (flip halfway) – great for large batches
Dietary Adaptations:
– Gluten-free: Use sturdy GF bread like Schar or Udi’s
– Dairy-free: Swap with vegan cheddar or mozzarella; use plant butter
– Low-calorie: Use cooking spray instead of butter, but expect less crispiness
Portion tip: For smaller appetites, use one slice of bread folded in half (open-faced style) with cheese on top.
Common Mistakes to Avoid
1. Rushing the heat: High heat burns butter before cheese melts. Solution: Start medium-low and adjust up slightly if needed.
2. Uneven cheese distribution: Clumps lead to bare spots. Solution: Layer cheese in a thin, even blanket covering the entire bread surface.
3. Overloading fillings: Too many add-ins prevent proper toasting. Solution: Stick to 2–3 thin layers.
4. Using cold bread: Cold slices don’t toast evenly. Solution: Let bread sit at room temp for 5 minutes before starting.
Storage & Meal Prep Tips
– Refrigeration: Wrap tightly in foil or parchment paper and store for up to 2 days. Place a paper towel inside the wrap to absorb moisture.
– Freezing: Not recommended—texture degrades significantly. If necessary, freeze assembled uncooked sandwiches (unbuttered) for up to 1 month.
– Reheating: Avoid microwaves (makes soggy). Instead, use a skillet over medium-low heat for 2–3 minutes per side, or reheat in an air fryer at 350°F for 3–4 minutes.
– Meal prep tip: Pre-slice your bread and pre-shred cheese the night before for quick assembly in the morning.
Conclusion
Mastering the perfect grilled cheese transforms a simple childhood favorite into an impressive culinary skill. From the crispy butter crust to the molten cheese interior, every detail matters. By following these step-by-step instructions, you’ll consistently create a Grilled Cheese that rivals any diner or café version—and you’ll have a solid foundation for exploring more creative sandwich recipes. So grab your skillet, pick your favorite cheese, and enjoy the process. Once you taste the difference homemade makes, you’ll never go back to store-bought.
We’d love to see your creation! Share your grilled cheese photos on social media with #PerfectGrilledCheese.
Frequently Asked Questions
1. Can I use mayonnaise instead of butter?
Yes! Mayo has similar fat content but a higher smoke point, which can produce an even more even golden crust. Spread a thin layer on the outside of the bread before cooking.
2. What’s the best cheese for maximum stretch?
Mozzarella or provolone provide the best “cheese pull.” Combine them with a flavor cheese like cheddar for the perfect balance.
3. How do I prevent the bread from getting soggy?
Ensure your pan is sufficiently hot before adding the sandwich (the butter sizzles instantly). Avoid adding wet fillings like tomatoes directly—dry them first or introduce them halfway through cooking.
4. Can I make this ahead of time for a party?
For best results, cook just before serving. However, you can prep sandwiches (without buttering) up to 4 hours ahead. Butter and cook when ready.
5. How do I know when the cheese is fully melted without burning the bread?
Pay attention to the sides. When cheese begins oozing from the edges, check by lifting an edge slightly—the interior should look cohesive. If the bread is darkening too fast, lower the heat and press gently.