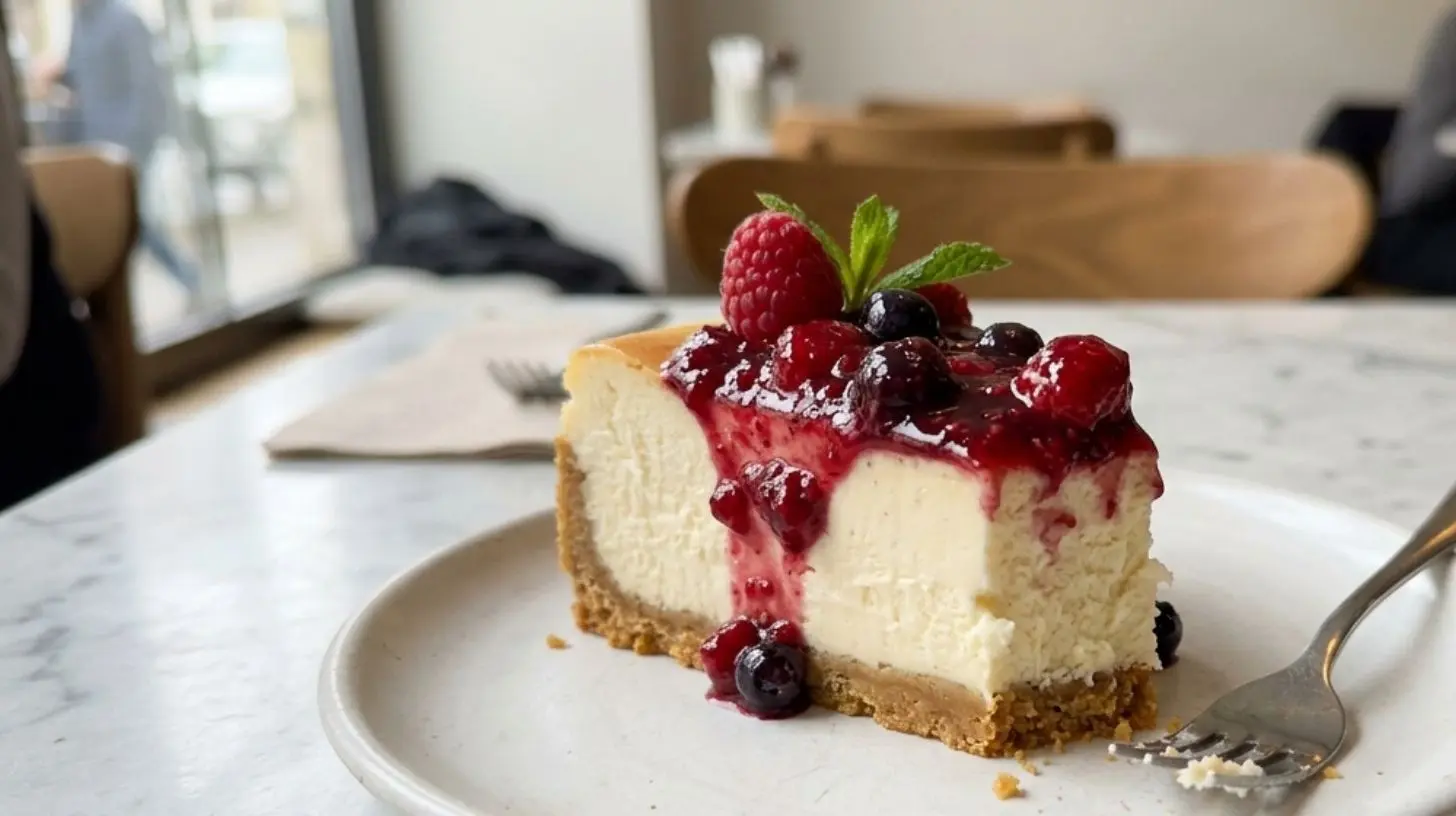
Best way to grow Cheesecake
Learn how to make a delicious cheesecake from scratch!
Cream Cheese
Sugar
Eggs
Graham Crackers
Butter
Vanilla Extract
Crush the graham crackers into fine crumbs.
Mix the crumbs with melted butter to make the crust.
Beat cream cheese, sugar, eggs, and vanilla until smooth.
Pour the mixture over the crust and bake until set.
The Ultimate Homemade Cheesecake: A Creamy, Foolproof Recipe for Perfect Dessert Every Time
Have you ever wondered why bakery cheesecake tastes so divine, yet attempts to replicate it at home often end in cracks, sogginess, or a less-than-creamy texture? The secret isn’t complicated—it’s about understanding the delicate balance of ingredients and technique. Preparing a homemade Cheesecake is not just about following a recipe; it’s about crafting a dessert experience that’s deeply satisfying, customizable, and far more rewarding than anything store-bought. Whether you’re a seasoned baker or a curious beginner, mastering this classic dessert will elevate your culinary repertoire and impress everyone at your table.
Ingredients & Kitchen Tools
For the Crust:
– 2 cups graham cracker crumbs (or digestive biscuits for a buttery twist)
– 1/4 cup granulated sugar
– 1/2 cup unsalted butter, melted (substitute with coconut oil for a dairy-free option)
For the Filling:
– 32 oz (four 8-oz blocks) Cream Cheese, softened to room temperature
– 1 cup granulated sugar
– 1 teaspoon vanilla extract
– 4 large eggs, room temperature
– 1/3 cup sour cream (optional for tanginess; use full-fat for best texture)
– 1/4 cup all-purpose flour (or cornstarch for gluten-free)
Kitchen Tools:
– 9-inch springform pan (essential for easy release)
– Electric mixer (stand or hand-held)
– Large mixing bowls
– Rubber spatula
– Aluminum foil (for water bath)
– Roasting pan (larger than springform pan)
Note: All ingredients should be at room temperature for a smooth, lump-free batter.
Prep Time & Cooking Schedule
Prep Time: 20 minutes
Bake Time: 55-65 minutes
Cooling Time: 1 hour (on counter) + 4 hours minimum (refrigerator)
Total Time: About 6 hours (including chilling)
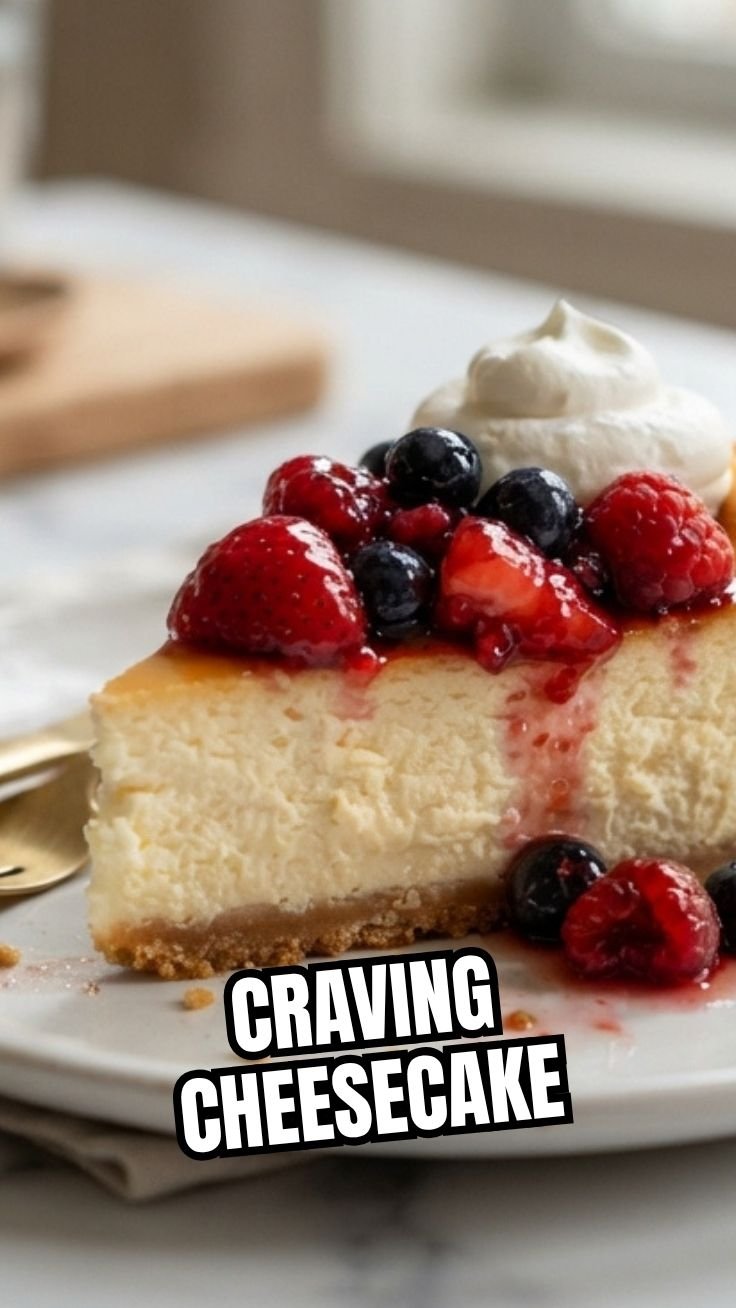
Plan ahead! The cheesecake needs at least 4 hours of chilling (overnight is ideal) to set properly. Start baking in the morning for an evening dessert.
Step-by-Step Instructions
1. Prepare the Crust: Preheat oven to 325°F (165°C). Combine graham cracker crumbs, sugar, and melted butter. Press firmly into the bottom of a greased springform pan. Bake for 10 minutes, then cool completely.
2. Make the Filling: In a large bowl, beat the Cream Cheese until smooth. Gradually add sugar and vanilla, mixing on low speed to avoid incorporating too much air (that causes cracks). Add eggs one at a time, mixing just until combined. Fold in sour cream and flour until just incorporated.
3. Prepare the Water Bath: Wrap the springform pan bottom and sides with a double layer of aluminum foil to prevent water seepage. Place it in a large roasting pan.
4. Bake: Pour filling over the cooled crust. Pour hot water into the roasting pan until it reaches halfway up the springform pan. Bake for 55-65 minutes, or until the center is almost set but still jiggly. Turn off the oven, crack the door, and let the cheesecake cool inside for 1 hour.
5. Chill: Remove from water bath, remove foil, and cool completely on a wire rack. Refrigerate for at least 4 hours, preferably overnight. This slow cooling process prevents cracks and ensures that your Cheesecake has a dense, creamy texture that holds beautifully when sliced.
Pro Tip: The center will firm up during chilling. If using a thermometer, aim for 150°F (66°C) internal temperature.
Nutritional Benefits & Advantages
While Cheesecake is undeniably an indulgence, it offers surprising nutritional perks when made with quality ingredients. Cream Cheese provides a good source of calcium and protein (about 2-3 grams per serving), along with vitamin A for eye health. The crust, especially if made with whole-grain crackers, adds fiber. Additionally, cheesecake has a lower glycemic index than many cakes due to its high-fat content paired with protein, which can help stabilize blood sugar when enjoyed as part of a balanced diet. The key is moderation—a thin slice complements a healthy lifestyle without derailing it.
Tips Variations & Cooking Advice
Flavor Variations:
– Berry Swirl: Swirl in raspberry or strawberry puree before baking.
– Chocolate: Add 4 oz melted dark chocolate to the filling.
– Citrus Zest: Add 1 tablespoon lemon or orange zest for freshness.
Dietary Adaptations:
– Gluten-Free: Use gluten-free graham crackers or almond flour crust.
– Dairy-Free: Use vegan cream cheese and coconut cream; ensure butter is plant-based.
– Low-Sugar: Substitute sugar with monk fruit or erythritol blend.
Cooking Methods:
– Instant Pot: Cook in a 6-inch pan on a trivet with 1 cup water for 30 minutes on high pressure, then natural release.
– No-Bake: Use gelatin to set; perfect for hot climates but requires 8+ hours chilling.
Common Mistakes to Avoid
– Cracking: Overmixing or baking too long. Mix on low speed; bake just until set.
– Soggy Crust: Water leaking into pan. Double-wrap foil tightly; ensure no tears.
– Dense, Heavy Texture: Overbaking or using cold ingredients. Keep everything at room temperature.
– Sinking Center: Opening oven door during baking. Resist peeking! Use oven light to check.
– Bitter Flavor: Over-browning the crust. Bake crust separate for 10 minutes only.
Storage & Meal Prep Tips
Refrigeration: Store covered in the original springform pan or airtight container for up to 5 days. Place paper towels on top (under plastic wrap) to absorb condensation.
Freezing: Wrap cooled cheesecake tightly in plastic wrap, then aluminum foil. Freeze for up to 3 months. Thaw overnight in the refrigerator. For quick thawing, place individual slices in the fridge for 2-3 hours.
Reheating: Serve chilled or at room temperature. If you prefer it slightly warm (which enhances creaminess), microwave individual slices for 10-15 seconds.
Meal Prep: Bake, chill, and slice into portions. Freeze individually for grab-and-go desserts. Perfect for holidays or dinner parties when you want to prepare ahead.
Conclusion
Mastering this Cheesecake recipe is your gateway to a lifetime of creamy, decadent desserts that celebrate the rich, velvety texture of Cream Cheese at its best. From the buttery crust to the silky filling, every bite is a testament to the power of simple, quality ingredients combined with thoughtful technique. Whether you keep it classic or explore flavor variations, this foolproof method ensures consistent results. Don’t be afraid to experiment—share your creations, tweak the recipe to your taste, and savor the joy of homemade perfection. Your journey to becoming a cheesecake connoisseur starts now; dive in and delight in every slice!
FAQs
1. Can I use low-fat cream cheese?
Yes, but the texture will be less creamy and may result in a slightly drier cake. Full-fat is recommended for best results.
2. My cheesecake cracked—how can I fix it next time?
Cracking usually happens from overbaking or sudden temperature changes. Bake in a water bath, cool slowly in the oven, and don’t overmix. A thin layer of sour cream on top can hide minor cracks.
3. Can I make this cheesecake without a water bath?
Yes, but the texture may be drier and more prone to cracking. Bake at 300°F (150°C) for about 10 minutes longer. Place a pan of hot water on the lower rack for moisture.
4. How do I know when it’s done?
The edges should be set, and the center should wobble slightly like Jell-O. It will firm up as it cools. Internal temperature should read 150°F (66°C).
5. Can I add fruit puree into the batter?
Yes, but reduce the sour cream by 1/4 cup to maintain consistency. Swirl in puree gently—don’t overmix to avoid dissolving it into the batter.