Quick way to grow Breakfast Charcuterie Cups
Learn how to make delicious breakfast charcuterie cups in just 5 steps.
Bread
Eggs
Cheese
Tomatoes
Cucumbers
Scramble the eggs in a pan.
Toast the bread slices.
Cut the cheese into small cubes.
Slice the cucumbers and tomatoes.
Assemble the charcuterie cups by layering the ingredients.
Delightful Breakfast Charcuterie Cups: A Morning Twist on a Classic Favorite
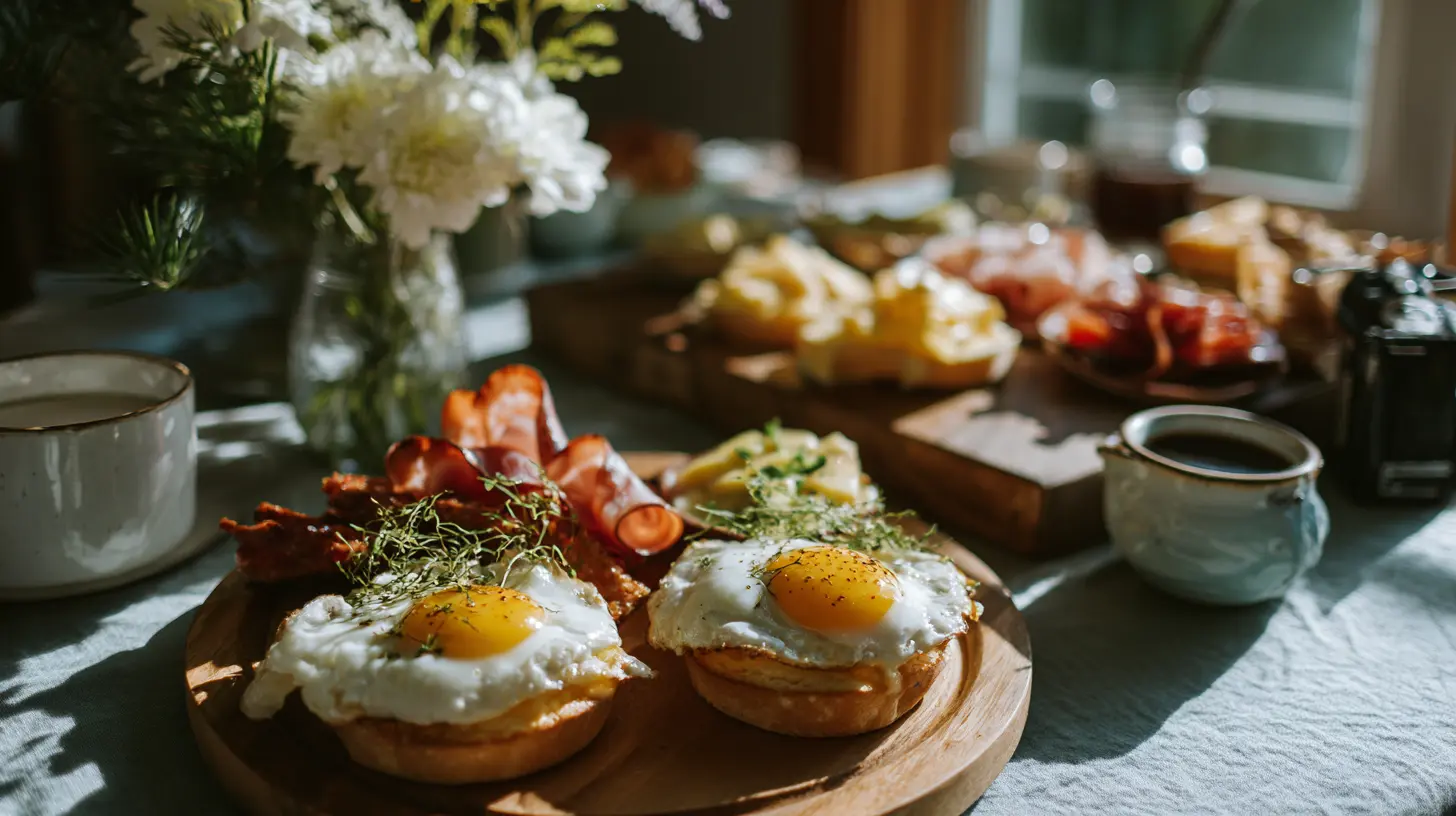
Have you ever wondered how to transform your ordinary breakfast into an Instagram-worthy masterpiece that’s as delicious as it is beautiful? Breakfast Charcuterie Cups offer the perfect solution for those seeking an elegant yet simple morning meal. These individual servings bring all the visual appeal and variety of a traditional Charcuterie Board but in a convenient, personalized format that’s ideal for brunches, special occasions, or simply elevating your everyday breakfast routine.
Ingredients & Kitchen Tools
For the Cups:
- 6 flour tortillas (8-inch size) – Choose whole wheat for added nutrition
- 3 tablespoons melted butter – Unsalted preferred for better flavor control
- 1 tablespoon cinnamon sugar – For sweet applications
- Non-stick cooking spray – For easy removal
Fillings (Mix and Match):
- Assorted berries (strawberries, blueberries, raspberries) – Fresh or frozen
- Greek yogurt – Plain or vanilla works best as a base
- Granola – Choose low-sugar varieties
- Honey or maple syrup – For drizzling
- Nut butter (almond, peanut, or cashew) – Adds protein and creaminess
- Sliced bananas – Cut just before serving to prevent browning
- Crispy bacon pieces – For savory contrast
- Mini pancakes or waffle bites – Can be made ahead and reheated
- Soft cheese (cream cheese, mascarpone) – At room temperature for easy spreading
Kitchen Tools:
- Muffin tin (standard size) – Non-stick preferred
- Measuring cups and spoons – For precise portioning
- Small cookie cutter – Optional for decorative fruit shapes
- Sharp knife and cutting board – For fruit prep
- Small serving spoons – For yogurt and loose ingredients
Prep Time & Cooking Schedule
- Prep Time: 15 minutes
- Cooking Time: 10 minutes
- Assembly Time: 10 minutes
- Total Time: 35 minutes
This recipe allows for significant advance preparation. The tortilla cups can be baked a day ahead and stored in an airtight container. Most toppings can be prepped the night before, making morning assembly quick and stress-free.
Step-by-Step Instructions
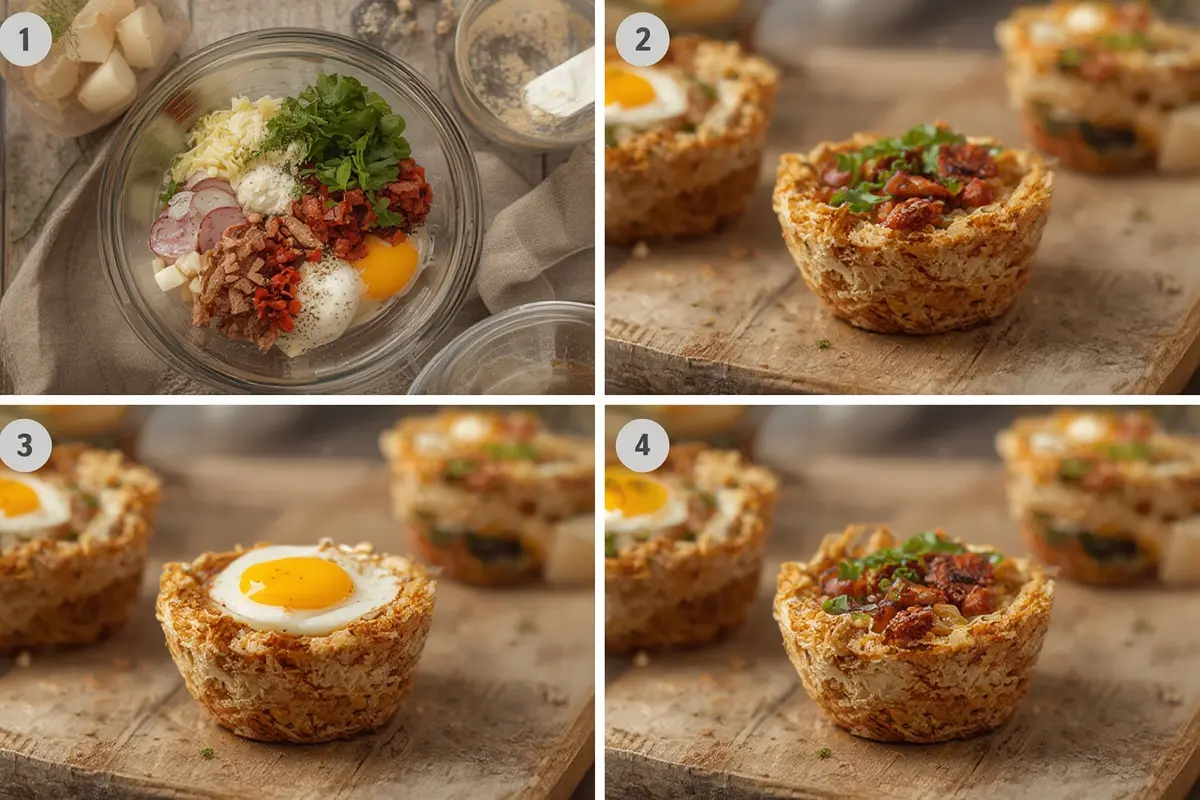
1. Preheat your oven to 375°F (190°C) and lightly spray a standard muffin tin with non-stick cooking spray.
2. Cut each tortilla into quarters to create four equal triangular pieces.
3. Brush each tortilla piece lightly with melted butter and sprinkle with cinnamon sugar if making sweet cups.
4. Press each tortilla piece into a muffin cup, overlapping the points in the center to create a “flower” shape. The edges should extend slightly above the rim.
5. Bake for 8-10 minutes until the edges are golden brown and crisp. Watch carefully as they can burn quickly.
6. Allow to cool in the tin for 5 minutes before carefully removing to a wire rack to cool completely.
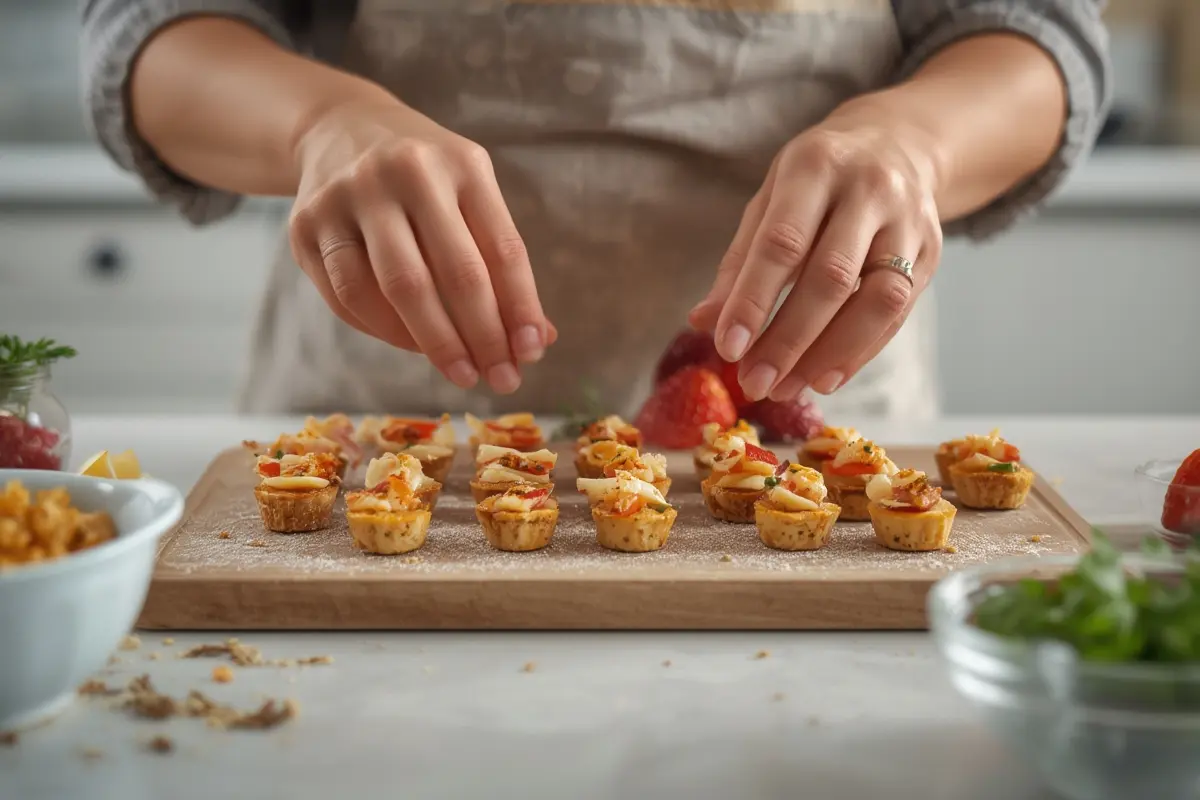
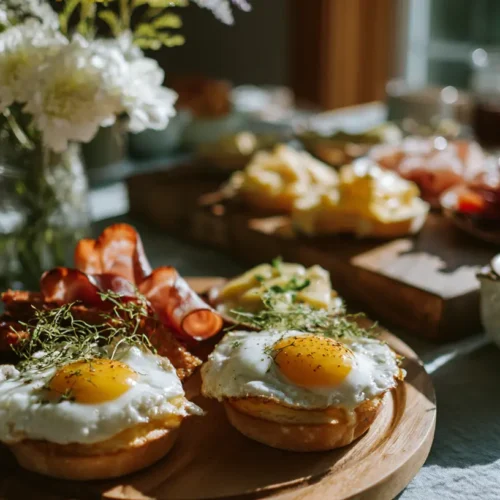
7. Fill each cup with a base layer like Greek yogurt or cream cheese, then artfully arrange other ingredients as you would on a traditional Charcuterie Board.
8. Create visual interest by varying colors, textures, and heights in your Breakfast Charcuterie Cups for maximum appeal.
Nutritional Benefits & Advantages
These customizable breakfast cups offer numerous nutritional advantages depending on your choice of fillings:
- Protein from Greek yogurt, nuts, and nut butters helps maintain satiety
- Fresh fruits provide essential vitamins, minerals, and antioxidants
- Whole grain tortillas and granola offer fiber for digestive health
- The portion-controlled format helps with mindful eating
- The variety of ingredients ensures a wide spectrum of nutrients in one meal
Tips, Variations & Cooking Advice
- Sweet vs. Savory: Create themed cups—try Mediterranean with feta, cucumber, and cherry tomatoes
- Dietary Adaptations: Use gluten-free tortillas or lettuce wraps for gluten-free options
- Kid-Friendly: Let children customize their own cups for a fun breakfast activity
- Seasonal Variations: Adapt fillings based on seasonal fruit availability
- Texture Balance: Include something creamy, crunchy, and fresh in each cup
- Presentation Tip: Use a squeeze bottle for neat drizzles of honey or syrup
Common Mistakes to Avoid
1. Overfilling the cups: This leads to messy eating and structural collapse
2. Assembling too far in advance: Can result in soggy cups; assemble no more than 30 minutes before serving
3. Not cooling cups completely: Warm cups will melt yogurt and cause ingredients to slide
4. Cutting fruit too large: Makes eating awkward; aim for bite-sized pieces
5. Using wet ingredients without a barrier: Place a small piece of lettuce under wet ingredients to prevent sogginess
Storage & Meal Prep Tips
- Empty tortilla cups can be stored in an airtight container for up to 3 days
- Pre-cut fruits should be stored separately and assembled just before serving
- Avoid refrigerating assembled cups as they will become soggy
- For make-ahead options, prepare all components separately and create an assembly station
- Leftover cups are best disassembled, with ingredients stored separately for maximum freshness
Conclusion
Breakfast Charcuterie Cups represent the perfect fusion of convenience, customization, and culinary creativity for your morning routine. They take the sophisticated presentation of a traditional Charcuterie Board and transform it into an accessible, portion-controlled breakfast option that’s sure to impress family and guests alike. Whether you’re hosting a special brunch or simply want to elevate your everyday breakfast, these versatile cups allow endless adaptations to suit any taste preference or dietary need. Try them this weekend and discover a new favorite way to start your day!
FAQs
Can I make these cups gluten-free?
Yes, simply substitute regular tortillas with certified gluten-free tortillas or try using large lettuce leaves for a grain-free option.
How far in advance can I prepare the tortilla cups?
The empty tortilla cups can be made up to 3 days ahead and stored in an airtight container at room temperature. Fill them just before serving.
What’s the best way to serve these for a large group?
Create a DIY breakfast cup bar with pre-baked tortilla cups and various toppings in separate bowls, allowing guests to customize their own cups.
Can I use corn tortillas instead of flour tortillas?
Yes, though corn tortillas are less flexible. Warm them slightly before folding to prevent cracking, and reduce baking time by about 2 minutes.
How do I keep the fruit from browning if preparing in advance?
For fruits like apples or bananas, toss cut pieces in a small amount of lemon juice. Alternatively, cut these fruits just before assembly.
Quick way to grow Breakfast Charcuterie Cups in 5 steps
Equipment
- Small serving cups
- Spoon
Ingredients
For the Cups
- 1 cup Yogurt
- 0.5 cup Granola
- 1 cup Berries (mixed)
- 2 Hard-boiled eggs
- 4 Bacon strips (cooked and crumbled)
- 4 Mini pancakes or waffles
- 2 tbsp Maple syrup
Instructions
Preparation
- Gather all your ingredients and ensure they are ready to assemble.
- Take four small cups and begin by adding a base layer of yogurt to each.
- Sprinkle granola over the yogurt in each cup, creating a crunchy layer.
- Carefully arrange fresh berries, hard-boiled egg halves, crumbled bacon, and mini pancakes or waffles into each cup.
- Drizzle each cup with maple syrup just before serving for a touch of sweetness.