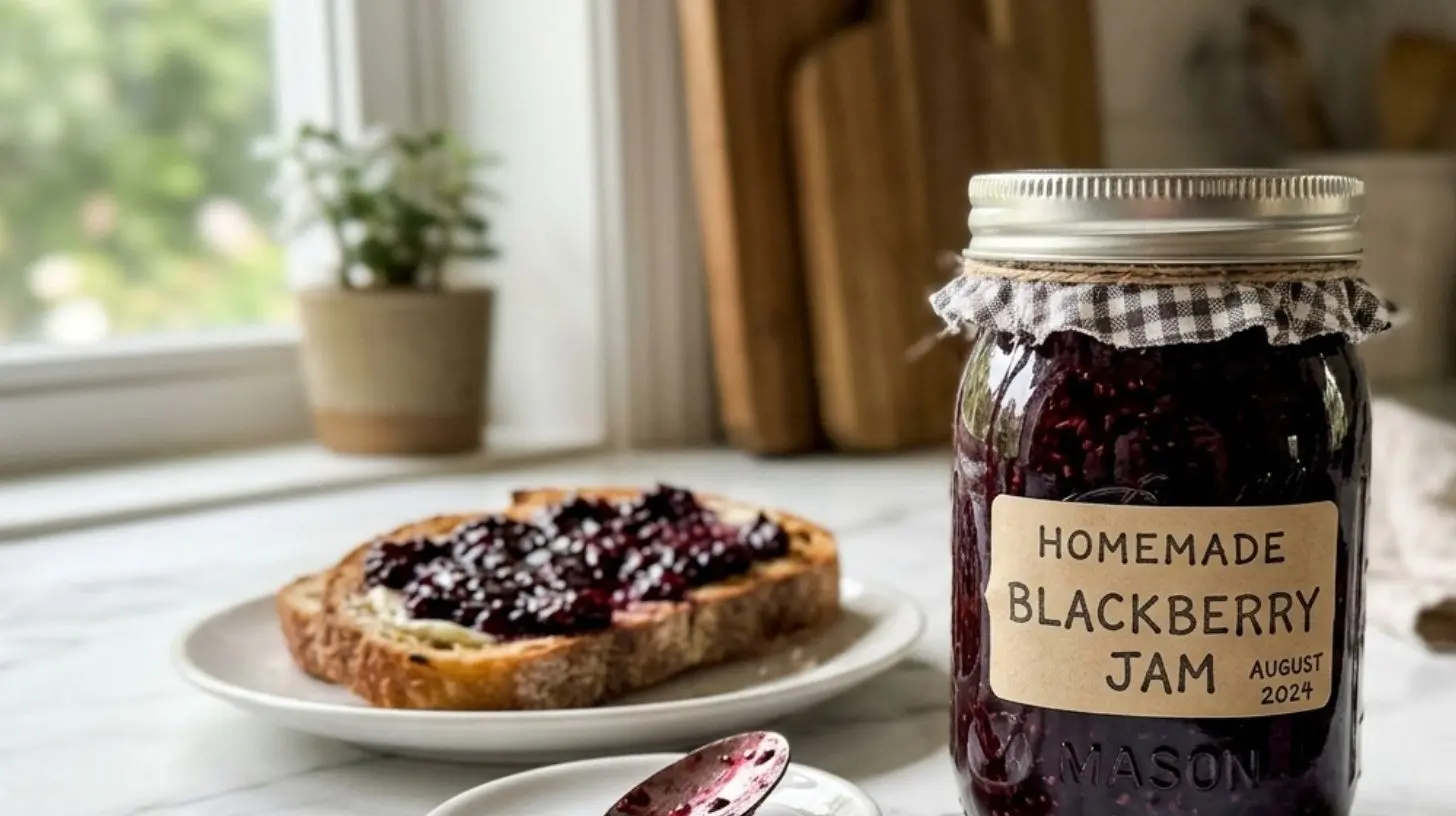
Quick Blackberry Jam
Learn how to make homemade blackberry jam in a flash.
Blackberries
Sugar
Lemon Juice
Water
Wash the blackberries thoroughly.
Squeeze the lemon juice into a saucepan.
Add sugar and water to the saucepan.
Bring the mixture to a boil.
Add the blackberries and simmer until thickened.
Let’s be honest—store-bought jams can be a gamble. Some are too sweet, others are watery, and very few capture that intense, sun-ripened burst of a real berry. But when you make your own Blackberry Jam (Homemade), you are in complete control. You choose the sweetness, the texture, and the fruit quality. This isn’t just a condiment; it is a small batch of summer captured in a jar. Whether you are slathering it on fresh toast, swirling it into yogurt, or using it as a filling for pastries, the satisfaction of opening a jar of your own creation is unmatched. Here, we will break down the science of pectin, the art of fruit-to-sugar ratios, and the technique to ensure your Blackberry preserves recipe sets perfectly every time.
Ingredients & Kitchen Tools
Ingredients:
– 4 cups fresh blackberries: Ripe but firm. Avoid mushy or moldy berries.
– 2 cups granulated sugar: Standard white sugar works best for clarity and gel structure.
– 1 tablespoon lemon juice (fresh): Helps lower pH for better gelling and brightens flavor.
– 1 teaspoon calcium chloride (included in Pomona’s pectin): Optional, but ensures a perfect set with low-sugar recipes.
Kitchen Tools:
– Large non-reactive pot (Stainless steel or enameled): Avoid aluminum, which reacts with acid.
– Potato masher or immersion blender: For breaking down berries to your desired texture.
– Digital kitchen scale: Essential for accurate fruit-to-sugar ratios.
– Canning jars (8-ounce or 16-ounce): Heat-safe, with new lids.
– Water bath canner or deep stockpot: For sterilizing and sealing jars.
– Jar lifters: For safe handling of hot jars.
Prep Time & Cooking Schedule
– Prep time: 15 minutes (washing, sorting, and crushing berries)
– Cook time: 20–30 minutes (boil, gel, and sterilize)
– Resting time: 12–24 hours (for jam to fully set and develop flavor)
– Total active time: Approximately 45 minutes
Note: This timeline is for a small batch (4 cups). Doubling the recipe will require 10–15 minutes extra for boiling off the liquid.
Step-by-Step Instructions
1. Prepare the berries: Wash the blackberries gently in a colander. Remove any stems or leaves. Place them in the pot and crush them with a potato masher—leave some chunks for texture if you prefer.
2. Combine sugar and fruit: Add 2 cups of sugar to the pot. Stir until dissolved. For an easier set, mix 1 tablespoon of lemon juice and optional calcium chloride solution (if using).
3. Bring to a rolling boil: Heat the pot on medium-high. Stir continuously with a wooden spatula to prevent scorching. The mixture will rise; do not walk away. A Blackberry Jam (Homemade) that reaches exactly 220°F (104°C) on a digital thermometer will set without issues.
4. Test the gel: Place a chilled plate in the freezer. Drip a small spoonful of jam onto it. Let it sit for 30 seconds. If it wrinkles when you push it with your finger, it is ready. This Blackberry preserves recipe should be thick, not runny. If it spreads flat, boil for 2 more minutes.
5. Sterilize and fill: Ladle hot jam into sterile jars, leaving 1/4-inch headspace. Wipe rims completely clean. Apply new lids and tighten finger-tight. Process in a boiling water bath for 10 minutes (adjust for altitude). Let jars cool undisturbed for 24 hours.
Nutritional Benefits & Advantages
Blackberries are packed with vitamin C, fiber, and potent antioxidants called anthocyanins (which give them their deep purple color). When made into jam, you lose some water content but retain much of the berry’s phytonutrients. A 1-tablespoon serving of this Blackberry Jam (Homemade) has zero added preservatives and about 35% less sugar than commercial jams. The pectin in the berries also supports digestive health, while lemon juice provides a hit of beneficial citric acid.
Tips, Variations & Cooking Advice
– Flavor variations: Add 1 teaspoon of vanilla extract, 1/2 teaspoon of cinnamon, or 2 sprigs of fresh lavender for a gourmet twist.
– Low-sugar version: Use a low-sugar pectin (Pomona’s) and reduce sugar to 1 cup. Use 1/2 cup apple juice concentrate for sweetness.
– No-cook jam: Simply mash berries to 1/2 their volume, add 1 cup of sugar, and let stand in the refrigerator for 12 hours. This is a fresh Blackberry preserves recipe that never sees heat—great for quick, small batches.
– Dietary adaptations: This recipe is naturally gluten-free and dairy-free. For a vegan version, avoid honey and use organic sugar.
Common Mistakes to Avoid
– Using overripe berries: They lack pectin. Your Blackberry Jam (Homemade) will be runny and never set. Always use 3/4 ripe and 1/4 slightly underripe berries.
– Skipping the thermometer: Temperature is your best friend. Jams that boil too long become rubbery. Jams that don’t boil long enough are syrupy.
– Not sterilizing the lids: Even micro-contamination can spoil your batch. Boil new lids for 5 minutes before use.
– Adding too much water: Blackberries are already watery. Never add water unless instructed. If you do, reduce the sugar and add pectin to compensate.
Storage & Meal Prep Tips
– Room temperature: Unopened jars of Blackberry preserves recipe can stay in a cool, dark pantry for up to 18 months.
– Refrigeration: Once opened, this Blackberry Jam (Homemade) stays fresh for 3–4 weeks. Seal the lid tightly.
– Freezing: Pour jam into freezer-safe silicone molds. Once frozen solid (2–3 hours), pop cubes into a freezer bag. They last for 12 months.
– Reheating: Only reheat jars in a saucepan of warm water (not boiling). Use to melt for glazes or pour over pancakes.
Conclusion
Making your own Blackberry Jam (Homemade) is one of the most rewarding kitchen projects you can attempt. You control every variable—the sweetness, the texture, and the purity of the fruit. A solid Blackberry preserves recipe is a skill that pays dividends for breakfast tables, gift baskets, and holiday baking. The deep, tart-sweet flavor of this homemade jam will make you wonder why you ever bought a jar. Dive in, taste your success, and share a picture of your final jar with the community. We promise—you will be back for more.
FAQs
– Can I use frozen blackberries instead of fresh? Absolutely. Thaw them first, and drain any excess liquid to avoid runny jam.
– Why is my jam runny? You probably didn’t cook it to 220°F. Use a thermometer next time. Alternatively, add 1/2 cup of chia seeds and let it sit overnight.
– How long do I need to boil the jam? Once it reaches 220°F, you are done. Typically 10–15 minutes after the rolling boil begins.
– Can I reduce the sugar significantly? Yes. Use low-sugar pectin (like Pomona’s) and add 1/4 teaspoon of calcium chloride. The jam will set perfectly.
– What is the difference between jam and preserves? Jam has crushed fruit; preserves have whole or large pieces of fruit. This recipe leans toward jam, but you can leave half the berries whole for a preserves texture.
Blackberry Jam (Homemade)
Equipment
- large heavy-bottomed pot
- potato masher (optional)
- sterilized pint jars
- canning funnel
- ladle
- boiling water canner
- jar lifter
Ingredients
Main Ingredients
- 8 cups fresh blackberries
- 7 cups granulated sugar
- 1/4 cup lemon juice
Instructions
Preparation
- Wash and sort the blackberries, discarding any spoiled fruit.
- Combine blackberries and lemon juice in a large, heavy-bottomed pot. Mash the berries slightly to release their juices.
Cooking the Jam
- Bring the mixture to a boil over medium-high heat, stirring constantly.
- Add the sugar and stir until it completely dissolves.
- Continue to boil, stirring frequently, for 25-30 minutes, or until the jam reaches its setting point. To test for setting, place a small amount of jam on a chilled plate and chill for a minute. It should wrinkle when pushed.
Canning
- Carefully spoon the hot jam into sterilized jars, leaving 1/4 inch headspace.
- Wipe the jar rims, apply lids, and screw on bands.
- Process in a boiling water canner for 10 minutes to seal the jars. Cool jars completely on a wire rack.