Quick way to grow 5 Baked Brie
A fun and cheesy recipe to make 5 baked brie bites.
Brie cheese
Puff pastry
Honey
Walnuts
Rosemary
Cut the brie cheese into bite-sized cubes.
Place each piece of brie cheese on a square of puff pastry.
Drizzle honey over each brie cheese square.
Sprinkle crushed walnuts on top of the brie cheese.
Add a small sprig of rosemary on top of each brie cheese square.
The Ultimate Guide to Creating a Show-Stopping Baked Brie Appetizer
Have you ever wondered why certain dishes instantly elevate a gathering from ordinary to unforgettable? The answer often lies in that one decadent, molten centerpiece that draws everyone to the table. If you’re searching for that perfect culinary showstopper, look no further than a beautifully crafted Baked Brie. This warm, creamy, and irresistibly gooey dish is more than just a recipe; it’s an experience. Preparing this at home is not only surprisingly simple but also incredibly cost-effective, allowing you to impress your guests with gourmet flavors without the restaurant markup.
In this comprehensive guide, we’ll walk you through everything you need to know to create the perfect baked brie. From selecting the right wheel of cheese to mastering the golden crust, we’ll ensure your next event features a spectacular Baked Brie that will have everyone asking for the recipe. Let’s dive into the world of this beloved French-inspired delicacy and transform your kitchen into a hub of culinary delight.
Ingredients & Kitchen Tools
To embark on this delicious journey, you’ll need to gather some essential ingredients and tools. Quality matters, but this recipe is forgiving, so don’t stress about perfection.
Ingredients:
– 1 (8-ounce) wheel of Brie cheese: Look for a brand that is ripe but not overly runny at room temperature. The rind should be white and firm to the touch.
– 1 sheet of puff pastry (about 10×10 inches): Thawed according to package instructions. This creates the flaky, golden crust.
– 1 large egg: Beaten with 1 tablespoon of water to create an egg wash for that beautiful shiny finish.
– 2 tablespoons of honey or fig jam: For a touch of sweetness that perfectly complements the creamy cheese.
– Optional toppings: ¼ cup chopped walnuts or pecans, fresh rosemary sprigs, dried cranberries, or a sprinkle of flaky sea salt.
Kitchen Tools:
– Baking sheet: Lined with parchment paper to prevent sticking.
– Pastry brush: For applying the egg wash evenly.
– Sharp knife: To score the pastry and trim excess dough.
– Small bowl: For mixing the egg wash.
– Serving platter: To present your beautiful creation.
Prep Time & Cooking Schedule
The beauty of this Baked Brie recipe lies in its efficient timeline. You won’t spend hours in the kitchen, but you do need to account for thawing and assembly time.
– Prep Time: 15-20 minutes. This includes thawing the puff pastry (about 40 minutes on the counter if it was frozen), cutting the cheese, and assembling everything on the baking sheet.
– Cook Time: 20-25 minutes at 400°F (200°C).
– Resting Time: Crucial! Let the baked brie rest for at least 5-10 minutes after removing it from the oven. This allows the cheese to set slightly, preventing it from exploding out the moment you cut into it. The texture will still be gloriously molten but manageable.
Planning Tip: You can assemble the brie ahead of time and keep it covered in the refrigerator for up to 24 hours. Just add 5-7 minutes to the baking time if baking it straight from the fridge.
Step-by-Step Instructions
Follow these detailed steps to achieve a perfectly baked brie with a golden, flaky pastry and a molten, creamy center.
1. Preheat and Prepare: Preheat your oven to 400°F (200°C). Line a baking sheet with parchment paper.
2. Prep the Pastry: Gently roll out the thawed puff pastry sheet on a lightly floured surface to smooth out the creases. It should be large enough to completely wrap the brie wheel.
3. Wrap the Brie: Place the Brie wheel in the center of the pastry. If using jam or honey, spread it on top of the brie now, followed by any nuts or herbs.
4. Enclose the Cheese: Carefully fold the pastry over the brie, one corner at a time, pinching the seams together to seal it completely. Make sure there are no gaps for the cheese to escape.
5. Decorate (Optional): Use any extra pastry scraps to create decorative leaves or shapes to place on top of the wrapped brie.
6. Apply Egg Wash: Brush the entire surface of the pastry with the beaten egg wash. This is the secret to a shiny, golden-brown crust.
7. Bake to Perfection: Place the wrapped brie on the prepared baking sheet. Bake for 20-25 minutes, or until the pastry is puffed up and deeply golden brown. The cheese should be visibly melted when you gently press the top.
8. Rest and Serve: Remove from the oven and let it rest for 10 minutes. This is essential for a controlled, creamy flow. Serve warm with crackers, sliced baguette, or fresh apple slices.
Nutritional Benefits & Advantages
While this Baked Brie is certainly an indulgence, it does offer some nutritional highlights worth noting. It’s a rich source of protein and calcium, essential for bone health and muscle function. The main ingredients provide beneficial fats that help you feel fuller for longer, making it a satisfying choice for a party appetizer that prevents overeating later.
– Calcium for Bone Health: A single serving of brie provides about 20% of your daily recommended calcium intake.
– Protein Boost: Cheese and puff pastry combine to offer a good amount of protein per serving, which is uncommon for most appetizers.
– Healthy Fats: The monounsaturated and saturated fats in brie, along with the fats from optional nuts like walnuts or pecans, help support brain function and provide a slow-burning energy source. Remember, moderation is key due to its high calorie and saturated fat content.
Tips Variations & Cooking Advice
This recipe is a fantastic canvas for your creativity. Here are some ways to adapt it to your taste and dietary needs.
– Flavor Variations: Try swapping honey for fig jam, hot honey for a spicy kick, or a sprinkle of smoked paprika for an earthy flavor.
– Consider adding crust: If you prefer, you can always opt to make a dairy-free version by using a vegan cream cheese and a dairy-free puff pastry. The process is identical.
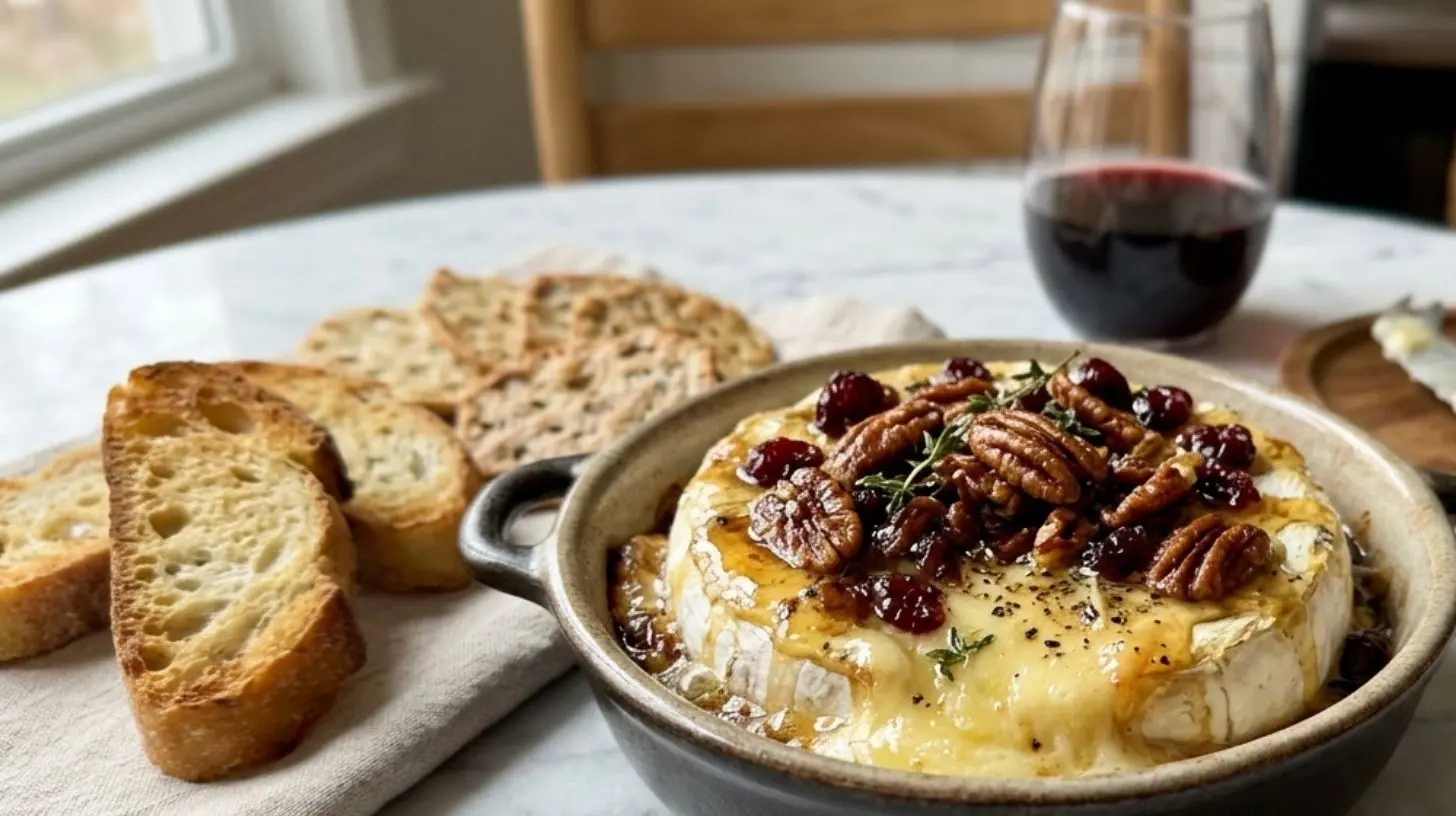
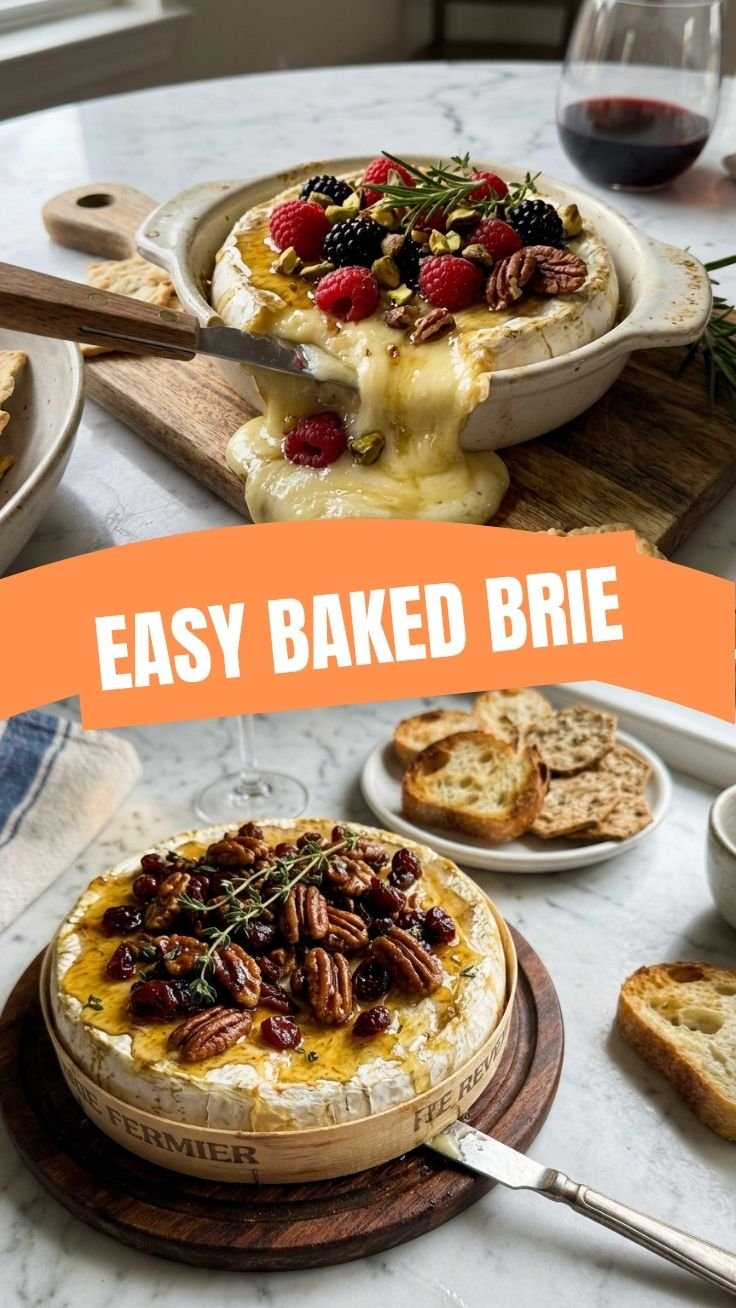
– Cooking Method Alternative: For a more rustic look, skip the puff pastry entirely and bake the brie uncovered in a small baking dish. Just score the top of the brie, add your toppings, and bake until melted.
– Serving Suggestions: Serve with a variety of dippers like crusty sourdough, crisp endive leaves, or sweet grapes. A drizzle of extra honey right before serving adds a beautiful final touch.
Common Mistakes to Avoid
To ensure your baked brie is a triumphant success, be sure to avoid these common pitfalls:
– Not Sealing the Pastry Properly: This is the number one cause of a brie explosion in the oven. Ensure every seam is pinched tightly closed.
– Over or Under Baking: Baking at too high a temperature can burn the pastry before the cheese melts. Stick to 400°F and check for doneness at the 20-minute mark.
– Cutting Too Early: We cannot stress this enough! Cutting into the brie immediately after removing it from the oven will result in a messy puddle of cheese on your board. Patience is required for a clean, beautiful presentation.
Storage & Meal Prep Tips
If you’re lucky enough to have leftovers, here’s how to store them safely without compromising texture.
– Refrigeration: Wrap any leftover baked brie tightly in plastic wrap or place in an airtight container. Store for up to 3 days in the refrigerator.
– Freezing: We do not recommend freezing baked brie. The texture of the cheese and pastry will become grainy and soggy upon thawing.
– Reheating: To enjoy leftovers, reheat in a preheated 350°F (175°C) oven for 10-12 minutes until warmed through. Avoid using the microwave, which will make the pastry chewy and tough.
Conclusion
Creating a memorable centerpiece for your next gathering doesn’t get much easier or more impressive than this. The combination of flaky pastry, creamy cheese, and sweet toppings is a guaranteed crowd-pleaser. As we’ve seen, the focus keyword Baked Brie is not just a dish; it’s an experience that brings people together. This simple yet elegant appetizer proves that a few quality ingredients and a little know-how can yield spectacular results right in your own kitchen.
We encourage you to try this recipe for your next party, holiday, or cozy night in. We’d love to hear about your results in the comments below! Share your creative variations or reach out if you have any questions. And be sure to explore our other delicious recipes for more inspiration that will keep your table exciting and your guests happy.
FAQs
Q: Can I prepare the Baked Brie in advance?
A: Absolutely. You can assemble the entire brie (wrap in pastry, apply egg wash) up to 24 hours ahead of time. Keep it covered in the refrigerator and bake it just before serving.
Q: What can I substitute for puff pastry?
A: For a low-carb option, you can completely skip the pastry and bake the brie in a small dish. Alternatively, crushed crackers or phyllo dough can be used as a crunchy topping or alternative wrap.
Q: How do I know when the Baked Brie is perfectly done?
A: The pastry should be a beautiful, deep golden brown and puffed up. If you press on the center, it should feel molten and give slightly under the pressure. Overbaking can cause the cheese to dry out.
Q: Can I freeze an unbaked, assembled Baked Brie?
A: Yes, you can freeze the fully assembled dish (but not the baked one) for up to 2 months. Thaw it in the refrigerator overnight before baking. You will need to add about 10 minutes to the baking time.
Q: The honey and nuts are sliding off the brie, what can I do?
A: When spreading toppings, try to avoid the very edges of the brie. Also, the final 10-minute rest period after baking is crucial. This allows the toppings and cheese to set slightly and adhere better to the pastry.