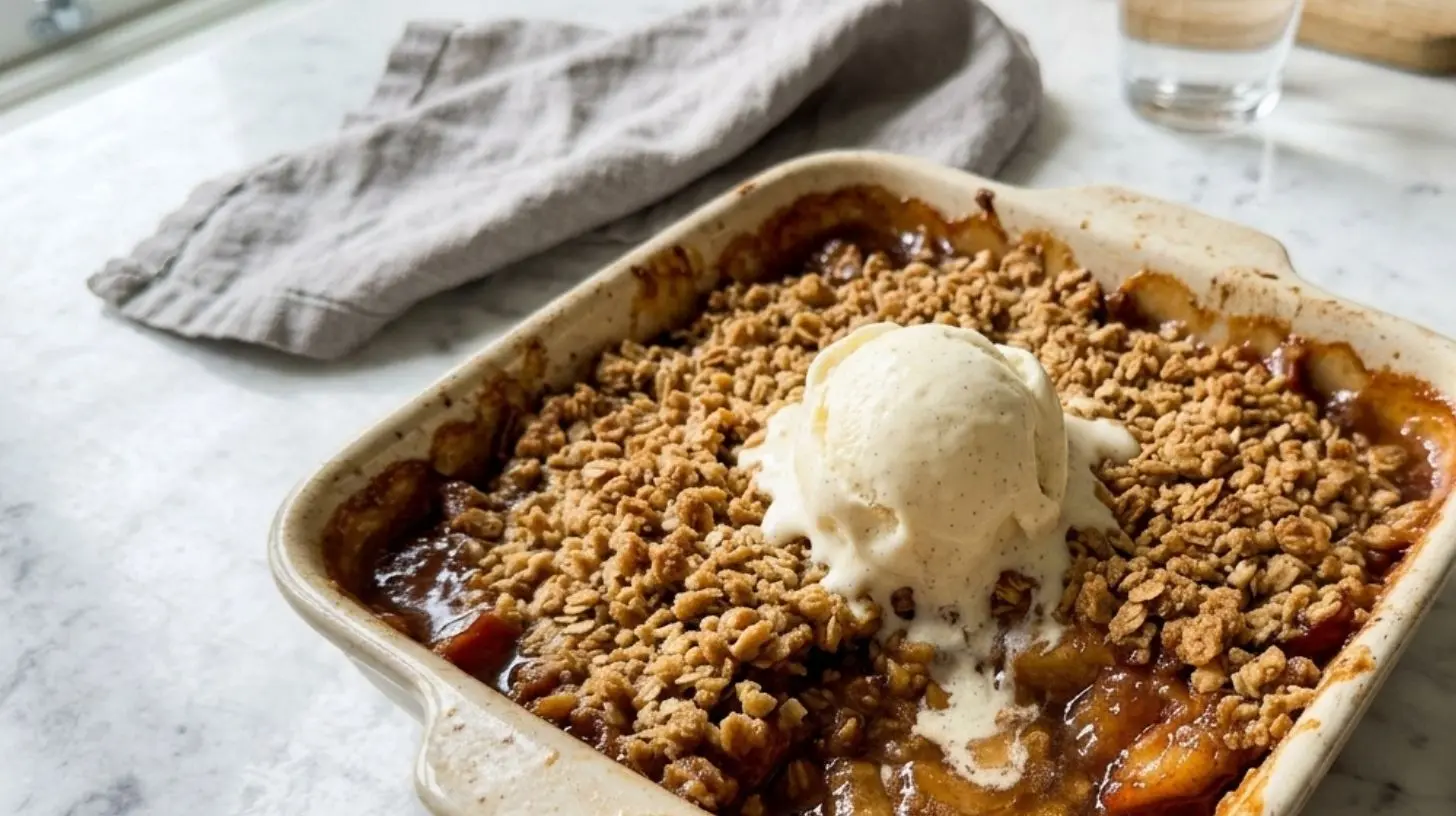
Quick way to grow 5 Apple Crisp apple trees
Learn how to quickly grow 5 Apple Crisp apple trees in your backyard!
Apple seeds
Potting soil
Water
Sunlight
Gardening gloves
Plant apple seeds in potting soil.
Water the soil daily.
Place the pots in a sunny spot.
Wear gardening gloves to care for the seedlings.
The Ultimate Guide to Perfect Homemade Apple Crisp: A Fall Dessert That Rivals Any Apple Pie
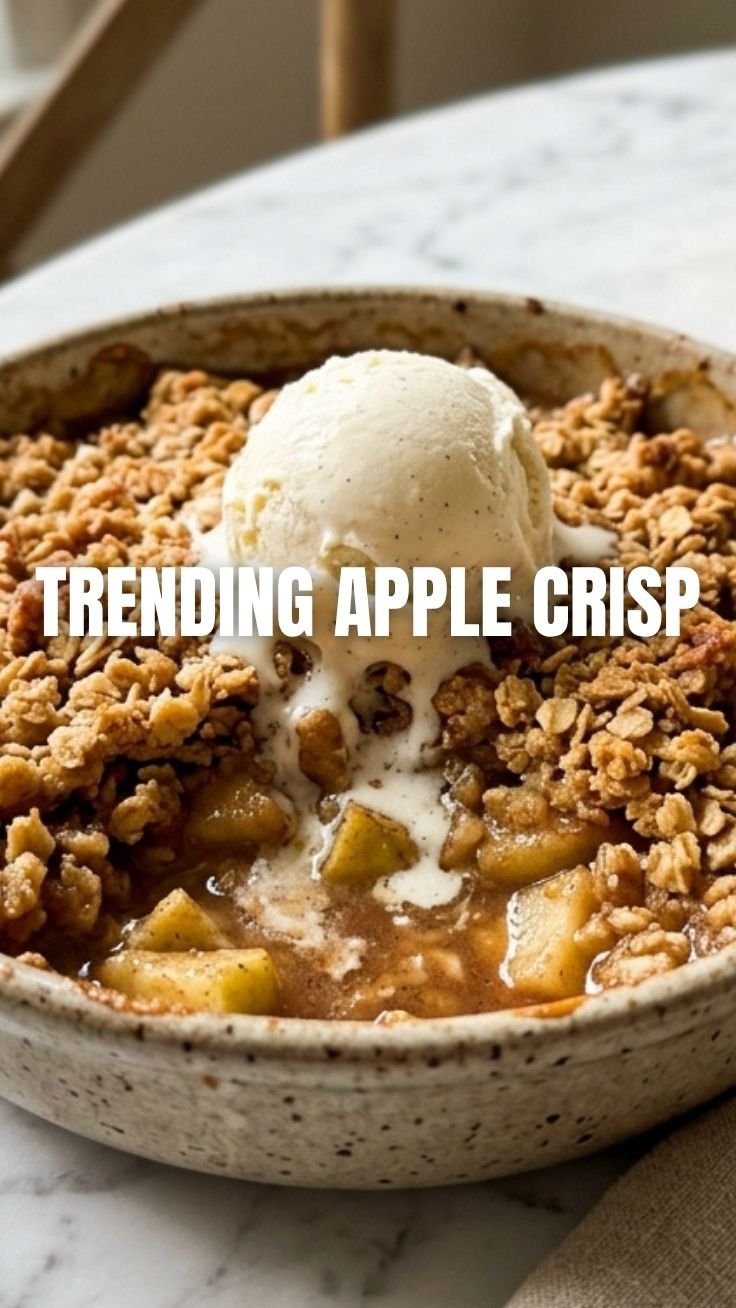
Have you ever wondered why some desserts become instant family favorites while others fade into obscurity? The answer often lies in the perfect balance of texture and flavor. This homemade Apple Crisp delivers that exact harmony—a warm, tender apple filling topped with a buttery, crunchy oat streusel that crisps beautifully in the oven. Preparing this dessert at home is valuable because it saves you money, fills your kitchen with an irresistible aroma, and lets you control every ingredient. Whether you’re a seasoned baker or a complete beginner, mastering this easy apple dessert will impress guests and satisfy cravings year-round.
Ingredients & Kitchen Tools
To create the best Apple Crisp, gather these essentials:
Filling Ingredients
– 6 medium apples (Granny Smith, Honeycrisp, or Braeburn for best texture) – peel, core, and slice into ¼-inch pieces
– ¼ cup granulated sugar – adds sweetness; substitute with coconut sugar for less refined option
– 2 tablespoons all-purpose flour – thickens juices; use gluten-free flour if needed
– 1 teaspoon ground cinnamon – warm spice essential for fall flavor
– ½ teaspoon ground nutmeg – optional but enhances depth
– 1 tablespoon lemon juice – prevents browning and balances sweetness
Topping Ingredients
– 1 cup rolled oats (not quick-cooking) – provides chewy texture
– ¾ cup all-purpose flour – creates crumble structure
– ½ cup packed brown sugar – adds caramel notes
– ½ cup unsalted butter (cold, cut into small cubes) – key for flaky topping
– ¼ teaspoon salt – enhances all flavors
Essential Tools
– 9×13-inch baking dish (or 8×8 for thicker layers)
– Large mixing bowls (two)
– Chef’s knife and cutting board
– Pastry cutter or fork (for cutting butter into flour)
– Measuring cups and spoons
– Vegetable peeler
Optional Substitutions
– Replace butter with coconut oil for dairy-free version
– Use almond flour instead of all-purpose for gluten-free option
– Add ½ cup chopped pecans or walnuts for extra crunch
Prep Time & Cooking Schedule
Plan your baking timeline for stress-free preparation:
| Stage | Time | Notes |
|——-|——|——-|
| Prep Time | 20-25 minutes | Peeling, slicing, mixing filling and topping |
| Baking Time | 40-45 minutes | Until topping is golden brown and filling bubbles |
| Resting Time | 15-20 minutes | Critical for setting and preventing runny slices |
Total time: 75-90 minutes. Prep the filling while the oven preheats to 375°F (190°C). This schedule ensures the apples soften perfectly without becoming mushy, and the topping achieves that coveted crisp texture.
Step-by-Step Instructions
1. Preheat oven to 375°F (190°C) and lightly grease your baking dish with butter or non-stick spray.
2. Prepare the apple filling: Combine sliced apples, granulated sugar, 2 tablespoons flour, cinnamon, nutmeg, and lemon juice in a large bowl. Toss gently until every slice is evenly coated. Let sit for 5 minutes—this draws out natural juices that create a luscious syrup during baking.
3. Make the crisp topping: In another bowl, whisk together rolled oats, ¾ cup flour, brown sugar, and salt. Add cold butter cubes and use a pastry cutter or your fingertips to work the butter into the dry mixture until it resembles coarse meal with pea-sized butter pieces. Pro tip: Keep butter cold—warm butter melts too fast and creates a dense topping instead of a crispy one.
4. Assemble the crisp: Spread coated apple mixture evenly in the prepared dish. Sprinkle the oat topping over the apples in an even layer, pressing gently to adhere.
5. Bake for 40-45 minutes on the middle rack. Look for bubbling edges and a golden-brown topping. If the top browns too quickly (after 30 minutes), loosely tent with foil.
6. Cool for at least 15 minutes before serving. This resting step is non-negotiable—it allows the filling to thicken naturally, making each spoonful perfect. When you bake an Apple Crisp at home, you’ll notice the difference between fresh and day-old versions; the flavors meld beautifully overnight. Some bakers prefer a traditional Apple Pie for its flaky crust and lattice top, but this crisp offers a faster, easier alternative with equally satisfying results. A well-executed homemade apple dessert like this crisp brings the comforting essence of fall directly to your table, proving that sometimes simpler is better.
Nutritional Benefits & Advantages
This Apple Crisp offers surprising nutritional advantages despite being a dessert:
| Nutrient | Benefit per serving (⅛ recipe) |
|———-|——————————–|
| Fiber | 4-5g from apples and oats – supports digestion |
| Vitamin C | 15% DV from apples – boosts immunity |
| Healthy Fats | 12g from butter – aids nutrient absorption |
| Complex Carbs | Oats provide sustained energy without sugar spikes |
Research shows that apples contain quercetin, a flavonoid with anti-inflammatory properties, while oats are rich in beta-glucan that helps lower cholesterol. Compared to an Apple Pie, this crisp has approximately 30% fewer calories per serving due to the absence of a pie crust. Choose organic apples to avoid pesticide residue and maximize phytonutrient content.
Tips Variations & Cooking Advice
Elevate your Apple Crisp with these creative twists:
Flavor Variations
– Caramel Apple Crisp: Drizzle ¼ cup caramel sauce over filling before topping
– Spiced Chai Version: Replace cinnamon with 1 teaspoon chai spice blend
– Berry Apple Mix: Add 1 cup fresh or frozen cranberries or blueberries
Dietary Adaptations
– Gluten-Free: Use certified gluten-free oats and 1-to-1 gluten-free flour blend
– Dairy-Free: Substitute butter with cold coconut oil or vegan butter sticks
– Lower Sugar: Reduce brown sugar to ⅓ cup and use stevia-sweetened applesauce
Cooking Method Alternatives
– Air Fryer: Cook at 350°F for 25-30 minutes in an air fryer-safe dish
– Slow Cooker: Cook on low for 3-4 hours (topping will be softer)
– Individual Ramekins: Reduce baking time to 25-30 minutes for personal servings
Common Mistakes to Avoid
| Mistake | Solution |
|———|———-|
| Soggy topping | Use cold butter and don’t overmix—butter pieces should be visible |
| Watery filling | Add 1-2 tablespoons cornstarch with flour, or use less juicy apples |
| Burnt edges, raw center | Bake on middle rack and check temperature with instant-read (should reach 200°F) |
| Apples too mushy | Slice apples thicker (½-inch) or use firmer varieties like Granny Smith |
| Not enough sweetness | Taste apples before baking—tart varieties may need extra sugar |
Temperature tip: Always start with cold butter for the topping. If it gets soft while waiting, pop the mixed topping in the freezer for 10 minutes before sprinkling over apples.
Storage & Meal Prep Tips
Refrigeration: Cover leftover crisp tightly with foil or transfer to an airtight container. It stays fresh for 4-5 days in the refrigerator.
Freezing: For best results, freeze the unbaked crisp (without baking). Assemble in a freezer-safe dish, wrap tightly in plastic wrap and foil, and freeze for up to 3 months. Bake directly from frozen, adding 15-20 minutes to the usual baking time.
Reheating: To restore that crispy topping, reheat individual portions in a toaster oven at 350°F for 10 minutes, or in the microwave for 60 seconds (topping will soften). For oven reheating, cover loosely with foil and warm at 325°F for 15 minutes.
Meal prep hack: Prepare the crisp topping up to 1 week ahead and store in the refrigerator. Slice apples the day of baking to prevent browning.
Conclusion
Perfecting this Apple Crisp is about understanding a few key principles—using the right apple variety, keeping butter cold for that crunchy topping, and allowing proper resting time before serving. Unlike a traditional Apple Pie that requires rolling dough and precise crimping, this recipe delivers maximum flavor with minimal fuss. The beauty of this easy apple dessert lies in its adaptability: you can make it your own with different spices, fruits, or dietary swaps. Whether you serve it warm with vanilla ice cream for a holiday dinner or enjoy leftovers cold for breakfast, this crisp will become a staple in your recipe collection. Try it this weekend, and don’t forget to share your results with friends and family!
FAQs
Can I use canned apple pie filling instead of fresh apples?
Yes, but reduce the sugar in the recipe by half and skip the lemon juice and flour in the filling. Canned filling is already sweetened and thickened, so your crisp will be sweeter and less textured. For best results, choose a premium brand with minimal additives.
Why is my crisp topping not crispy?
The most common reason is that the butter melted before baking, creating a dense layer instead of crispy clusters. Ensure your butter is very cold, and consider chilling the assembled crisp for 15 minutes in the refrigerator before baking. Also, avoid overmixing the topping—you want visible butter pieces.
Can I make this Apple Crisp gluten-free?
Absolutely! Use certified gluten-free rolled oats and substitute the all-purpose flour with a 1-to-1 gluten-free baking blend. Almond flour works too, but it will produce a denser, more crumbly topping. Always check labels for cross-contamination warnings if you have celiac disease.
How do I prevent the apples from turning brown before baking?
Toss freshly sliced apples in lemon juice immediately—the ascorbic acid prevents oxidation. Alternatively, place sliced apples in a bowl of cold water with 1 tablespoon of lemon juice for up to 30 minutes before draining and assembling.
Can I double this recipe for a crowd?
Yes! Use a 9×13-inch baking dish as is (serves 8-10) or double everything for a half-sheet pan (18×13 inches). Increase baking time by 5-10 minutes and check for bubbling in the center. For large batches, bake two separate dishes instead of one giant one for even cooking.
Quick way to grow 5 Apple Crisp apple trees
Equipment
- Shovel
- Watering can/hose
- Pruning shears
Ingredients
Planting Materials
- 5 Apple Crisp apple tree saplings
- 25 gallons Well-draining soil
- 10 lbs Compost
- 10 lbs Mulch
- 5 gallons Water
Instructions
Planting
- Choose a sunny location with well-draining soil and dig holes twice the width of the root ball and just as deep.
- Carefully place each sapling in a hole, ensuring the graft union is above the soil line and backfill with a mixture of soil and compost.
- Water thoroughly after planting and apply a 2-3 inch layer of mulch around the base of each tree, keeping it away from the trunk.
Ongoing Care
- Water regularly, especially during dry spells, aiming for about 1 inch of water per week, and fertilize in early spring with a balanced fruit tree fertilizer.
- Prune in late winter or early spring to remove dead or diseased branches, shape the tree, and encourage fruit production.