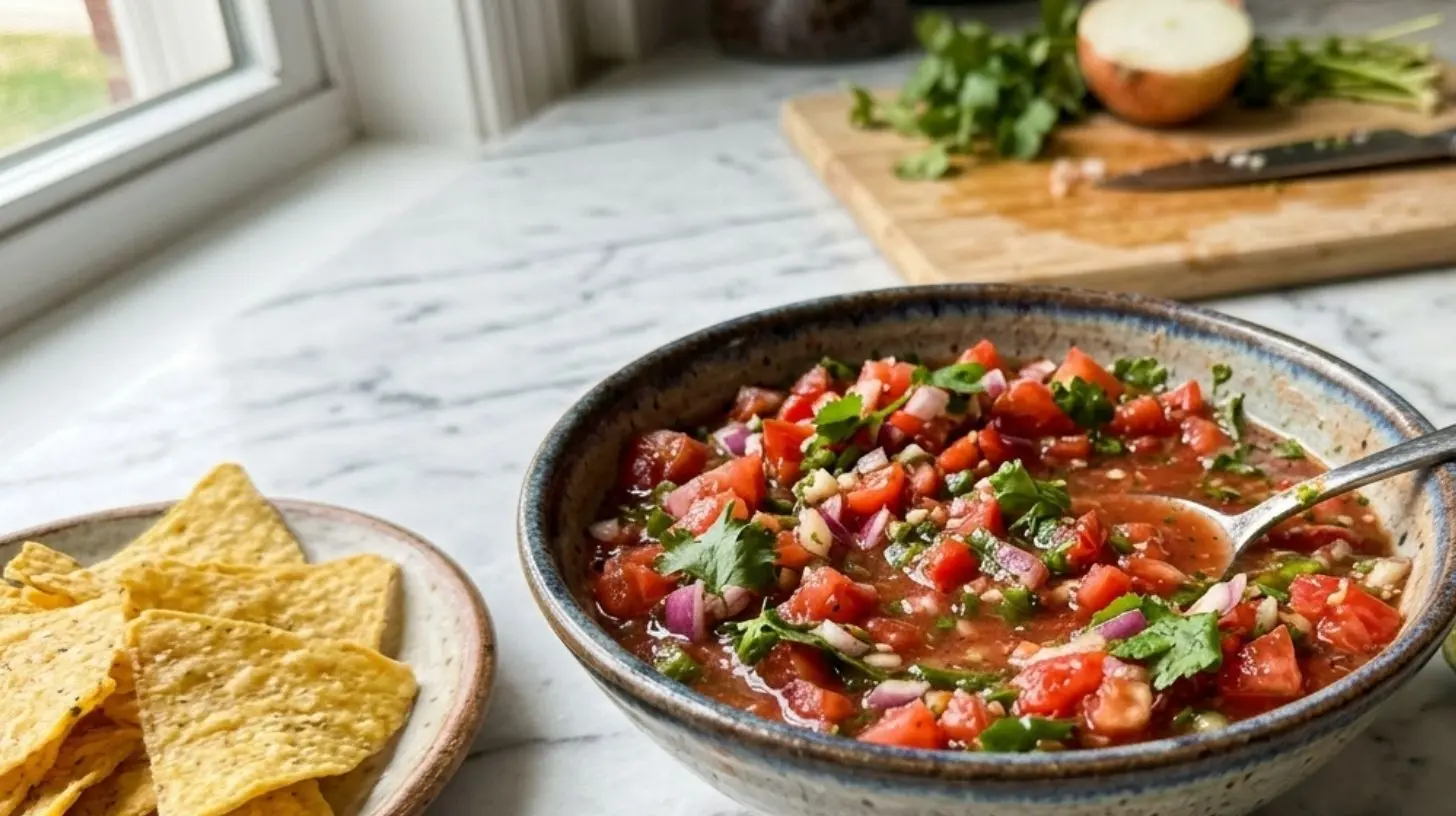
Salsa-Growing Adventure
We will grow our own salsa using 8 secret tips!
Tomato Seeds
Onion Bulbs
Bell Peppers
Cilantro Seeds
Lime Juice
Salt
Garlic Powder
Chili Powder
Plant tomato, onion, bell pepper, and cilantro seeds in soil.
Water your plants regularly and make sure they get enough sunlight.
Watch your plants grow and thrive with excitement.
Harvest ripe tomatoes, onions, bell peppers, and cilantro leaves.
Chop all your fresh ingredients into small pieces.
Combine chopped ingredients with lime juice, salt, garlic powder, and chili powder in a bowl.
Enjoy your freshly made salsa with chips or veggies!
Why Homemade Salsa Beats Store-Bought Every Time: A Flavorful Journey
Have you ever wondered why restaurant salsa tastes so much fresher and more vibrant than anything you can buy in a jar? The secret isn’t a hidden ingredient—it’s the art of making it yourself. When you prepare Salsa at home, you take control of every single element, from the ripeness of your tomatoes to the perfect balance of heat and acidity. This isn’t just about saving money; it’s about unlocking a depth of flavor that processed versions simply cannot replicate. Think of the process as a culinary dance, where each ingredient plays its part in perfect harmony. Once you experience the vibrant, zesty burst of a freshly made batch, you’ll never look back. The rhythm of chopping and the sizzle of roasting echo the energy of a Salsa dance itself—dynamic, lively, and full of passion. This guide will walk you through every step, ensuring your first batch is a triumph. Let’s dive into the world of fresh, homemade goodness.
Ingredients & Kitchen Tools
Essential Ingredients
– Roma tomatoes (6-8 medium): The backbone of your salsa. Choose firm, deeply red tomatoes for the best flavor and texture. Substitution: Canned fire-roasted diced tomatoes (1 28-oz can, drained) for an off-season shortcut.
– White onion (1 medium, roughly chopped): Provides sharp, pungent notes that mellow as they sit. Substitution: 1/2 cup red onion for a milder, slightly sweeter taste.
– Jalapeño peppers (2-3, stems removed): The heart of the heat. For a milder salsa, remove the seeds and ribs. Substitution: 1 serrano pepper for more heat, or 1/2 bell pepper for no heat.
– Fresh cilantro (1/2 cup, packed): Adds that signature bright, herbaceous finish. Substitution: Flat-leaf parsley for a different green note.
– Fresh lime juice (2-3 tablespoons): Essential for acidity and brightness. Substitution: 1-2 tablespoons white vinegar or apple cider vinegar.
– Garlic cloves (2-3, peeled): Aromatic depth. Substitution: 1/2 teaspoon garlic powder.
– Salt (1 teaspoon, adjust to taste): Enhances all other flavors. Start with less and add more.
– Ground cumin (1/2 teaspoon): Warm, earthy spice. Optional but recommended.
– Optional: 1 teaspoon sugar: Use only if your tomatoes are particularly acidic or underripe.
Required Kitchen Tools
– Sharp chef’s knife: For precise chopping of onions and peppers.
– Cutting board: A stable surface.
– Food processor or blender: This is crucial for achieving the right texture. A food processor gives a chunkier salsa, while a blender yields a smoother, more sauce-like consistency.
– Medium mixing bowl: To combine and hold the finished salsa.
– Measuring cups and spoons: For accuracy.
– Wooden spoon or spatula: For stirring.
– Citrus juicer (optional): Makes juicing limes easier.
Prep Time & Cooking Schedule
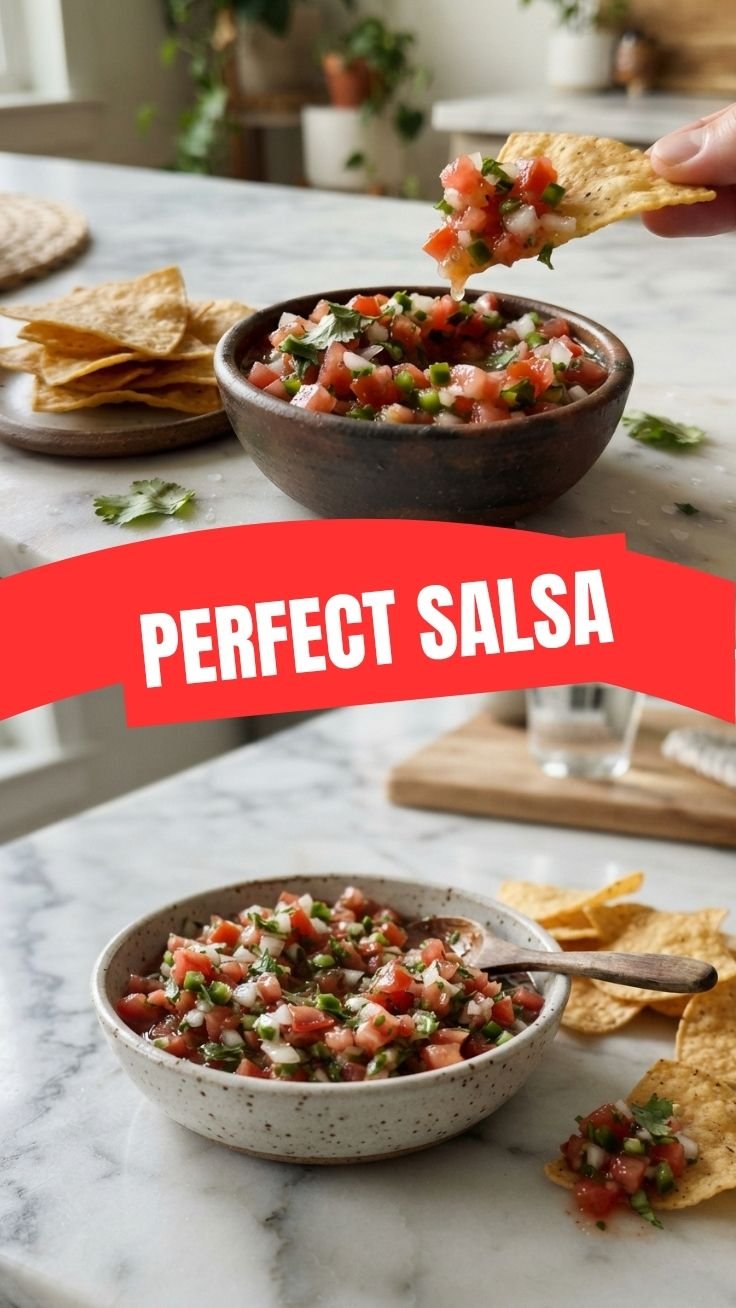
Understanding the time commitment helps you plan your cooking session seamlessly.
– Prep Time: 15 minutes. This includes washing, chopping the onion, jalapeños, and cilantro, and juicing the limes. The tomatoes can be left whole or roughly chopped depending on your roasting method.
– Cooking Time: 10-15 minutes. This is for the optional roasting step, which adds a smoky, charred flavor. If you skip this, the cooking time is effectively zero.
– Resting Time: 30 minutes (minimum). This is the most important step for flavor development. Allowing the salsa to sit at room temperature lets the flavors meld, the acidity mellow, and the heat from the jalapeños distribute evenly. For the best results, refrigerate for 2-4 hours or overnight.
– Total Time: Approximately 1 hour (including resting).
Planning Tip: Make this salsa in the morning or even the day before you plan to serve it. The flavors will only get better. This is a perfect make-ahead recipe for parties, taco nights, or a week of snacking.
Step-by-Step Instructions
1. Prepare the Ingredients: Wash all produce thoroughly. Roughly chop the white onion and jalapeños (removing seeds for less heat). Peel the garlic cloves. Pick the cilantro leaves from the stems and give them a rough chop.
2. Roast (Optional but Recommended): Place the whole Roma tomatoes, the chopped onion, and the jalapeños on a baking sheet lined with parchment paper. Broil on high for 5-8 minutes, turning once, until the skins are charred and blistered. Alternatively, you can char them directly on a gas stove burner using tongs. This step infuses your Salsa with a deep, smoky complexity that is absolutely addictive. For a raw, fresher version, skip this step entirely.
3. Blend the Base: Transfer the roasted (or raw) tomatoes, onions, and jalapeños to your food processor or blender. Add the garlic cloves, lime juice, salt, and cumin.
4. Pulse to Desired Consistency: This is where you control the texture. For a chunky salsa, pulse 4-5 times until the ingredients are broken down but still have visible pieces. For a smoother salsa, pulse 8-10 times or blend on low speed for a few seconds, scraping down the sides as needed. Tip: For a perfectly balanced salsa, taste a small amount after pulsing. If it’s too acidic, add a pinch of sugar. If it’s too spicy, add a few more tomato chunks or a splash of water. The process of balancing these flavors is like mastering a complex Salsa dance—each step and adjustment creates a more harmonious final move.
5. Add Cilantro and Finish: Transfer the blended mixture to a mixing bowl. Fold in the chopped cilantro. Taste and adjust seasoning with more salt, lime juice, or the optional sugar.
6. Rest for Flavor: Cover the bowl with plastic wrap and let it sit at room temperature for at least 30 minutes. For the best flavor, refrigerate for 2-4 hours. This resting period is non-negotiable for the best possible outcome.
Nutritional Benefits & Advantages
This homemade salsa is not just a flavor powerhouse; it’s a nutritional goldmine. A single serving (about 1/4 cup) is incredibly low in calories (around 15-20) and fat-free, making it an ideal condiment for weight management.
– Vitamin C Powerhouse: Tomatoes are an excellent source of vitamin C, an antioxidant that supports immune function and skin health. One serving provides roughly 20% of your daily recommended intake.
– Lycopene Boost: The bright red color of tomatoes comes from lycopene, a powerful antioxidant linked to reduced risk of heart disease and certain cancers. Cooking the tomatoes (as in the roasting step) actually increases the bioavailability of lycopene, making it easier for your body to absorb.
– Hydration and Fiber: With a high water content and 1-2 grams of fiber per serving, salsa helps with hydration and digestive health.
– Healthy Fats from Cilantro: While used in small amounts, cilantro contains compounds that may help lower blood sugar and fight inflammation.
– Low Sodium Control: By making your own salsa, you can drastically reduce the sodium content compared to store-bought versions, which are often loaded with salt for preservation.
Tips Variations & Cooking Advice
– Flavor Variations:
– Fruit Salsa: Add 1 cup of diced mango, pineapple, or peach for a sweet and spicy twist.
– Smoky Chipotle: Replace one jalapeño with a chipotle pepper in adobo sauce for a deep, smoky heat.
– Roasted Garlic: Roast the garlic cloves alongside the tomatoes for a sweeter, mellower garlic flavor.
– Ingredient Swaps:
– Tomatoes: Use tomatillos for a zesty, green salsa verde. (Roast them first!)
– Onions: Red onion or shallots for a milder bite.
– Herbs: Use fresh basil or oregano for a completely different profile.
– Dietary Adaptations: This recipe is naturally gluten-free, vegan, dairy-free, and low-carb (keto-friendly). It is also Whole30 compliant.
– Cooking Method:
– Grill: For an even smokier flavor, grill the tomatoes, onions, and jalapeños directly on a hot grill for 5-7 minutes per side.
– No-Cook: For a super quick version, use a food processor to pulse all raw ingredients. The flavor will be brighter and more garden-fresh.
Common Mistakes to Avoid
– Mistake #1: Over-blending. This is the most common error. A food processor can turn your salsa into a watery puree in seconds. Always pulse, and stop when you see the texture you want.
– Mistake #2: Skipping the Rest. The salsa needs time for the flavors to marry. Serving it immediately will result in a sharp, disjointed taste. The 30-minute rest is a minimum; 2 hours is better.
– Mistake #3: Using Watery Tomatoes. Roma tomatoes are the best choice because they have less water and more flesh. Using beefsteak or heirloom tomatoes can lead to a thin, watery salsa. If you have to use them, remove the seeds and jelly before chopping.
– Mistake #4: Forgetting to Season. Salt is critical. It lifts all the other flavors. Taste your salsa before and after the resting period, and adjust the salt accordingly.
– Mistake #5: Not Removing Jalapeño Seeds. If you want a family-friendly salsa, always remove the seeds and inner white ribs (the pith) of the jalapeño, as this is where most of the capsaicin (heat) is stored.
Storage & Meal Prep Tips
– Refrigeration: Store your homemade salsa in an airtight glass container or a jar with a tight-fitting lid. It will stay fresh for 5 to 7 days in the refrigerator. The flavor will continue to develop and mellow over the first two days.
– Freezing: Yes, you can freeze salsa! However, the texture of the tomatoes will change upon thawing, becoming mushier. It’s best for use in cooked dishes (like chili or enchilada sauce) rather than as a fresh dip. To freeze, pour the salsa into a freezer-safe bag or container, leaving a little headroom for expansion. It will keep for up to 3 months. Thaw overnight in the refrigerator.
– Reheating: This is a fresh salsa, so reheating is generally not recommended for serving as a dip. If you are using it in a hot dish, simply add the frozen or thawed salsa directly to the cooking pot.
– Meal Prep Tip: Make a double batch on the weekend. Use half as a dip for chips, and the other half as a quick sauce for tacos, burrito bowls, scrambled eggs, or grilled chicken throughout the week.
Conclusion
Making your own Salsa is a rewarding and delicious experience that puts you firmly in the chef’s seat. You control the heat, the texture, and the freshness, creating a condiment that is infinitely more vibrant than anything from a jar. The entire process—from the sizzle of roasting to the final, satisfying dip—is a celebration of simple, wholesome ingredients. It’s a culinary performance, a flavorful Salsa dance that you can master with ease. We encourage you to try this recipe, adjust the spicy level to your liking, and share your results with friends and family. Once you taste the difference, you’ll be inspired to explore more homemade creations. Enjoy every single scoop!
FAQs
1. Can I use canned tomatoes instead of fresh?
Absolutely. In fact, fire-roasted diced tomatoes are a fantastic substitute, especially in off-season months. They provide a consistent, smoky flavor. Drain them well before blending to avoid a watery salsa.
2. My salsa is too spicy. How can I fix it?
The best fix is to add more tomatoes (fresh or canned) to dilute the heat. You can also add a splash of lime juice or a teaspoon of sugar to balance the heat. A dollop of plain yogurt or sour cream (if not vegan) can also help when serving.
3. Why is my salsa watery?
This usually happens for two reasons: using too many watery tomatoes (like beefsteak) or not roasting them enough. Next time, use Roma tomatoes. If yours is already watery, you can drain off some of the liquid, or simmer it in a saucepan over low heat for 5-10 minutes to reduce it.
4. How long does homemade salsa last in the fridge?
Properly stored in an airtight container, your salsa will stay fresh and flavorful for up to 7 days. The flavor will actually peak around day 2-3, making it perfect for meal prep.
5. Can I make this salsa without a food processor or blender?
Yes, but it will be a different texture. You can finely dice all the ingredients by hand. This is known as ‘pico de gallo’. It will be much chunkier, but the flavor will be just as excellent.