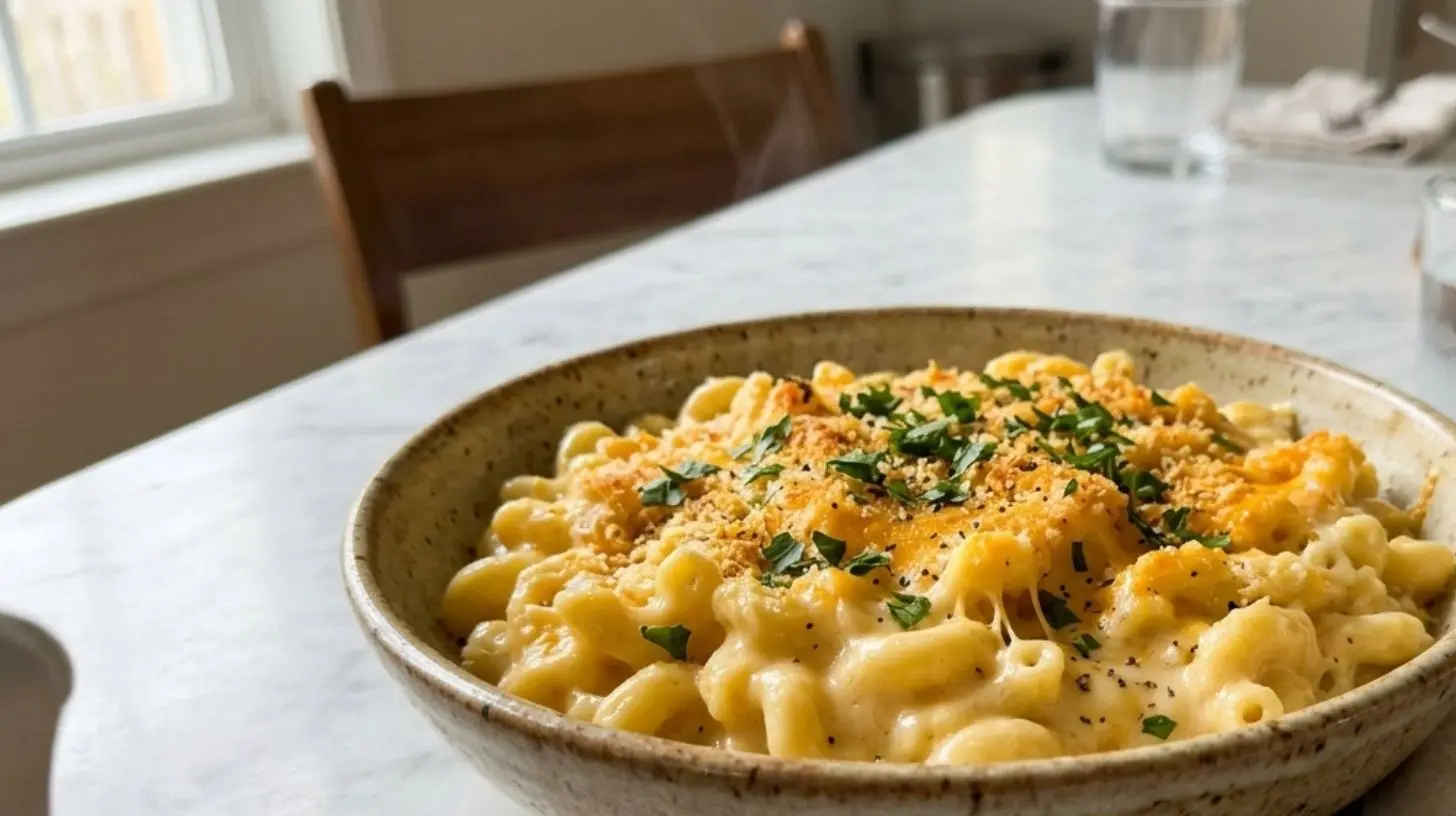
Mac and Cheese
Learn how to make delicious mac and cheese from scratch!
Macaroni
Milk
Butter
Flour
Cheese
Boil the macaroni in salted water until tender.
Melt butter in a saucepan.
Add flour to make a roux.
Gradually stir in milk to make a creamy sauce.
Mix in shredded cheese until melted and smooth.
Season with salt and pepper to taste.
Combine cooked macaroni with cheese sauce.
The Ultimate Guide to Perfectly Creamy Mac and Cheese (Baked to Golden Perfection)
Have you ever wondered why your homemade Mac and Cheese never quite matches the velvety, indulgent texture you dream about? You’re not alone. Mastering this beloved comfort food at home isn’t just about throwing pasta and cheese together—it’s about understanding the science behind a silky sauce, achieving that irresistible golden crust, and creating a dish that rivals any restaurant. Preparing it from scratch gives you complete control over quality, flavor depth, and nutritional value. In this comprehensive guide, we’ll explore every detail, from selecting the perfect Macaroni to nailing a foolproof cheese sauce. Whether you’re a novice or a seasoned cook, you’ll discover actionable techniques to elevate your Mac and Cheese to legendary status.
Ingredients & Kitchen Tools
Pasta Base
– Elbow Macaroni (16 oz) : The classic choice. Its curved shape holds sauce beautifully. Substitution: Cavatappi, shells, or penne work well.
– Kosher salt (2 tsp for pasta water + more for seasoning) – Enhances noodle flavor from within.
Cheese Sauce Foundation
– Unsalted butter (4 tbsp) : Provides richness and helps create a smooth roux. Substitution: Vegan butter for dairy-free.
– All-purpose flour (¼ cup) : Thickens the sauce. Substitution: Gluten-free flour blend (e.g., Bob’s Red Mill 1-to-1).
– Whole milk (3 cups) : Produces the creamiest texture. Substitution: 2% milk or unsweetened oat milk for lighter results.
– Heavy cream (1 cup) : Adds luxurious richness. Substitution: Full-fat coconut cream for dairy-free.
– Sharp cheddar (8 oz, freshly shredded) : Provides bold flavor. Tip: Pre-shredded cheese contains anti-caking agents that prevent smooth melting.
– Gruyère or Monterey Jack (4 oz) : Adds nuttiness and exceptional meltability.
– Dijon mustard (1 tsp) : Enhances cheese flavor without tasting mustardy.
– Garlic powder (½ tsp) , smoked paprika (½ tsp) , cayenne (¼ tsp) : Adds warmth and depth.
Topping & Final Touches
– Panko breadcrumbs (1 cup) : Creates a superior crispy crust.
– Butter (2 tbsp, melted) : Helps browning.
– Fresh parsley (optional) : For garnish.
Essential Tools
– Large 6-qt pot (for pasta)
– Medium 3-qt saucepan (for sauce)
– Whisk (crucial for lump-free roux)
– 9×13 baking dish
– Box grater
– Colander
Prep Time & Cooking Schedule
Understanding the timeline ensures seamless execution:
– Prep Time : 15 minutes (shred cheese, measure ingredients, preheat oven to 375°F)
– Cook Time : 25 minutes (10 min boiling pasta + 15 min making sauce)
– Bake Time : 20–25 minutes (until bubbly with golden crust)
– Resting Time : 5–10 minutes (critical for setting the sauce and achieving clean slices)
– Total Time : Approximately 1 hour 10 minutes
Pro Tip: Shred your cheese while pasta water heats. Grate directly onto a plate or bowl to maximize efficiency.
Step-by-Step Instructions
1. Prepare the Pasta
Bring a large pot of generously salted water (it should taste like the sea) to a rapid boil. Add your Macaroni and cook until just shy of al dente—about 1 minute less than package directions. The pasta will continue cooking in the oven. Drain thoroughly but do not rinse; residual starch helps the sauce cling.
2. Build the Roux
In a medium saucepan over medium heat, melt butter until foamy. Whisk in flour and cook for 1–2 minutes until it turns a pale golden color (like wet sand). This removes the raw flour taste and ensures a stable thickener.
3. Create the Béchamel Base
Slowly pour in milk and heavy cream while whisking constantly—this prevents lumps. Continue whisking until the mixture thickens enough to coat the back of a spoon (about 5 minutes). The sauce should be slightly thinner than your desired final consistency; it will thicken during baking.
4. Incorporate the Cheese
Reduce heat to low. Add shredded cheeses by the handful, stirring gently until fully melted before adding more. Stir in Dijon mustard, garlic powder, smoked paprika, and cayenne. Taste and adjust salt and Mac and Cheese seasoning balance. Tip: Never let the sauce boil after adding cheese—high heat causes proteins to seize, creating a grainy texture.
5. Combine and Bake
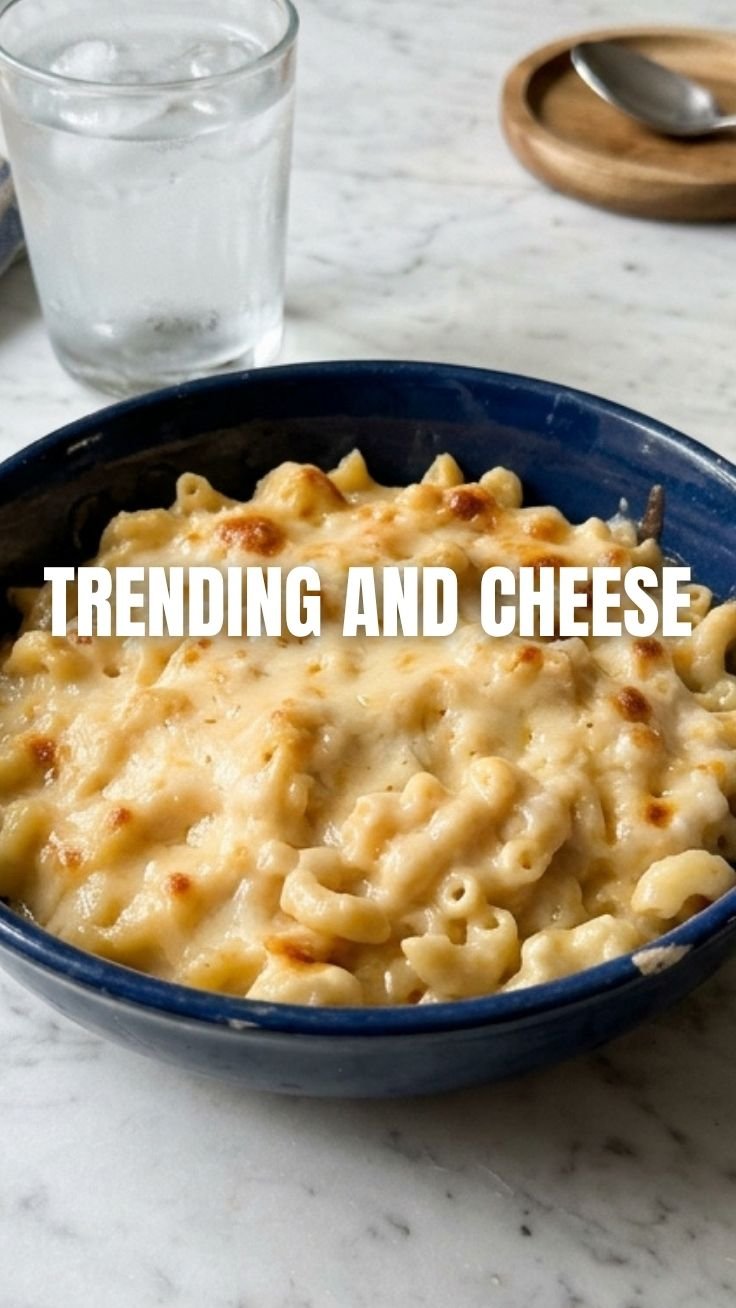
Pour the cheese sauce over drained macaroni and fold gently until uniformly coated. Transfer to a buttered 9×13 baking dish. Combine panko with melted butter and sprinkle evenly over the top. Bake uncovered at 375°F for 20–25 minutes until bubbly at edges and golden brown on top.
Nutritional Benefits & Advantages
This homemade Mac and Cheese provides substantial nutritional value:
– Calcium boost : 8 oz of cheddar delivers approximately 600mg of calcium (60% of daily value), essential for bone health.
– Protein punch : Whole milk and cheese contribute 25–30g of protein per serving, supporting muscle repair and satiety.
– Vitamin A from cheese supports vision and immune function.
– Controlled portions : Homemade version contains 30–40% fewer calories than many restaurant equivalents (approx 450–500 cal per serving vs 700+).
– No preservatives : You control every ingredient, avoiding artificial colors, flavors, and stabilizers found in boxed mixes.
Dietary note: For a lighter option, substitute 2% milk and reduce heavy cream to ½ cup, saving about 150 calories per serving while maintaining creaminess.
Tips, Variations & Cooking Advice
Flavor Transformations
– Truffle Mac : Drizzle 2 tsp truffle oil over the sauce before baking.
– Spicy Southwestern : Add ½ cup fire-roasted corn, ¼ cup diced jalapeños, and replace smoked paprika with chipotle.
– Lobster Mac : Fold in 8 oz cooked lobster meat just before baking.
– Broccoli & Chicken : Add 1 cup steamed broccoli florets and 1 cup shredded rotisserie chicken.
Dietary Adaptations
– Gluten-free : Use gluten-free Macaroni (e.g., chickpea or brown rice pasta) and gluten-free flour blend. Note that some GF flours absorb more liquid; you may need an extra ¼ cup milk.
– Dairy-free : Replace butter with vegan butter, milk with unsweetened oat milk, and cheese with high-quality vegan cheddar that melts (e.g., Violife or Miyoko’s Creamery). Add 1 tbsp nutritional yeast for cheesy flavor.
– Keto/Low-carb : Substitute macaroni with roasted cauliflower florets or zucchini noodles (blanch first to remove water).
Cooking Method Alternatives
– Stovetop version : Skip the oven. After combining pasta and sauce, serve immediately for a looser, ultra-creamy texture. Add a splash of reserved pasta water if needed.
– Slow cooker : Combine cooked pasta, sauce, and cheese. Cook on LOW for 2 hours, adding panko topping in the last 30 minutes.
Common Mistakes to Avoid
| Mistake | Why It Happens | Solution |
|———|—————-|———-|
| Grainy sauce | Cheese overheated or added to boiling liquid | Always melt cheese over low heat; remove from heat if necessary |
| Watery final dish | Pasta not drained thoroughly or sauce under-thickened | Drain macaroni well; cook sauce until it coats a spoon |
| Soggy crust | Too much moisture in topping | Use panko (not soft breadcrumbs) and ensure butter is evenly mixed |
| Dull cheese flavor | Using pre-shredded cheese (contains anti-caking agents) | Always shred block cheese fresh—it melts 50% more smoothly |
| Overcooked pasta | Skipping the “al dente minus 1 minute” rule | Follow the step precisely; carryover cooking in the oven is significant |
Storage & Meal Prep Tips
Refrigeration
– How to store : Cool completely (within 30 minutes), then transfer to an airtight container. Press plastic wrap directly onto the surface to prevent a skin from forming.
– How long : Up to 5 days.
– Reheating method : Add 1–2 tbsp milk per serving. Microwave in 30-second bursts, stirring each time, OR reheat in a 350°F oven covered with foil for 15 minutes.
Freezing
– Best method : Assemble dish but do not bake. Wrap tightly with plastic wrap, then foil. Freeze for up to 3 months.
– Baking from frozen : Remove wrap, cover with foil, bake at 350°F for 45 minutes. Uncover and bake 15 minutes more for a crisp top.
– Thawing tip : Thaw overnight in the refrigerator for best texture.
Meal Prep Strategy
– Portion control : Bake in individual ramekins (bake time reduces to 15 minutes).
– Sauce prep : Make cheese sauce up to 3 days ahead; store in fridge. Reheat gently with a splash of milk before combining with freshly boiled pasta.
Conclusion
Mastering Mac and Cheese at home transforms a childhood classic into a sophisticated, deeply satisfying dish. The key takeaways are simple: start with freshly shredded cheese, cook your macaroni to just under al dente, and never rush the sauce. Whether you stick to the classic recipe or experiment with truffle, lobster, or a gluten-free version, you now have the tools to nail it every time. The perfect Mac and Cheese balances creamy sauce, tender pasta, and a golden, buttery crust—and with these techniques, it’s entirely achievable in your own kitchen. I’d love to hear how your version turns out. Did you try a creative variation or perfect the original? Share your results in the comments below, and don’t forget to explore our other comfort food classics for more inspiration.
Frequently Asked Questions
1. What’s the best cheese combination for mac and cheese?
Sharp cheddar provides bold flavor, while Gruyère adds nuttiness and superior melt. A 2:1 ratio (e.g., 8 oz cheddar + 4 oz Gruyère) is ideal. Avoid very hard cheeses like Parmesan alone (they don’t melt well) or very soft cheeses like mozzarella (too stringy).
2. Can I make this gluten-free?
Absolutely. Use gluten-free macaroni (brown rice, chickpea, or lentil-based work best) and substitute all-purpose flour with a 1:1 gluten-free baking flour. Ensure your Dijon mustard and paprika are certified gluten-free.
3. Why is my mac and cheese always dry after baking?
Most common cause: the sauce was too thick before baking. Remember that pasta absorbs liquid as it bakes. Your sauce should be slightly thinner than desired before adding to pasta. Also, covering the dish for the first 15 minutes of baking helps retain moisture.
4. How do I prevent my cheese sauce from splitting?
Avoid high heat. Melt cheese over low heat and never let the sauce boil after adding cheese. Also, use freshly shredded cheese (not pre-shredded) and ensure your roux is fully cooked before adding milk.
5. Can I assemble this dish a day ahead?
Yes. Assemble completely (including topping) but don’t bake. Cover tightly and refrigerate. Before baking, add 5–10 minutes to the bake time to account for starting cold. Let sit at room temperature for 20 minutes before baking for even cooking.
How to grow your best Mac and Cheese in 10 stepsMac and Cheese
Equipment
- Large pot
- Strainer
- Large saucepan
- Whisk
- 9x13 inch baking dish
Ingredients
Pasta
- 8 ounces Elbow macaroni
Cheese Sauce
- 1/4 cup Butter
- 1/4 cup All-purpose flour
- 2 cups Milk
- 2 cups Cheddar cheese, shredded
- 1/2 teaspoon Salt
- 1/4 teaspoon Black pepper
Instructions
Preparation
- Preheat your oven to 375°F (190°C) and grease a 9x13 inch baking dish.
- Cook the elbow macaroni according to package directions until al dente, then drain and set aside.
Cheese Sauce
- Melt butter in a large saucepan over medium heat; gradually whisk in flour and cook for one minute.
- Slowly pour in milk, whisking constantly until the mixture thickens, then stir in the shredded cheddar cheese until melted and smooth.
- Season the cheese sauce with salt and black pepper.
Assembly and Baking
- Combine the cooked macaroni with the cheese sauce in the baking dish, ensuring all pasta is coated.
- Bake for 20-25 minutes, or until the mac and cheese is bubbly and golden brown on top.
Serving
- Let the mac and cheese cool for a few minutes before serving caliente.