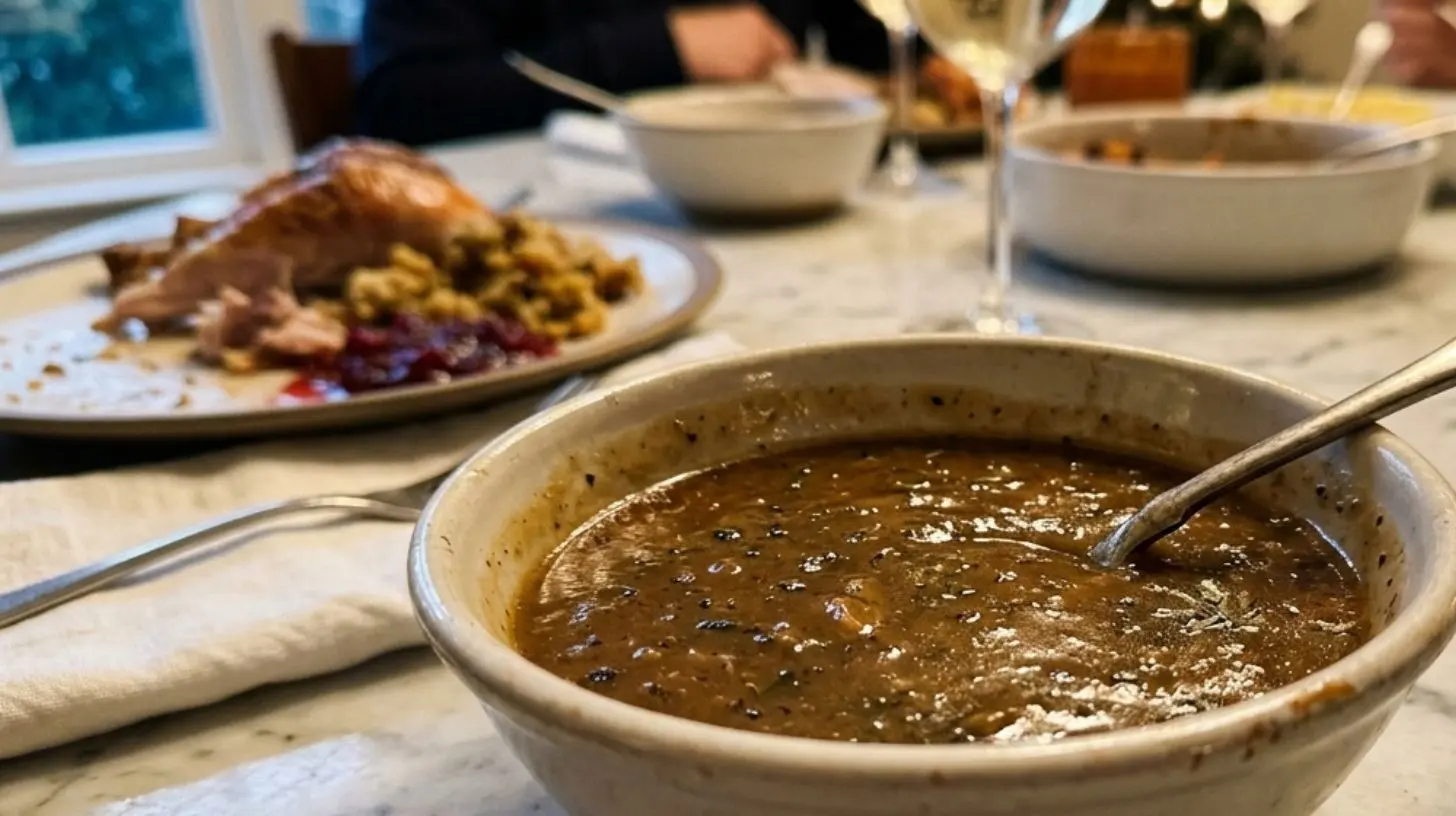
Rich Turkey Gravy
Learn how to make a delicious gravy for your Thanksgiving meal.
Turkey drippings
Flour
Butter
Chicken broth
Salt
Pepper
Melt butter in a pan over medium heat.
Whisk in flour and cook for 2 minutes.
Gradually whisk in turkey drippings and chicken broth.
Season with salt and pepper to taste.
The Ultimate Guide to Perfect Turkey Gravy: Rich, Silky, and Foolproof
Is there anything more comforting than a pool of velvety, golden Turkey Gravy cascading over a slice of tender roast meat? Whether you’re hosting a festive gathering or simply craving elevated comfort food, mastering this essential sauce transforms any meal. Preparing Turkey Gravy at home ensures you control the flavor, consistency, and freshness—plus, it elevates your Thanksgiving dinner from good to unforgettable. In this guide, I’ll walk you through every step, from selecting the perfect pan drippings to achieving that restaurant-quality gloss. By the end, you’ll have a foolproof, deeply savory Turkey Gravy that pairs beautifully with all your holiday sides.
Ingredients & Kitchen Tools
Essential Ingredients
– Turkey drippings – The flavorful juices collected from your roasted bird. Don’t discard the browned bits; they contain intense umami.
– Turkey stock or broth – Use homemade for best flavor, but good-quality store-bought works. Avoid low-sodium unless adjusting seasoning later.
– All-purpose flour – For thickening. Use a 1:1 ratio with fat (by weight) for a roux.
– Butter or pan fat – Provides richness and helps create a smooth roux.
– Salt and black pepper – Taste as you go; turkey drippings are already salty.
– Fresh herbs – Thyme, rosemary, or sage sprigs for aromatic depth.
– Optional enhancements – Splash of dry white wine, spoonful of heavy cream, or a dash of soy sauce for extra color.
Kitchen Tools
– Fat separator (gravy separator) – Pour drippings without the excess fat.
– Medium saucepan – Heavy-bottomed to prevent scorching.
– Whisk – Balloon whisk for lump-free roux.
– Measuring cups and spoons – For precise ratios.
– Fine-mesh strainer – For silky, smooth gravy if you prefer no bits.
Prep Time & Cooking Schedule

– Prep time: 5 minutes to separate drippings and measure ingredients.
– Cook time: 10–15 minutes from start to finish.
– Resting time: Not required, but allow gravy to sit for 2 minutes before serving to thicken slightly.
– Best timing: Make the gravy while the roasted turkey rests (30–45 minutes). This synchronizes perfectly with your meal schedule.
Plan ahead: If your turkey drippings are limited, supplement with good turkey stock. Having all ingredients measured and tools ready ensures a stress-free process when the bird comes out of the oven.
Step-by-Step Instructions
1. Strain and separate drippings. Pour pan juices through a fine-mesh strainer into a fat separator. Let settle for 1 minute then pour the defatted liquid into a measuring cup. Reserve ¼ cup of the fat.
2. Make the roux. In a saucepan over medium heat, melt the reserved fat (or butter) until shimmering. Whisk in an equal amount of flour. Cook, stirring constantly, for 2 minutes until the roux turns golden and smells nutty.
3. Add liquid gradually. Slowly pour in the defatted drippings plus enough turkey stock to make 2 cups total, whisking constantly to prevent lumps.
4. Simmer and season. Bring to a gentle simmer. Cook 4–5 minutes until thickened. Add fresh herbs (thyme sprig, sage leaf). Season with salt and pepper. Off heat, stir in a pat of butter for shine.
5. Strain and serve. For ultra-smooth gravy, pour through a fine strainer. Serve immediately.
Pro tip: For a deeper flavor, deglaze the roasting pan with a splash of white wine before adding stock. This Turkey Gravy becomes the soul of a flawless Thanksgiving dinner when paired with buttery mashed potatoes or roasted vegetables.
Nutritional Benefits & Advantages
Turkey Gravy offers surprising nutritional value when made from scratch. Turkey drippings contain B vitamins (B3, B6, B12) and selenium, which support metabolism and immune function. The cooking process extracts collagen from turkey skin and bones, providing gelatin that may benefit joint health and digestion. Using homemade stock adds minerals like calcium and magnesium. Compared to canned gravy, homemade version has no artificial thickeners or preservatives, and you control sodium levels. Plus, the moderate fat content helps absorb fat-soluble vitamins from your meal.
Tips Variations & Cooking Advice
Flavor variations: Add roasted garlic cloves for sweetness, or a teaspoon of Dijon mustard for tang. For a Southern twist, stir in 1 tablespoon of bourbon.
Dietary adaptations: Use cornstarch slurry (1 tbsp cornstarch + 2 tbsp cold water) instead of flour for gluten-free Turkey Gravy. For dairy-free, skip the butter and rely solely on pan fat.
Method swaps: Make a roux with gluten-free flour blend or try arrowroot powder. For extra savory depth, add a dash of mushroom powder or miso paste.
Portion adjustments: Double the recipe easily by maintaining the 1:1 fat-to-flour ratio. For larger crowds, prepare in a Dutch oven and keep warm in a slow cooker.
Common Mistakes to Avoid
– Lumpy gravy – Whisk constantly while adding liquid. Start with a cold roux? Wait, no: add liquid to hot roux. Prevents clumps.
– Bland taste – Season in layers: salt the roux, season after simmering. Don’t forget fresh herbs.
– Too thick or thin – Adjust with extra stock (thin) or simmer longer (thicken). The gravy should coat a spoon.
– Greasy texture – Always defat the drippings using a separator or spoon. Excess fat ruins the emulsion.
– Scorching – Keep heat medium-low and whisk frequently, especially if you add wine or cream.
Storage & Meal Prep Tips
Refrigeration: Store leftover Turkey Gravy in an airtight container for up to 4 days. The fat may solidify on top – simply reheat and whisk.
Freezing: Freeze in portions (use ice cube trays for small amounts, then transfer to freezer bags) for up to 3 months. Thaw overnight in fridge.
Reheating: Gently reheat on stovetop over medium-low heat, whisking occasionally. If too thick, thin with a splash of stock or water. Avoid microwave – it can cause separation and rubbery texture.
Make ahead: Prepare the roux base (butter + flour cooked) and store in fridge. When ready, heat drippings and whisk in the roux. This saves 5 minutes on serving day.
Conclusion
Making homemade Turkey Gravy is the single most rewarding finishing touch for a celebratory feast—it transforms simple roasted meat and mashed potatoes into a memorable meal. By following these steps, you’ll create a sauce that’s silky, savory, and deeply satisfying. Whether it’s for Thanksgiving dinner or a Sunday roast, this recipe will become your go-to. I encourage you to try it and share your results! Don’t forget to bookmark this guide for your next gathering, and explore more recipes that bring joy to your table.
FAQs
1. Can I make Turkey Gravy without drippings?
Yes! Use butter and turkey stock (or chicken stock with a dash of poultry seasoning). For deeper flavor, add roasted turkey wings or neck stolpcgred in the stock while making the gravy.
2. Why is my gravy too salty?
Your turkey drippings may contain high salt from brining. Counteract by adding a splash of cream, unsalted stock, or a peeled raw potato (simmer 10 minutes to absorb salt). Remove potato before serving.
3. How do I fix lumpy gravy?
Pour through a fine-mesh strainer immediately. For minor lumps, blend with an immersion blender or whisk vigorously.
4. Can I make ahead for a party?
Absolutely! Make gravy up to 2 days in advance, refrigerate, then reheat gently with a splash of stock. Add fresh herbs after reheating for bright flavor.
5. What’s the best thickener for gluten-free gravy?
Cornstarch slurry (1:2 ratio with cold water) works perfectly. Whisk it into simmering liquid and cook 1 minute until clear. For keto, use xanthan gum (¼ tsp per cup of liquid).
Best way to grow a rich Turkey Gravy in 3 steps
Equipment
- Saucepan
- Whisk
- Measuring cups and spoons
Ingredients
Main Ingredients
- 3 cups turkey drippings
- 1/4 cup all-purpose flour
- 2 cups chicken or turkey broth
- 1/2 teaspoon salt
- 1/4 teaspoon black pepper
- 1/4 cup water cold
Optional Enhancements
- 1 teaspoon Worcestershire sauce
- 1 fresh herbs like thyme or sage
For Thickening Slurry
- 2 tablespoons cornstarch
- 2 tablespoons cold water
Instructions
Step 1: Create the Roux
- In a medium saucepan, heat the turkey drippings over medium heat until shimmering. Gradually whisk in the all-purpose flour, cooking for 2-3 minutes until a golden-brown roux forms; this will serve as your gravy base.
Step 2: Build the Flavor
- Slowly pour in the chicken or turkey broth while continuously whisking to prevent lumps, then bring the mixture to a simmer. Stir in the salt, black pepper, and any optional enhancements like Worcestershire sauce or fresh herbs, and let it cook for 5-7 minutes, allowing the gravy to thicken and flavors to meld.
Step 3: Thicken and Serve
- If a thicker gravy is desired, create a slurry by whisking cornstarch with an equal amount of cold water, then gradually whisk it into the simmering gravy. Cook for another 1-2 minutes until it reaches your preferred consistency, and serve your rich turkey gravy hot.