Best way to grow Chili: 5 Steps for Spicy Peppers
Learn how to grow chili peppers in just 5 easy steps.
Chili Pepper Seeds
Potting Soil
Water
Sunlight
Love
Plant chili pepper seeds in potting soil.
Water the soil regularly to keep it moist.
Place the pot in a sunny spot to get enough sunlight.
Care for the plant with love and attention.
Harvest the spicy peppers when they are ready.
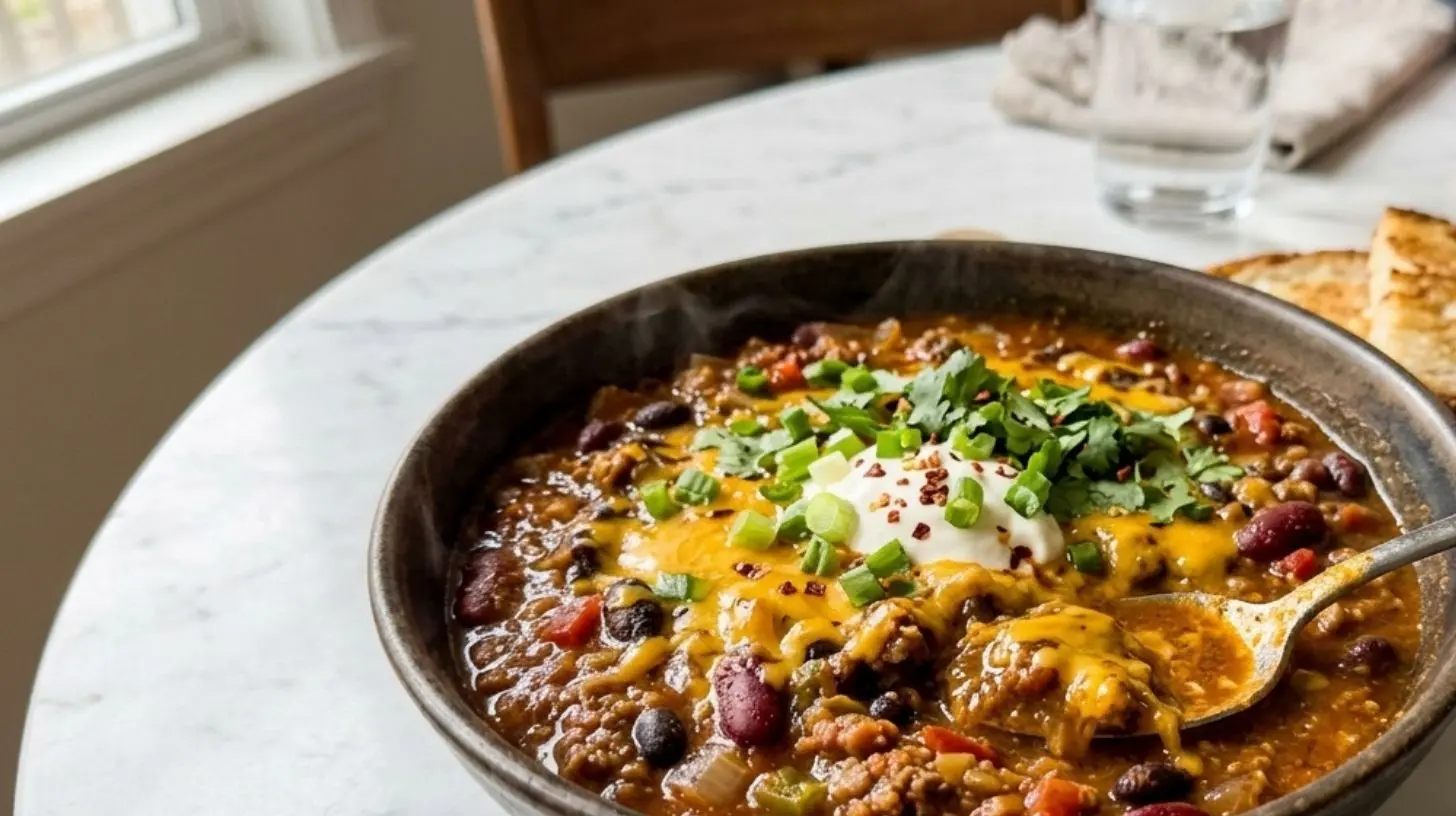
Why Homemade Spicy Chili Beats Takeout Every Time
Have you ever craved a bowl of something hearty, warming, and packed with fire? That deep, smoky heat that lingers just long enough to remind you you’re alive? Store-bought chili often falls flat—too salty, too timid, or loaded with preservatives. But when you make your own Chili from scratch, you control every element: the protein, the spice level, the texture, and the nutrition. That’s why this Spicy version isn’t just a meal—it’s a satisfying, customizable experience. Learning to craft a robust, smoky chili at home saves money, cuts out hidden additives, and lets you dial the heat exactly where you want it.
Ingredients & Kitchen Tools
Essential Ingredients:
– Ground beef or turkey – 1 lb, 80/20 blend for juiciness (swap for plant-based crumbles)
– Kidney beans – 1 can (15 oz), drained and rinsed; adds fiber and creaminess
– Diced tomatoes – 1 can (14.5 oz), fire-roasted preferred for smoky depth
– Tomato paste – 2 tbsp, thickens and intensifies umami
– Onion – 1 medium, diced for aromatic base
– Garlic – 4 cloves, minced
– Jalapeño – 1, seeded and minced (leave seeds for extra heat)
– Chili powder – 2 tbsp, for that classic chili flavor
– Cumin – 1 tsp, earthy warmth
– Smoked paprika – 1 tsp, enhances smoky notes
– Cayenne pepper – ½ tsp (adjust to taste)
– Beef broth – 1 cup, or vegetable broth for lighter version
– Salt & black pepper – to taste
– Olive oil – 1 tbsp for sautéing
Kitchen Tools:
– Large heavy-bottomed pot or Dutch oven – for even heat distribution
– Chef’s knife & cutting board
– Wooden spoon – for stirring without scratching
– Can opener
– Measuring spoons & cups
– Ladle – for serving
Optional Substitutions:
– For dairy-free – skip cheese or use nutritional yeast
– For gluten-free – ensure broth and chili powder are certified GF
– For lower sodium – use no-salt-added beans and broth
Prep Time & Cooking Schedule
| Stage | Time |
|——-|——|
| Prep (chopping, measuring) | 15 minutes |
| Cooking (including simmer) | 45 minutes |
| Resting (thickens flavors) | 10 minutes |
| Total active time | ~1 hour 10 minutes |
Plan ahead: Chili tastes even better the next day, so making it the night before is a smart meal-prep move. The resting time allows the spices to meld into a deeper, more cohesive heat.
Step-by-Step Instructions
1. Sauté the aromatics. Heat 1 tbsp olive oil in your pot over medium-high. Add diced onion and cook until translucent (4–5 minutes). Stir in minced garlic and jalapeño, cook 1 minute until fragrant.
2. Brown the meat. Add ground beef (or turkey). Break it apart with your spoon and cook until no longer pink, about 6 minutes. Season with a pinch of salt.
3. Bloom the spices. Lower heat to medium. Add chili powder, cumin, smoked paprika, and cayenne. Stir constantly for 30 seconds—this toasts the spices and releases their oils without burning. This is the moment your Chili develops its backbone.
4. Build the liquid base. Stir in tomato paste and cook 2 minutes. Then add diced tomatoes (with juices), kidney beans, and beef broth. Scrape up any browned bits from the pot bottom.
5. Simmer for depth. Bring to a boil, then reduce to low. Cover and simmer for 30 minutes, stirring occasionally. Taste halfway—if you want it Spicy, add extra cayenne or a dash of hot sauce.
6. Adjust consistency. If chili is too thin, uncover and simmer 5 more minutes. If too thick, add a splash of broth.
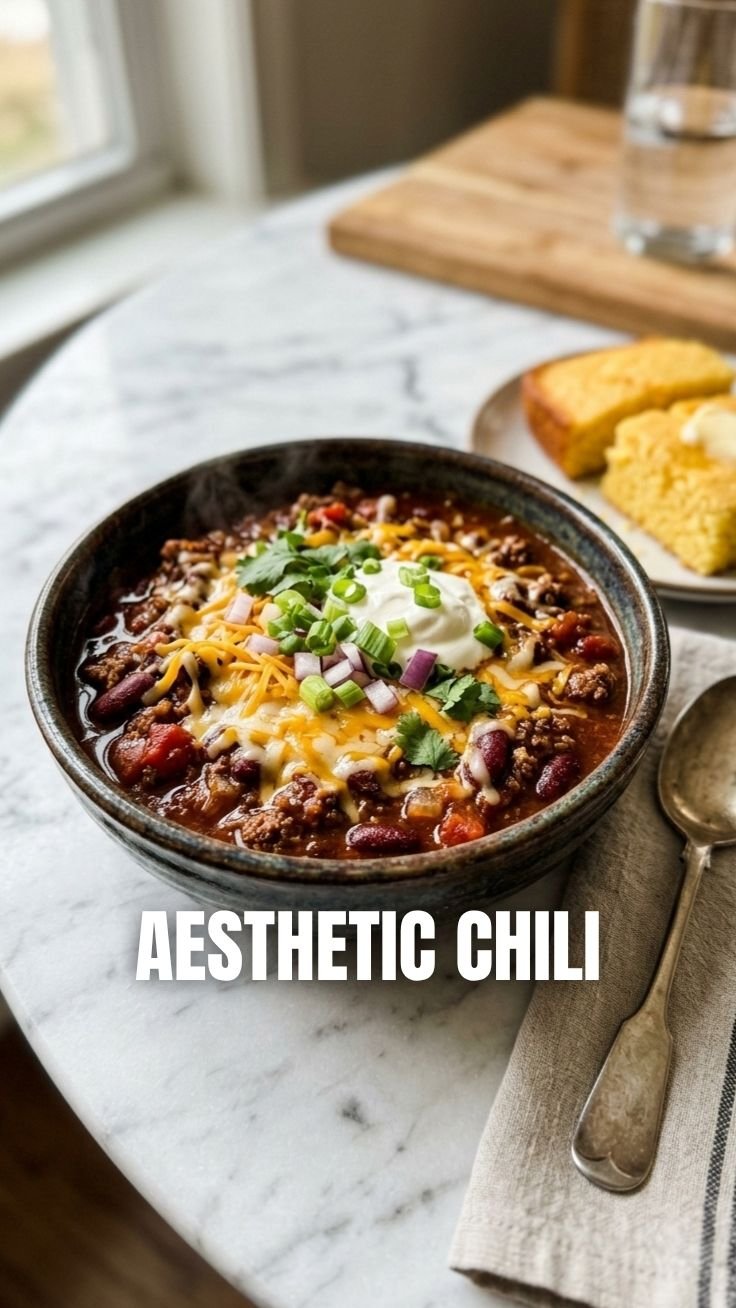
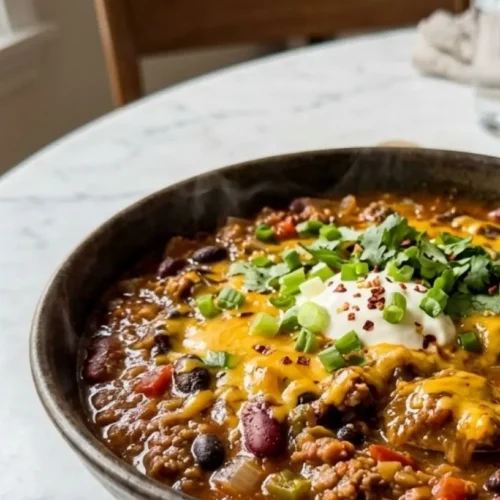
7. Rest and serve. Remove from heat, let sit 10 minutes. Serve with your favorite toppings (cilantro, shredded cheese, sour cream, diced avocado).
Pro tip: For smokier flavor, char the jalapeño directly over a gas flame before dicing.
Nutritional Benefits & Advantages
This chili is a protein-packed powerhouse. Each serving (about 1.5 cups) contains roughly:
– Calories: 320
– Protein: 28g
– Fiber: 9g
– Iron: 20% DV
– Vitamin C: 15% DV (from tomatoes and peppers)
The combination of lean meat and beans provides complete amino acids while the chili powder and cumin offer anti-inflammatory antioxidants. Capsaicin from peppers may boost metabolism. Plus, homemade chili has zero added preservatives or excessive sodium—you control the salt.
Tips, Variations & Cooking Advice
Flavor variations:
– Smoky chipotle – replace cayenne with 1–2 minced chipotle peppers in adobo
– Green chili – swap tomatoes for tomatillos and use white beans
– Extra-vegetable – add bell peppers, corn, or zucchini during sauté
– Beef & beanless – double the meat and skip beans for a low-carb option
Cooking method swaps:
– Slow cooker – brown meat and aromatics first, then transfer to slow cooker with remaining ingredients. Cook on low 6–8 hours or high 3–4 hours.
– Instant Pot – use sauté function for steps 1–3, then pressure cook on high 15 minutes with natural release.
Dietary adaptations:
– Dairy-free – omit cheese/sour cream or use coconut yogurt
– Vegan/vegetarian – use plant-based crumbles or extra beans
– Gluten-free – verify chili powder and broth labels (most are naturally GF)
Common Mistakes to Avoid
| Mistake | Fix |
|———|—–|
| Burned spices | Always bloom spices in oil for 30 seconds max; lower heat if needed |
| Watery chili | Don’t add too much broth; let it simmer uncovered to thicken |
| Bland flavor | Salt is key—add a pinch early and adjust at the end. Also try a squeeze of lime |
| Tough meat | Simmer gently; high heat toughens proteins |
| Overpowering heat | Add cayenne gradually, taste as you go |
Storage & Meal Prep Tips
Refrigeration: Cool chili completely, then store in airtight containers. Keeps 4–5 days in the fridge.
Freezing: Portion into freezer-safe bags (lay flat for easy stacking) or rigid containers. Leave 1-inch headspace. Freezes well for up to 3 months. Thaw overnight in the fridge or reheat directly from frozen in a pot over medium-low.
Reheating: Gently reheat on stove over medium-low, stirring occasionally. Add a splash of broth or water if too thick. Microwave in 1-minute bursts, stirring after each.
Meal prep tip: Make a double batch on Sunday. Use for chili bowls, chili dogs, nachos, or stuffed potatoes throughout the week.
Conclusion
Whether you’re feeding a crowd, meal-prepping for busy weeknights, or just craving something bold and comforting, this homemade Chili delivers. The secret lies in layering flavors—sautéing aromatics, toasting spices, and simmering slowly. And with the freedom to adjust the heat, you can make it exactly as Spicy as your palate desires. Give this recipe a try tonight, and don’t forget to share your chili masterpiece in the comments or snap a photo and tag us. Craving more? Check out our smoky BBQ beans and fire-roasted salsa.
FAQs
1. Can I make this chili without meat?
Absolutely. Use crumbled tofu, vegan ground “beef,” or double the beans. Simmer time remains the same.
2. How do I prevent my chili from being too watery?
Drain beans and avoid adding too much liquid early. Let the chili simmer uncovered for the last 5–10 minutes to reduce.
3. Can I use dried beans instead of canned?
Yes, but they need pre-soaking and cooking. Add 1 cup soaked dried beans (kidney or pinto) with 2 extra cups broth. Simmer 1–1½ hours before adding acidic ingredients like tomatoes to prevent hard beans.
4. How can I tone down the heat after cooking?
Stir in a dollop of sour cream or yogurt, a splash of coconut milk, or extra diced avocado. You can also add a teaspoon of sugar or honey to balance.
5. How long does homemade chili last in the fridge?
Properly stored, 4 to 5 days. Always reheat to at least 165°F before serving.
Best way to grow Chili: 5 Steps for Spicy Peppers
Equipment
- Seed trays or small pots
- Grow lights (optional)
- Trowel or spade
- Watering can or hose
- Pruning shears or sharp knife
Ingredients
Basic Ingredients
- 1 Chili seeds your preferred variety
- Potting soil well-draining
- Fertilizer balanced
- Water
Outdoor Planting (if applicable)
- Compost optional
Pest Control (if needed)
- Insecticidal soap organic option
Instructions
Cultivation Steps
- Start your chili seeds indoors 8-10 weeks before the last frost date, planting them in sterile potting soil and keeping the soil warm and consistently moist.
- Provide ample sunlight (at least 6-8 hours daily) or use grow lights to encourage strong seedling growth, rotating plants regularly to ensure even exposure.
- Once seedlings are established and outdoor temperatures are consistently warm, gradually acclimate them to outdoor conditions before transplanting them into a sunny garden spot or larger pots with good drainage.
- Water regularly, especially during dry spells, and fertilize every 2-4 weeks with a balanced fertilizer; monitor for pests and diseases, addressing them promptly with organic solutions if possible.
- Harvest your chilies when they reach their mature color and desired size, typically from mid-summer to fall, by snipping them off with clean shears or a knife to avoid damaging the plant.