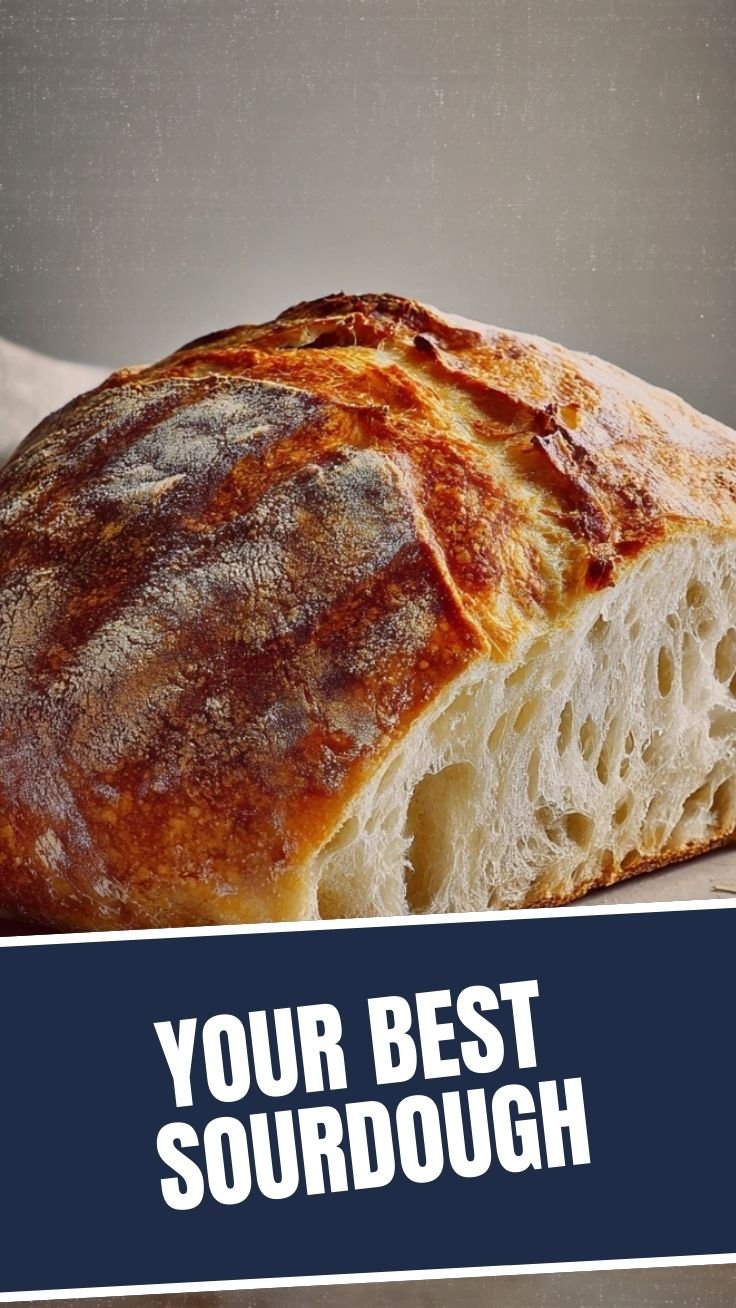
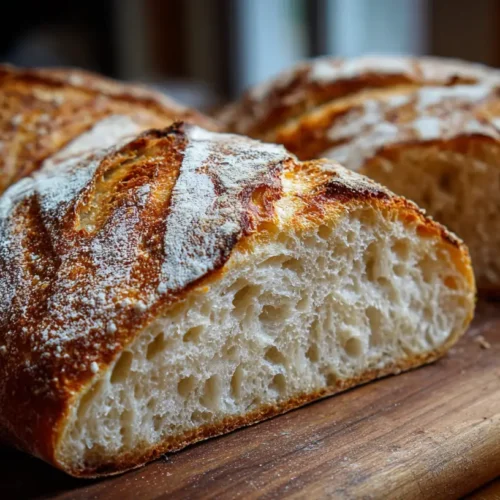
Quick way to grow Sourdough Bread in 7 Days
Learn how to make your own sourdough starter in just one week!
Flour
Water
Sugar
Sourdough starter
Combine flour, water, and sugar in a jar.
Stir well and cover with a cloth.
Let it sit at room temperature for 7 days.
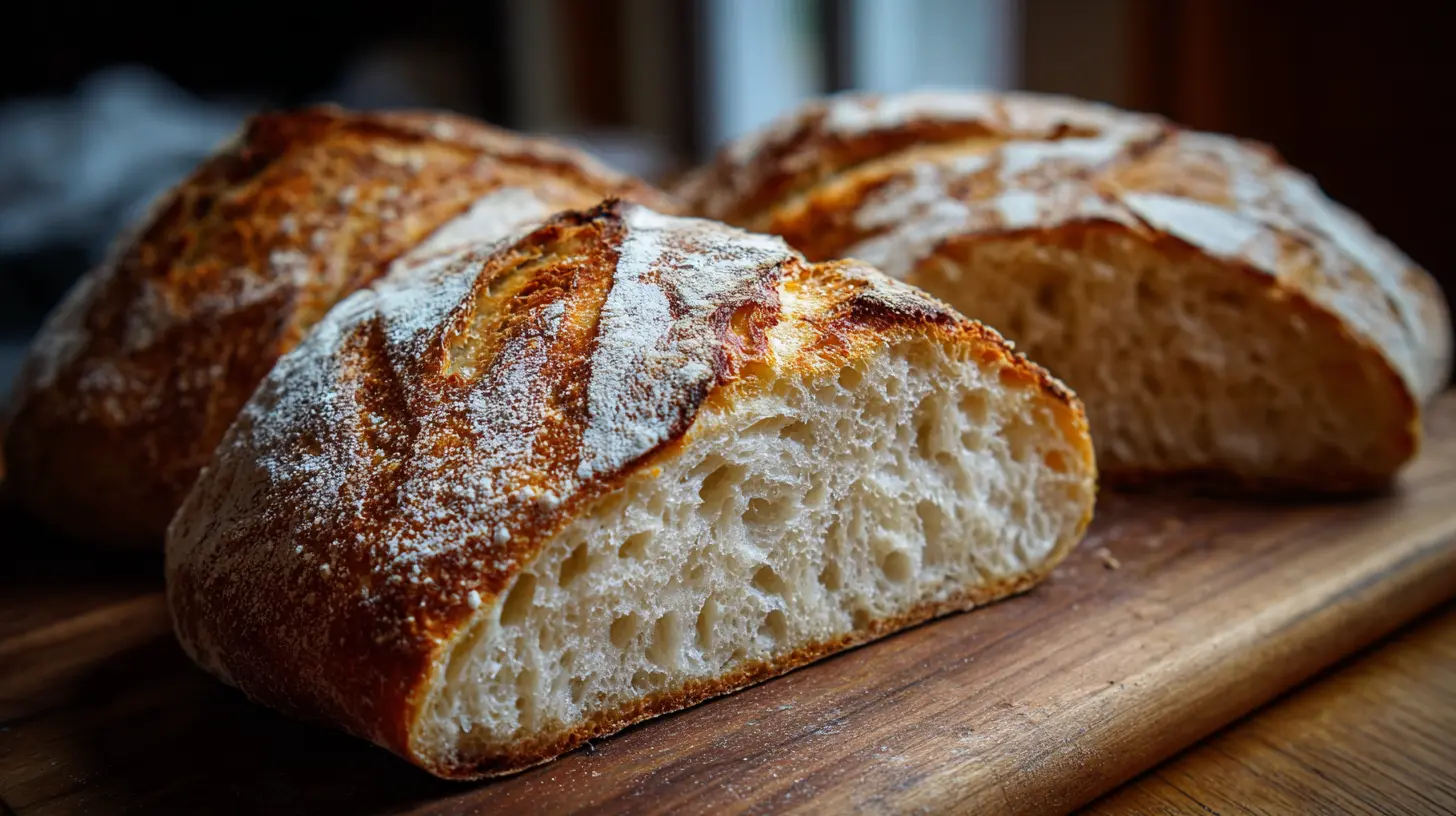
The Ultimate Guide to Making Perfect Sourdough Bread at Home
Creating homemade bread is one of life’s simple pleasures, and there’s nothing quite like the tangy aroma and chewy texture of freshly baked Sourdough Bread. Have you ever wondered how artisan bakers achieve that perfect crust and open crumb structure? With patience and the right techniques, you can create bakery-quality sourdough in your own kitchen. The secret lies in cultivating a healthy Sourdough Starter – the living culture of wild yeast and beneficial bacteria that gives this traditional bread its distinctive flavor and texture.
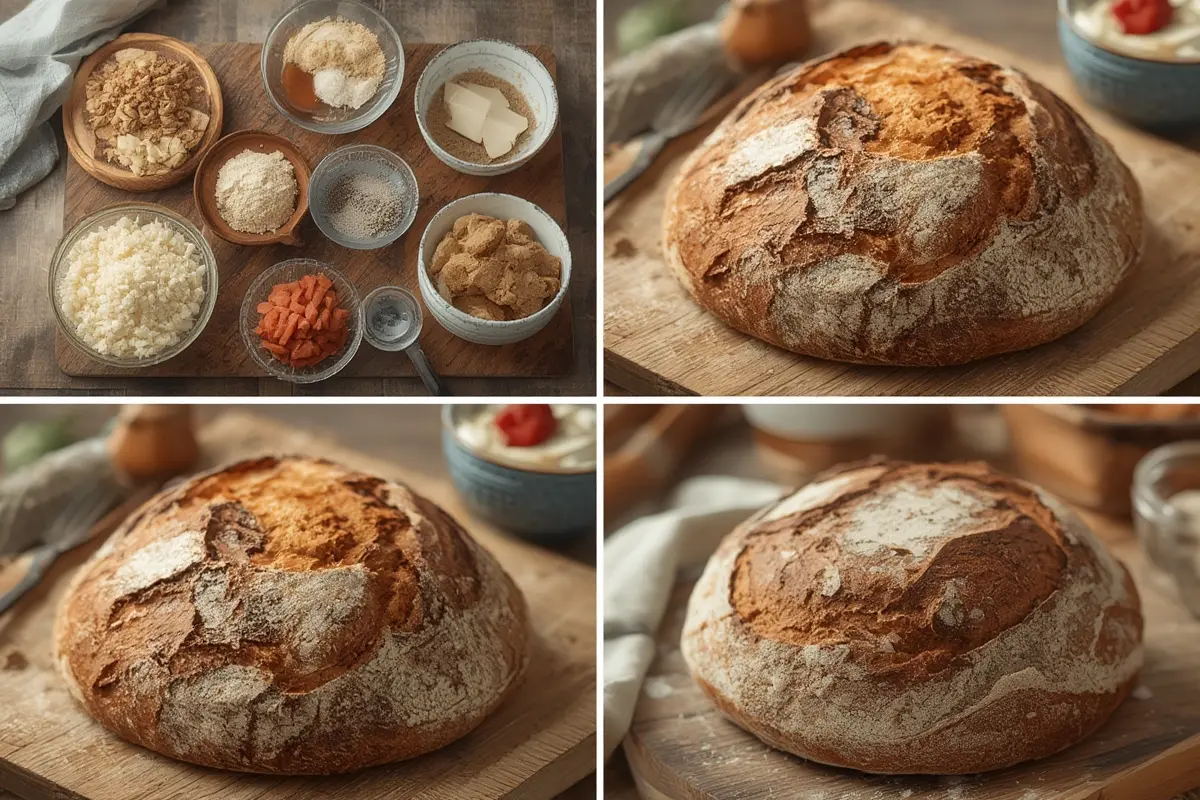
Ingredients & Kitchen Tools
For the Sourdough Starter:
– 50g whole wheat flour (provides more microorganisms to kickstart fermentation)
– 50g filtered water at room temperature (chlorine can inhibit bacterial growth)
– Glass jar with lid (allows you to monitor activity)
For the Bread:
– 500g bread flour (higher protein content for better gluten development)
– 350g water (hydration can be adjusted based on flour type)
– 100g active sourdough starter (should be bubbly and doubled in size)
– 10g salt (enhances flavor and controls fermentation)
Kitchen Tools:
– Digital kitchen scale (precision is crucial for consistent results)
– Dutch oven or baking stone (creates steam for proper crust development)
– Dough scraper (helps with handling sticky dough)
– Banneton or proofing basket (supports dough during final rise)
– Scoring tool or sharp knife (allows controlled expansion during baking)
– Thermometer (for monitoring dough and ambient temperatures)
Prep Time & Cooking Schedule
Total Time: 24-36 hours (mostly inactive)
– Starter feeding: 8-12 hours
– Autolyse: 30-60 minutes
– Initial mixing: 15 minutes
– Bulk fermentation with stretch and folds: 4-6 hours
– Shaping: 15 minutes
– Final proofing: 8-14 hours (overnight in refrigerator)
– Baking: 45-50 minutes
This extended timeline allows for proper fermentation, which develops flavor complexity. Most steps require minimal hands-on time, making this perfect for weekend baking projects.
Step-by-Step Instructions
1. Feed your starter: Mix 1 part active Sourdough Starter with 1 part flour and 1 part water. Let sit at room temperature (70-75°F) until doubled with bubbles throughout, typically 8-12 hours.
2. Autolyse: Mix flour and water in a large bowl until no dry spots remain. Cover and rest for 30-60 minutes, allowing the flour to fully hydrate.
3. Add starter and salt: Incorporate your bubbly starter by gently stretching and folding the dough. Add salt and mix thoroughly.
4. Bulk fermentation: Over 4-6 hours, perform 4-6 sets of stretch and folds at 30-minute intervals to develop gluten structure. The dough should increase in volume by about 50% and feel airy.
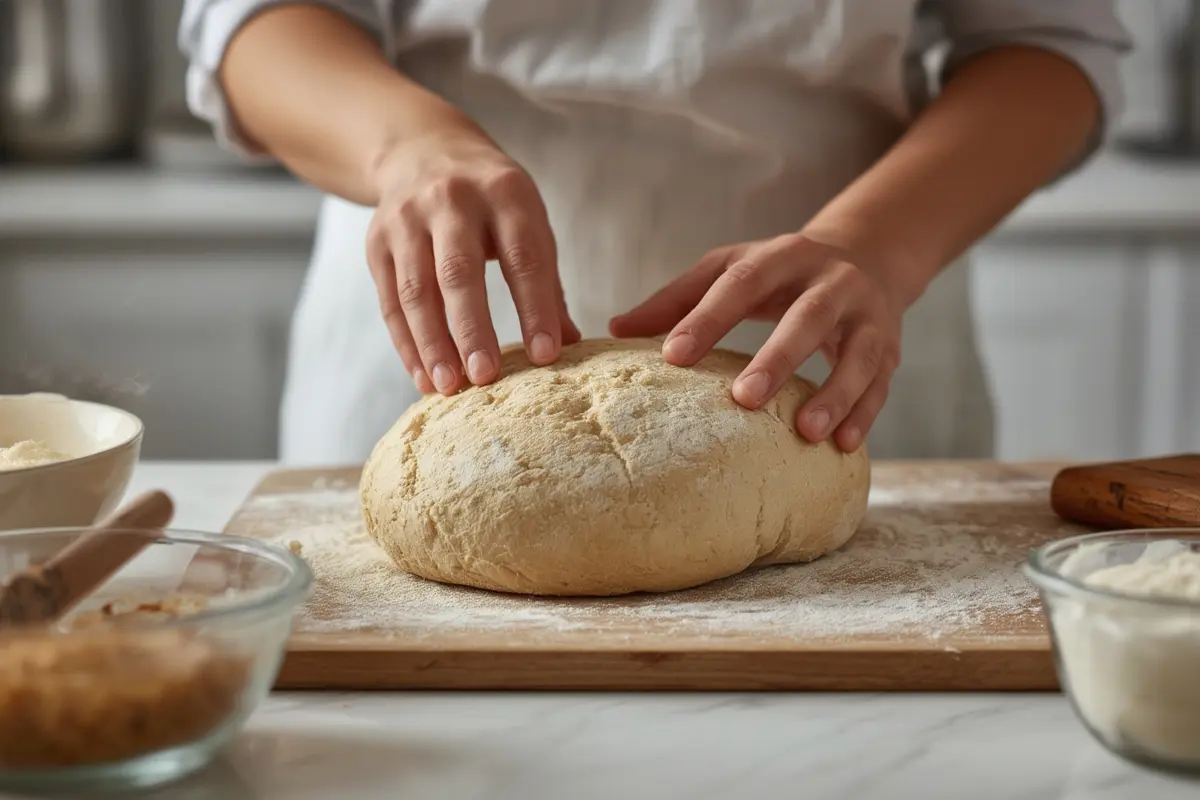
5. Pre-shape: Turn dough onto a lightly floured surface, gently form into a round, and rest for 20-30 minutes.
6. Final shape: Shape into a tight boule or batard, creating surface tension for proper oven spring.
7. Cold proof: Transfer to a floured banneton seam-side up, cover, and refrigerate for 8-14 hours to develop that distinctive Sourdough Bread flavor profile.
8. Bake: Preheat oven to 500°F with Dutch oven inside. Turn dough onto parchment, score, and bake covered for 20 minutes. Reduce temperature to 450°F, remove lid, and bake for 20-25 minutes more until deeply golden.
Nutritional Benefits & Advantages
Naturally fermented sourdough offers several health benefits over commercial yeasted breads:
– Improved digestibility due to the partial breakdown of gluten and phytic acid
– Lower glycemic index, resulting in more stable blood sugar levels
– Increased mineral absorption from the fermentation process
– Prebiotic properties that support gut health
– No artificial additives or preservatives commonly found in store-bought varieties
Tips, Variations & Cooking Advice
– Adjust hydration based on your flour’s absorption capacity
– Try incorporating whole grains like rye, spelt, or einkorn (up to 20%)
– Add mix-ins during final shaping: olives, herbs, nuts, or dried fruits
– For a tangier loaf, extend the cold proof to 24 hours
– Use rice flour in your banneton to prevent sticking
– Experiment with different scoring patterns for both function and decoration
Common Mistakes to Avoid
– Under-fermenting the dough: Look for signs like increased volume and bubbles on the surface.
– Over-proofing: Test with a gentle poke—dough should spring back slowly but not completely.
– Using inactive starter: Always ensure your starter passes the float test before mixing dough.
– Inadequate shaping: Poor surface tension leads to flat loaves without proper oven spring.
– Scoring too shallowly: Make confident, decisive cuts about 1/4-inch deep.
– Opening the oven too early: This releases steam crucial for crust development.
Storage & Meal Prep Tips
– Cool completely (at least 2 hours) before slicing to prevent gumminess
– Store at room temperature in a bread box or paper bag for 2-3 days
– For longer storage, slice and freeze in a sealed container for up to 3 months
– Refresh day-old bread by lightly spritzing with water and heating at 350°F for 5-10 minutes
– Use stale bread for croutons, bread pudding, or breadcrumbs
Conclusion
Mastering homemade Sourdough Bread is a rewarding journey that connects you with traditional baking methods passed down through generations. While it requires patience and practice, the process becomes intuitive over time as you learn to read your dough and adjust to your environment. Remember that maintaining a healthy Sourdough Starter is key to consistent results. Each loaf you bake will have its own character—embrace the artisanal nature of this craft and enjoy the delicious rewards of your efforts!
FAQs
Can I use all-purpose flour instead of bread flour?
Yes, though your bread may have a slightly less chewy texture due to lower protein content. You might need to reduce hydration by 5-10%.
How do I know when my sourdough starter is ready to use?
A mature starter should double in volume within 4-8 hours of feeding, appear bubbly, and pass the float test (a small portion should float in water).
Why is my bread dense with few air pockets?
This could be due to insufficient bulk fermentation, improper shaping technique, or inadequate steam during baking. Ensure proper dough development before shaping.
Can I speed up the process with commercial yeast?
While possible, adding commercial yeast defeats the purpose of true sourdough fermentation and its associated benefits. For authentic results, rely solely on your starter.
How do I maintain my sourdough starter between bakes?
Store in the refrigerator and feed weekly. Before baking, remove from refrigeration and feed 1-2 times at room temperature until actively bubbling.
Quick way to grow Sourdough Bread in 7 Days
Equipment
- Large glass jar
- Large bowl
- Dutch oven
Ingredients
Sourdough Starter
- 1 cup All-purpose flour
- 0.5 cup Water
Bread Dough
- 100 g Mature sourdough starter
- 300 g Bread flour
- 200 g Water
- 7 g Salt
Instructions
Day 1-7
- To begin, combine 1 cup (120g) of all-purpose flour with ½ cup (120g) of warm water in a large glass jar, stirring until well combined, then cover and let it rest at room temperature.
- On day two, discard half of the starter and feed the remainder with 1 cup of flour and ½ cup of water, mixing thoroughly before covering it again.
- Repeat the feeding process daily for the next five days, ensuring to discard half of the starter each time before adding fresh flour and water.
- By day seven, your starter should be active and bubbly, indicating it's ready for baking; perform a float test to confirm its readiness.
Baking the Bread
- In a large bowl, mix 100g of mature sourdough starter with 300g of bread flour, 200g of water, and 7g of salt until a shaggy dough forms, then cover and let it rest for 30 minutes.
- Perform a series of stretch and folds every 30 minutes for 2 hours, then let the dough bulk ferment at room temperature until it has doubled in size.
- Gently shape the dough into a round or oval, place it in a proofing basket, and refrigerate overnight for a slow fermentation.
- Preheat your oven to 450°F (230°C) with a Dutch oven inside for at least 30 minutes.
- Carefully transfer the dough to the hot Dutch oven, score the top, and bake with the lid on for 30 minutes, then remove the lid and bake for another 20-25 minutes until golden brown.