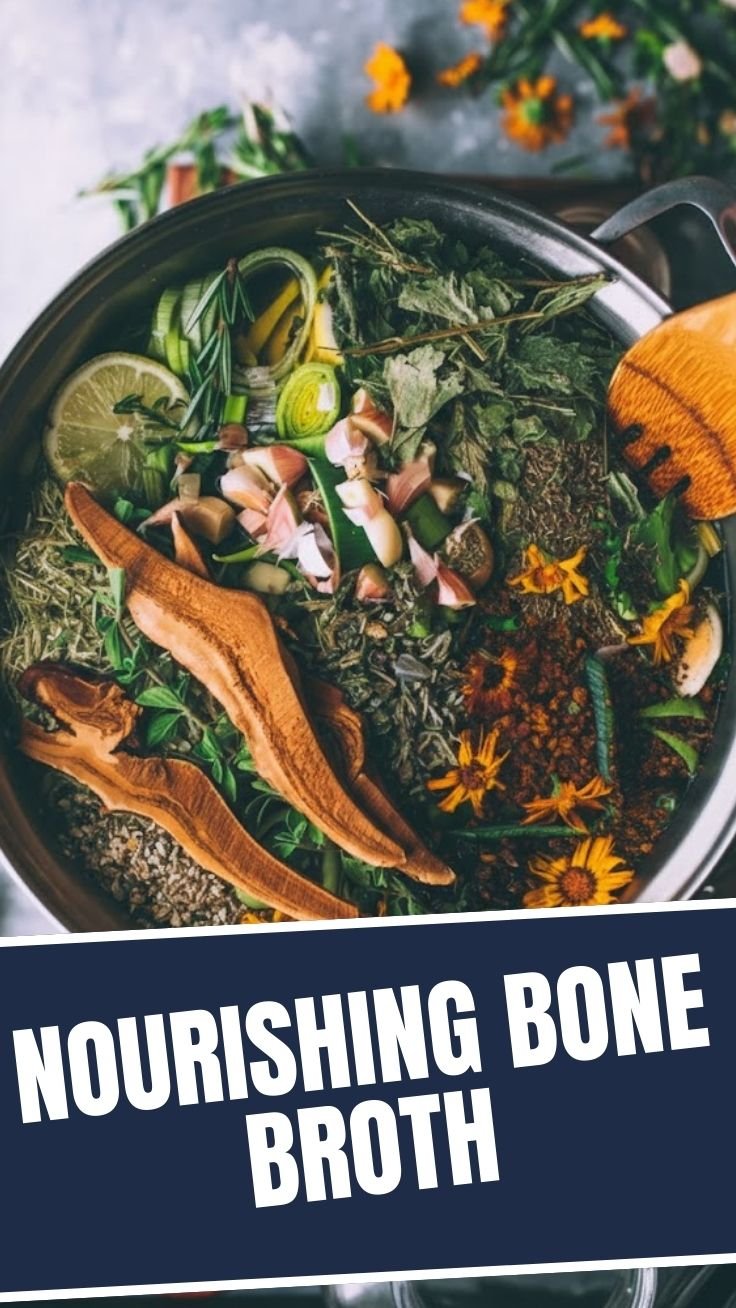
Nourishing Bone Broth Health Secrets
Discover the secrets to making nourishing bone broth.
Chicken Bones
Water
Vegetables
Salt
Pepper
Roast the chicken bones in the oven.
Simmer the bones in water for at least 12 hours.
Add vegetables for added flavor.
Season with salt and pepper to taste.
Strain the broth and enjoy the nourishing benefits!
How to Make Delicious Nourishing Bone Broth at Home
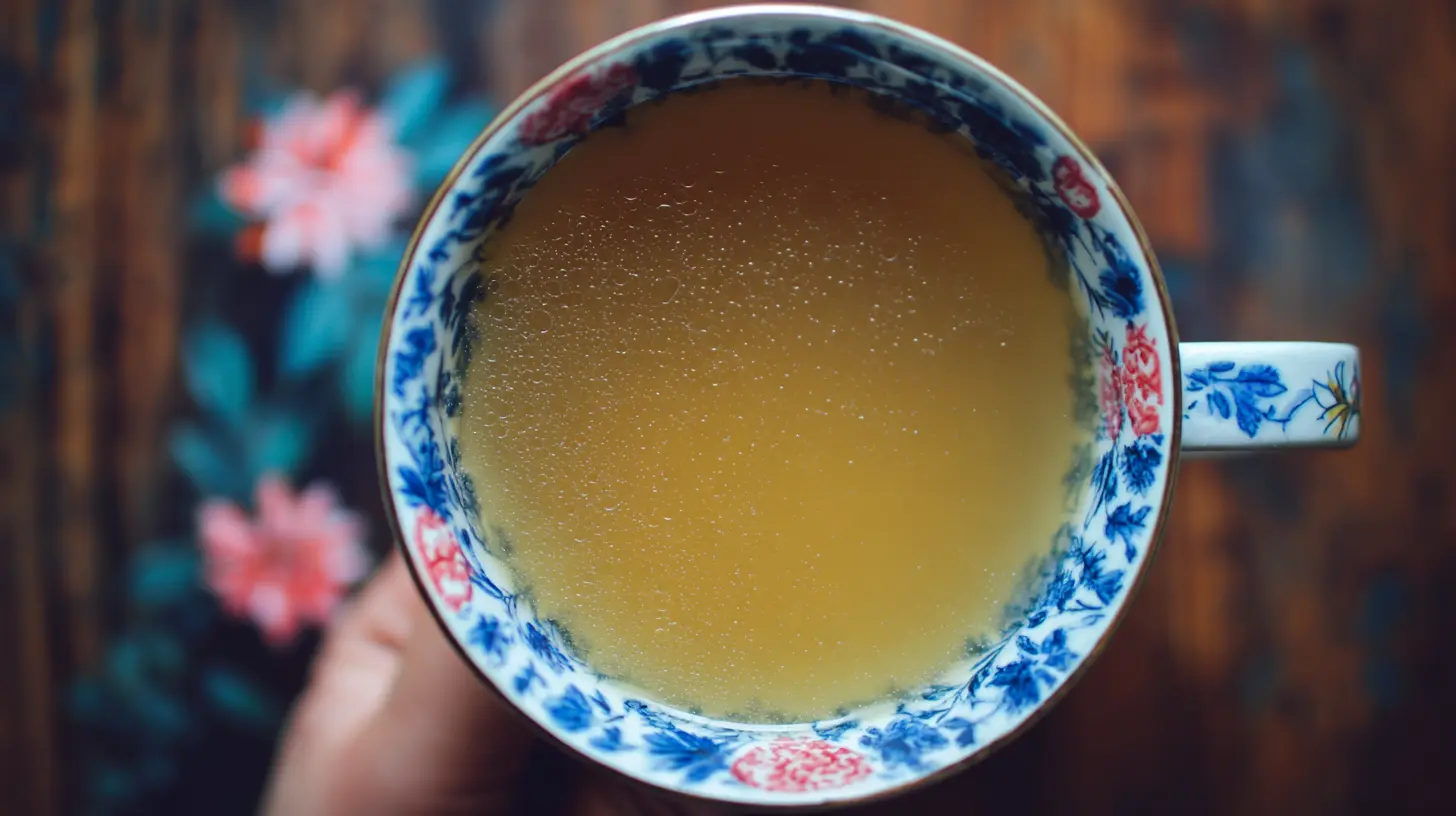
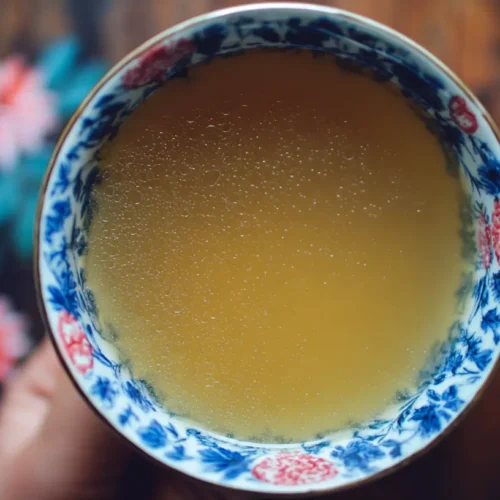
Have you ever wondered why homemade broths taste infinitely better than store-bought versions? The rich flavor and numerous health benefits of a homemade Nourishing Bone Broth make it worth the time investment. This traditional recipe creates a Collagen-rich broth that not only enhances your cooking but also provides remarkable nutritional benefits. Creating this liquid gold at home allows you to control the ingredients, minimize waste from leftover bones, and enjoy a deeply flavorful base for countless recipes.
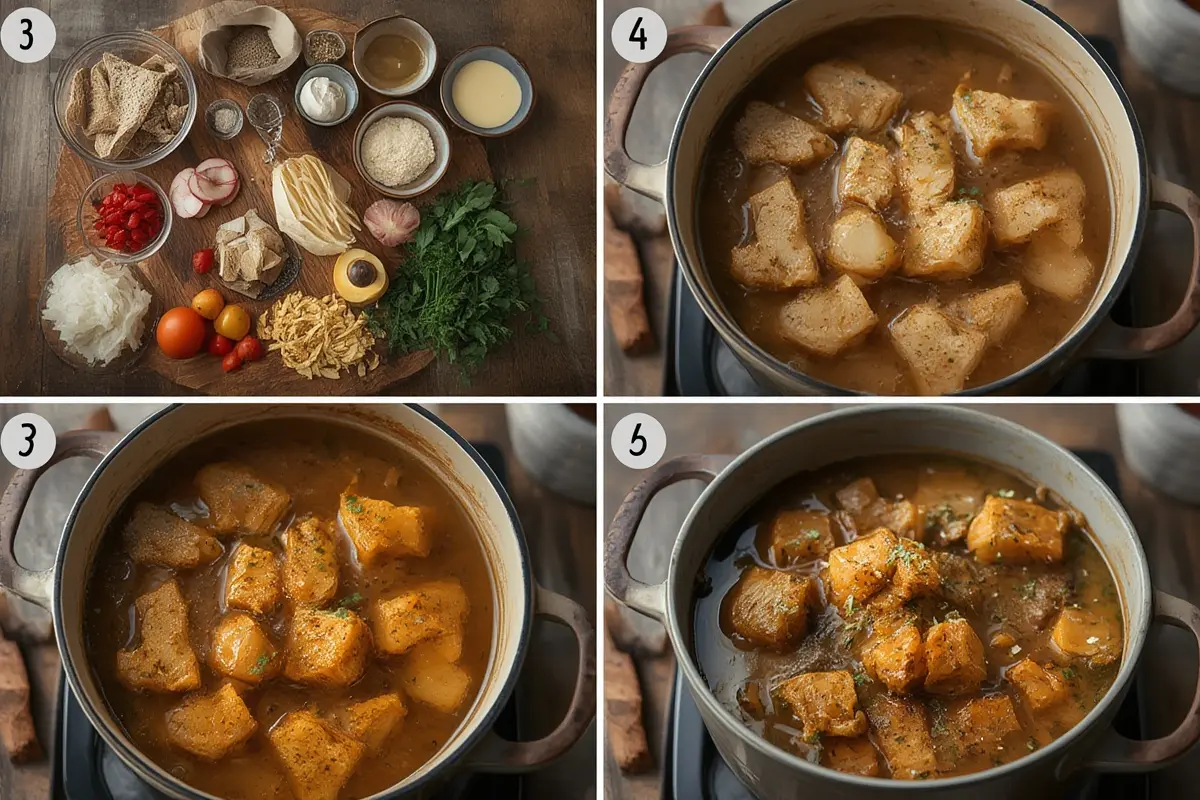
Ingredients & Kitchen Tools
For the Broth:
– 2-3 pounds of mixed bones (beef, chicken, pork) – preferably with some meat attached
– 2 tablespoons apple cider vinegar – helps extract minerals from bones
– 2 medium onions, quartered – no need to peel
– 2 large carrots, roughly chopped
– 2 celery stalks with leaves, roughly chopped
– 4 garlic cloves, smashed
– 2 bay leaves
– 1 tablespoon whole peppercorns
– Fresh herbs (thyme, rosemary, parsley stems) – optional
– Filtered water – enough to cover ingredients by 1 inch
Kitchen Tools Needed:
– Large stock pot (8+ quarts) or slow cooker
– Fine-mesh strainer
– Large bowl or container for straining
– Ladle
– Storage containers (glass jars work best)
– Sheet pan (if roasting bones first)
Prep Time & Cooking Schedule
– Prep time: 15 minutes
– Initial cook time: 30 minutes (for blanching/roasting bones)
– Simmering time: 12-24 hours (beef/pork), 6-12 hours (chicken)
– Cooling/straining: 30 minutes
– Total time: 12-24+ hours (mostly hands-off)
Plan to make this recipe when you’ll be home for an extended period. The longer simmering creates a more flavorful and nutritious result.
Step-by-Step Instructions
1. Optional but recommended: Blanch the bones by placing them in a pot of cold water, bringing to a boil, and simmering for 20 minutes. This removes impurities and creates a clearer Nourishing Bone Broth.
2. Optional for deeper flavor: Drain and rinse blanched bones, then roast them on a sheet pan at 450°F for 20-30 minutes until browned.
3. Prepare the stockpot: Place blanched and/or roasted bones in a large stockpot or slow cooker.
4. Add acid: Pour in apple cider vinegar and let sit for 30 minutes. This helps extract minerals and Collagen-rich broth components from the bones.
5. Add aromatics: Add vegetables, herbs, and spices to the pot.
6. Add water: Pour in filtered water until ingredients are covered by about 1 inch.
7. Bring to a simmer: Heat until barely simmering (small bubbles around the edges). Avoid boiling, as it can make the broth cloudy.
8. Skim if needed: During the first hour, skim off any foam that rises to the surface.
9. Simmer gently: Maintain a gentle simmer for the recommended time based on your bones (12-24 hours for beef/pork, 6-12 hours for chicken).
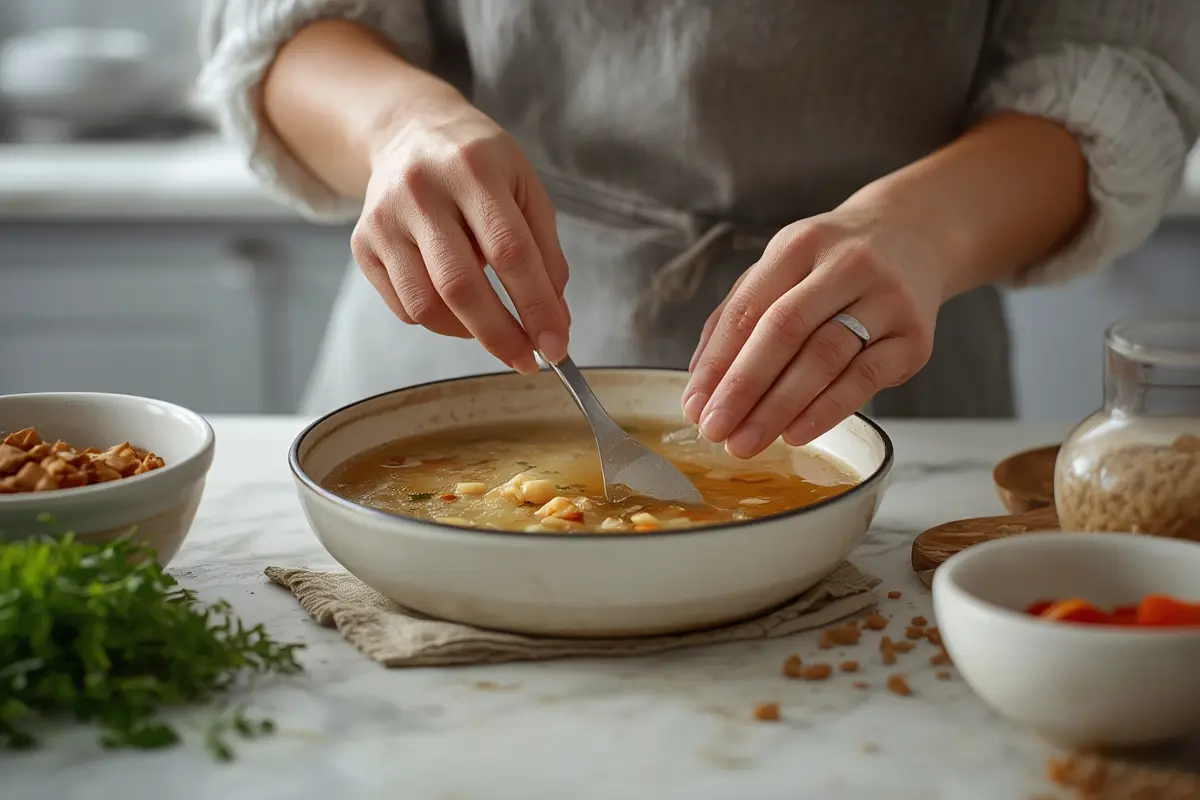
10. Strain thoroughly: Pour through a fine-mesh strainer into a large bowl.
11. Cool properly: Allow to cool at room temperature for no more than 2 hours before refrigerating.
Nutritional Benefits & Advantages
This ancient culinary tradition offers remarkable health benefits:
– Rich source of bioavailable minerals including calcium, magnesium, and phosphorus
– Contains amino acids like glycine and proline that support digestion and immune function
– Provides gelatin which supports joint and skin health
– Contains compounds that may reduce inflammation
– Highly digestible form of nutrition, perfect for those with sensitive digestive systems
– Supports gut health and healing
Tips, Variations & Cooking Advice
– For beef bones, roasting is crucial for developing rich flavor
– Add a pig’s foot or chicken feet for extra gelatin content
– Try adding mushrooms for an umami boost
– For Asian-inspired broths, add ginger, star anise, and lemongrass
– Use fish bones for a lighter broth (but simmer only 4-6 hours)
– For vegetable scrap economy, keep a freezer bag to collect trimmings for your next batch
Common Mistakes to Avoid
– Boiling instead of simmering: This creates cloudy broth and prevents proper extraction
– Not skimming impurities: Skipping this step results in a bitter, less clear broth
– Using too few bones: This creates weak flavor and minimal gelatin content
– Forgetting the acid component: Without acid, minerals and collagen don’t extract properly
– Rushing the process: Short cooking times don’t allow for full nutrient extraction
– Using non-organic bones: Quality matters for both flavor and nutritional content
Storage & Meal Prep Tips
– Refrigerate broth for up to 5 days in sealed glass containers
– Freeze in ice cube trays for convenient small portions
– Store in freezer-safe containers for up to 6 months
– A layer of fat on top acts as a natural preservative in the refrigerator
– Reheat only what you need to preserve freshness
– Use silicon muffin tins to freeze perfect 1/3 cup portions
Conclusion
Making your own Nourishing Bone Broth at home is a rewarding practice that connects you to traditional cooking methods while providing exceptional nutrition. This Collagen-rich broth serves as a foundation for countless recipes from soups and stews to braises and sauces. The time investment is primarily hands-off, and the benefits in flavor and health make it well worth incorporating into your regular cooking routine. Start collecting bones from your meals today, and soon you’ll have a simmering pot of liquid gold enhancing both your culinary creations and your wellbeing.
FAQs
Can I make bone broth in a pressure cooker?
Yes, you can make bone broth in a pressure cooker in about 2-3 hours. While this won’t extract quite as much gelatin as the long-simmer method, it still produces excellent results when time is limited.
Why isn’t my broth gelling after refrigeration?
Insufficient gelatin extraction is usually caused by using too little collagen-rich material (like joints, feet, or knuckles), too much water, or not cooking long enough. Try adding these collagen-rich parts in your next batch.
Can I reuse bones for a second batch?
Yes! You can make a “second batch” or “remouillage” with used bones. It will be less rich but still flavorful. Simply follow the same process with fresh vegetables and aromatics.
Is cloudy broth safe to consume?
Absolutely. Cloudiness simply means proteins have emulsified in the liquid. It affects appearance but not safety or nutrition. For clearer broth, maintain a gentle simmer and skim diligently.
What’s the best way to defat bone broth?
Refrigerate the broth overnight. The fat will solidify on top and can be easily removed. Alternatively, use a fat separator while the broth is still warm.
How to grow 7 Nourishing Bone Broth Health Secrets
Equipment
- large stock pot
- slow cooker (optional)
- fine-mesh sieve
- cheesecloth (optional)
- baking sheet
Ingredients
Main Ingredients
- 2-3 pounds beef bones knuckle, marrow, and joint bones
- 1 pound chicken feet optional, for extra gelatin
- 2 carrots roughly chopped
- 2 celery stalks roughly chopped
- 1 onion quartered
- 3 garlic cloves smashed
- 2 tablespoons apple cider vinegar helps extract minerals
- 2 bay leaves
- 1 tablespoon black peppercorns
- 16 cups cold water
Instructions
Preparation
- Roast bones and chicken feet (if using) in the oven at 400°F (200°C) for 20-30 minutes, which deepens the flavor.
- Transfer roasted bones to a large stock pot or slow cooker, along with all vegetables and seasonings.
- Add apple cider vinegar and pour enough cold water to cover all ingredients by at least an inch.
Cooking
- Bring the mixture to a rolling boil over high heat, then reduce to a gentle simmer.
- Skim off any foam and impurities that rise to the surface during the first hour of simmering.
- Cover and simmer for at least 12-24 hours on the stovetop or 18-36 hours in a slow cooker.
Finishing
- Remove from heat and carefully strain the broth through a fine-mesh sieve or cheesecloth, discarding solids.
- Let the broth cool completely before transferring to airtight containers for refrigeration or freezing. The broth can be stored in the refrigerator for up to 5 days or in the freezer for several months.