French Toast Stick Garden
Let's grow a garden of French toast sticks!
Bread slices
Eggs
Cinnamon
Sugar
Butter
Whisk eggs, cinnamon, and sugar together in a bowl.
Dip bread slices into the egg mixture.
Cook until golden brown on each side.
Spread butter on top before serving.
Delicious Homemade French Toast Sticks: Easy Breakfast Treat
Ever wondered how to transform a simple breakfast into something extraordinary that both kids and adults will love? French Toast Sticks are the perfect solution for busy mornings when you want something special without the fuss. This french toast sticks recipe transforms ordinary bread into delicious, dippable breakfast treats that are crispy on the outside and soft on the inside. Let’s dive into this family-friendly breakfast option that’s sure to become a weekend favorite!
Ingredients & Kitchen Tools
For the French Toast Sticks:
– 8 slices of thick-cut bread (Texas toast or brioche work best)
– 4 large eggs
– 1 cup whole milk (or non-dairy alternative)
– 2 tablespoons granulated sugar
– 1 teaspoon vanilla extract
– 1 teaspoon ground cinnamon
– ¼ teaspoon ground nutmeg (optional)
– Pinch of salt
– 3 tablespoons butter for frying (or neutral oil)
– Maple syrup, for serving
– Optional toppings: powdered sugar, fresh berries, chocolate sauce
Kitchen Tools Needed:
– Large shallow dish (for egg mixture)
– Whisk
– Sharp knife
– Large non-stick skillet or griddle
– Spatula
– Paper towels
– Baking sheet (if keeping warm in oven)
– Measuring cups and spoons
Prep Time & Cooking Schedule

Preparation Time: 10 minutes
Cooking Time: 10-12 minutes
Total Time: About 25 minutes
Serving Size: 4 servings (24 sticks)
This quick breakfast can be prepared in under 30 minutes, making it perfect for weekend mornings. You can also prep components the night before to save time during busy mornings.
Step-by-Step Instructions
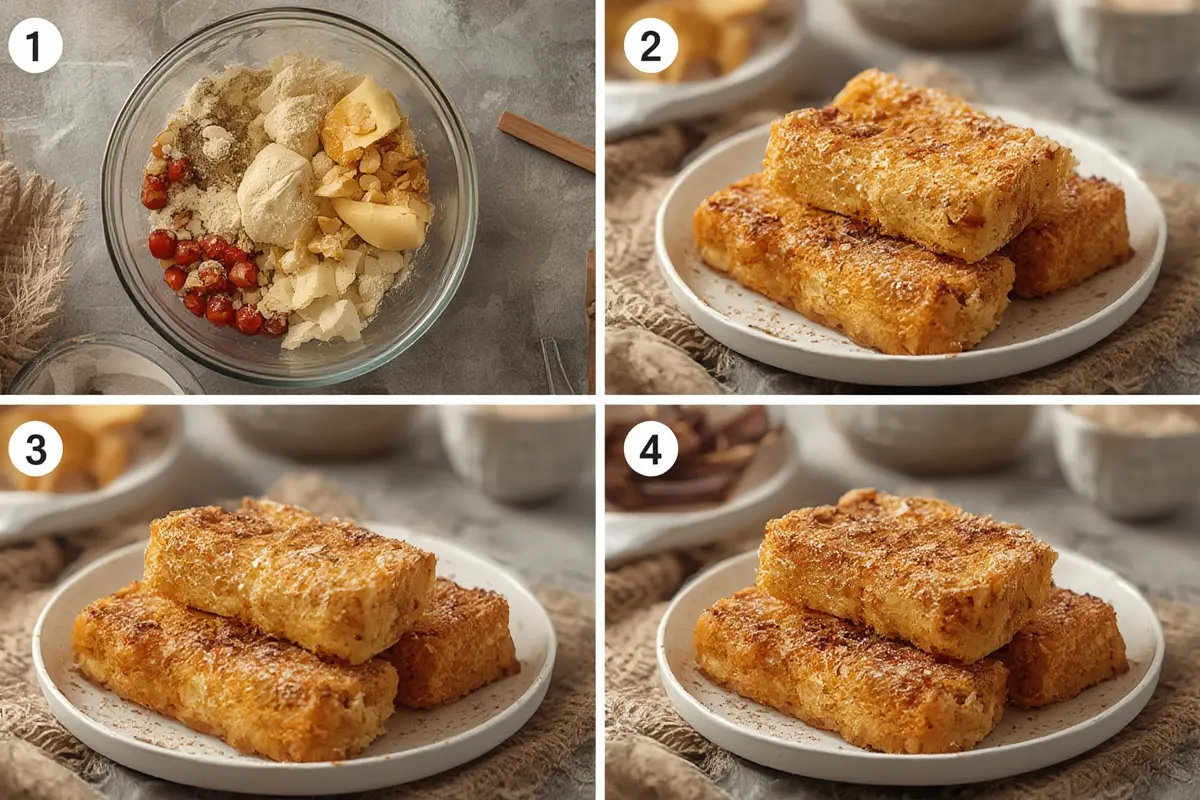
1. Prepare the bread: Remove crusts from bread slices if desired (this is optional but gives a more uniform look to your French Toast Sticks). Cut each slice into 3-4 even strips.
2. Make egg mixture: In a wide, shallow dish, whisk together eggs, milk, sugar, vanilla extract, cinnamon, nutmeg, and salt until completely combined.
3. Heat the cooking surface: Melt butter in a large skillet or griddle over medium heat until it begins to bubble slightly.
4. Dip bread sticks: Working in batches, quickly dip bread strips into the egg mixture, turning to coat all sides. Don’t soak too long or they’ll become soggy.
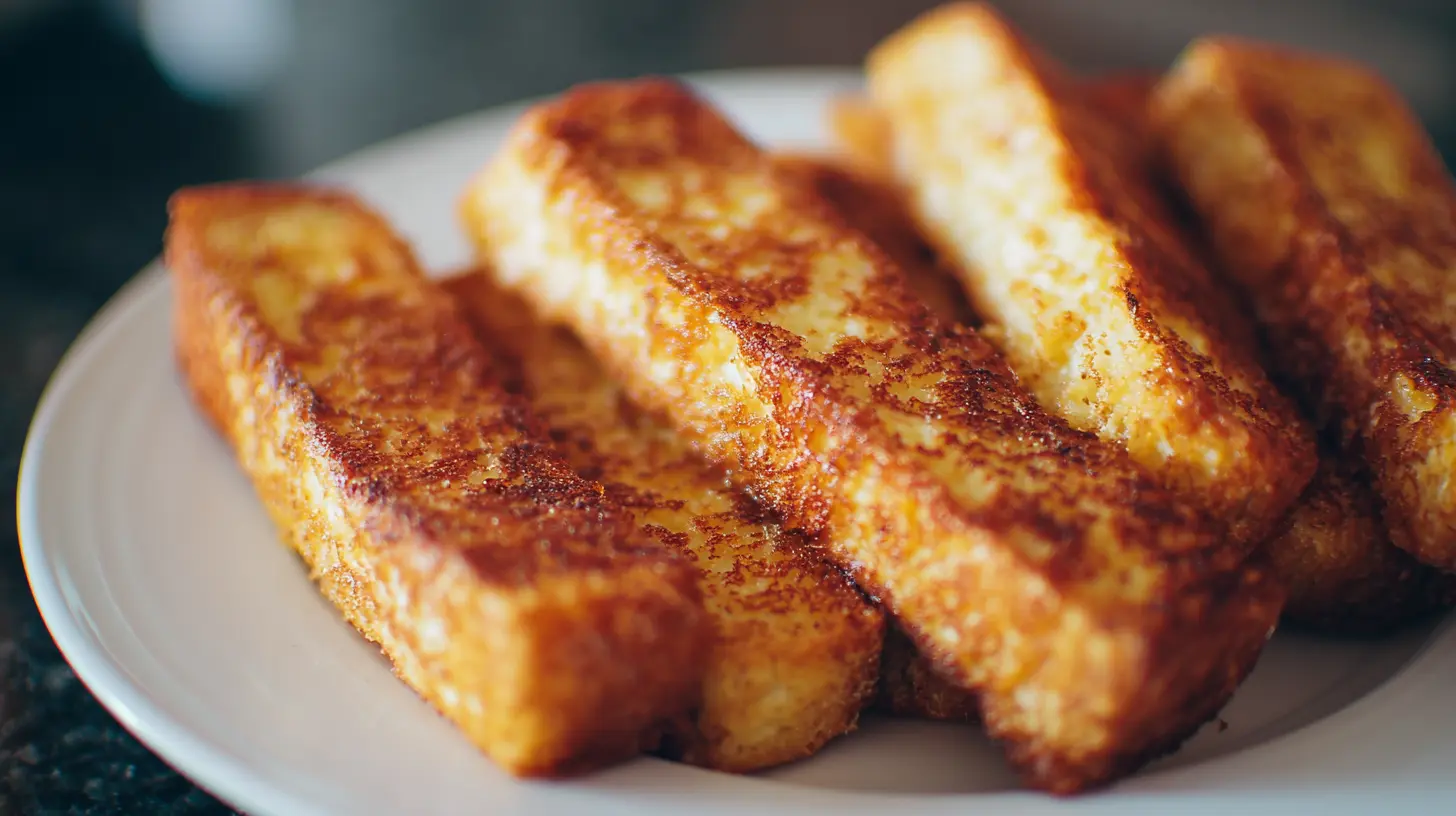
5. Cook to perfection: Place dipped sticks in the hot pan, leaving space between each piece. Cook for 2-3 minutes per side until golden brown and slightly crispy on the exterior.
6. Keep warm: Transfer cooked french toast sticks recipe to a baking sheet in a 200°F oven while you finish cooking the remaining batches.
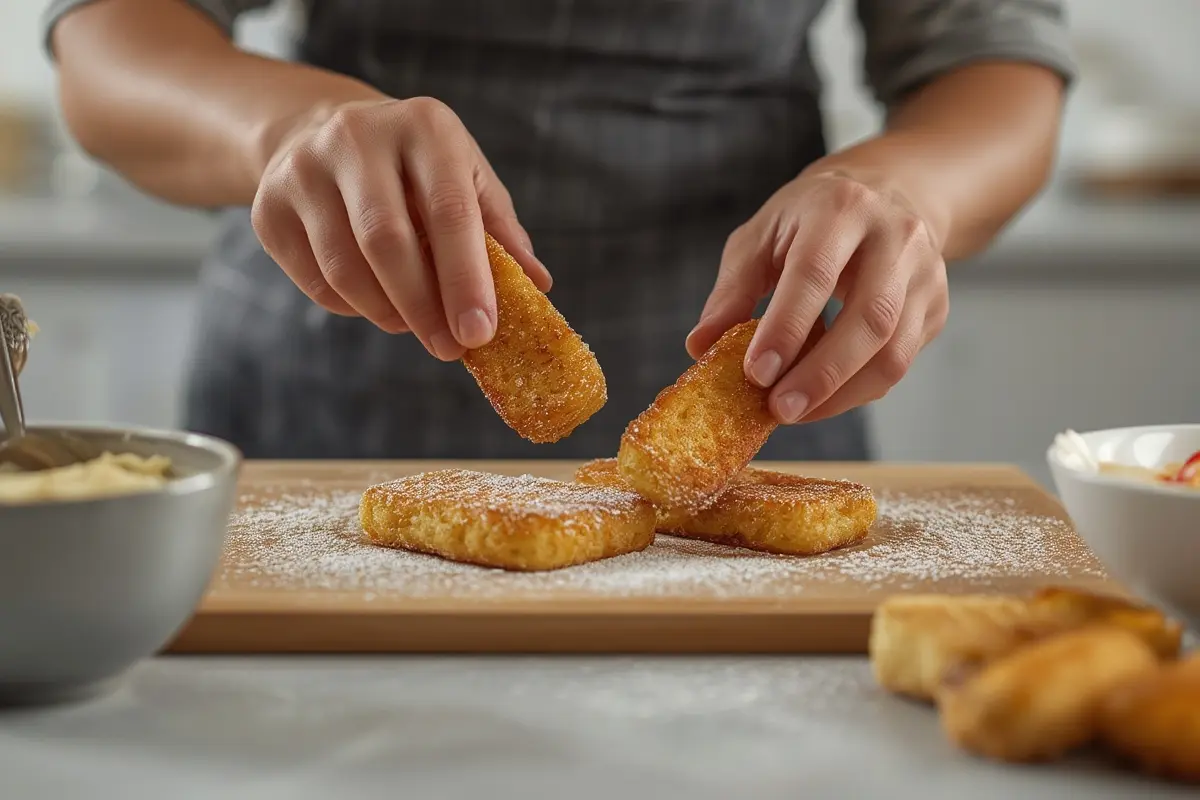
7. Serve: Arrange on plates with dipping cups of maple syrup, dust with powdered sugar if desired, and serve immediately for the best texture and flavor.
Nutritional Benefits & Advantages
French toast sticks offer a good balance of carbohydrates and proteins to start your day. The eggs provide high-quality protein and essential amino acids, while the milk adds calcium and vitamin D. When made with whole grain bread, these sticks deliver fiber for digestive health. Adding fruits as toppings increases the vitamin content and antioxidant properties of this breakfast treat.
Tips, Variations & Cooking Advice
– Bread choices: Slightly stale bread works better than fresh as it absorbs the egg mixture without falling apart.
– Flavor variations: Add orange zest or a splash of bourbon to the egg mixture for adult versions.
– Coating options: Roll dipped sticks in crushed cereal or finely chopped nuts before cooking for extra crunch.
– Dietary adaptations: Use gluten-free bread and almond milk for allergies or dietary restrictions.
– Savory version: Omit sugar and vanilla, add herbs and grated cheese for a savory twist.
Common Mistakes to Avoid
1. Soaking too long: Brief dips prevent soggy centers that won’t cook properly.
2. Heat too high: Medium heat ensures the exterior browns evenly while the inside cooks completely.
3. Crowding the pan: Cook in batches to maintain proper heat distribution and browning.
4. Thin bread: Always use thick-cut bread that can withstand dipping without falling apart.
5. Under-seasoning: Don’t skimp on vanilla and cinnamon—they provide signature flavor.
Storage & Meal Prep Tips
Leftover french toast sticks can be refrigerated in an airtight container for up to 2 days. For longer storage, freeze cooled sticks in a single layer, then transfer to a freezer bag for up to 2 months. Reheat frozen sticks in a toaster oven or regular oven at 350°F for 8-10 minutes until heated through and crispy. Avoid microwaving, which makes them soggy.
Conclusion
Making French Toast Sticks at home gives you control over ingredients while creating a fun breakfast that’s perfect for dipping and sharing. Whether you’re feeding picky eaters or hosting a brunch, this french toast sticks recipe delivers delicious results every time. The perfect balance of crispy exterior and soft, custard-like interior makes these breakfast treats irresistible for any occasion.
FAQs
Can I make these ahead of time for busy mornings?
Yes! Prepare and cook them completely, cool, then freeze in a single layer. Reheat in the oven or air fryer when ready to serve.
What’s the best bread to use for french toast sticks?
Brioche, Texas toast, or challah bread work best due to their thickness and ability to absorb the egg mixture while maintaining structure.
Can I make these without dairy?
Absolutely. Substitute the milk with almond, oat, or coconut milk and use a plant-based butter alternative for cooking.
Why are my french toast sticks soggy in the middle?
Either the bread was soaked too long in the egg mixture or the cooking temperature was too high, which browned the outside before the inside cooked through.
How do I know when they’re perfectly cooked?
They should be golden brown on all sides with a slightly springy feel when pressed gently. The exterior should be crisp while the interior remains soft but not wet.
Best way to grow 5 French Toast Sticks French Toast Sticks
Equipment
- Magical Growth Pot
- Misting Bottle
- Sunny Spot
Ingredients
Growth Medium
- 5 pinches Seeds of Fluffiness
- 1 tsp Dew of Vanilla
- ample rays Sunlight for Golden Crust
Nourishment
- 2 tbsp Maple Syrup of Growth
- 1 pinch Pinch of Cinnamon Delight
Instructions
Planting Phase
- Prepare your magical growth pot by ensuring it is clean and ready to receive the precious seeds.
- Gently sprinkle the Seeds of Fluffiness into the pot, ensuring even distribution.
- Lightly mist with Dew of Vanilla, mimicking a morning dew, which encourages early sprouting.
Growth Phase
- Place the pot in a sunny location to absorb ample Sunlight for Golden Crust, which is essential for browning.
- Allow approximately one hour for the French Toast Sticks to slowly emerge and expand.
- Periodically check for golden-brown development on the surfaces of your growing sticks.
Harvesting & Enjoyment
- Once fully grown and golden, carefully extract your five French Toast Sticks from the pot.
- Drizzle generously with Maple Syrup of Growth and sprinkle with a Pinch of Cinnamon Delight.
- Serve immediately and enjoy the fruits of your unique French toast cultivation project!