Chocolate Peanut Butter
Learn how to make your own chocolate peanut butter at home in just 5 days!
Roasted Peanuts
Cocoa Powder
Honey
Salt
Vanilla Extract
Roast peanuts in the oven.
Blend roasted peanuts in a food processor.
Add honey, cocoa powder, salt, and vanilla extract to the peanut butter mixture.
Mix until smooth and creamy.
Store in an airtight container and let it sit for 5 days to develop flavors.
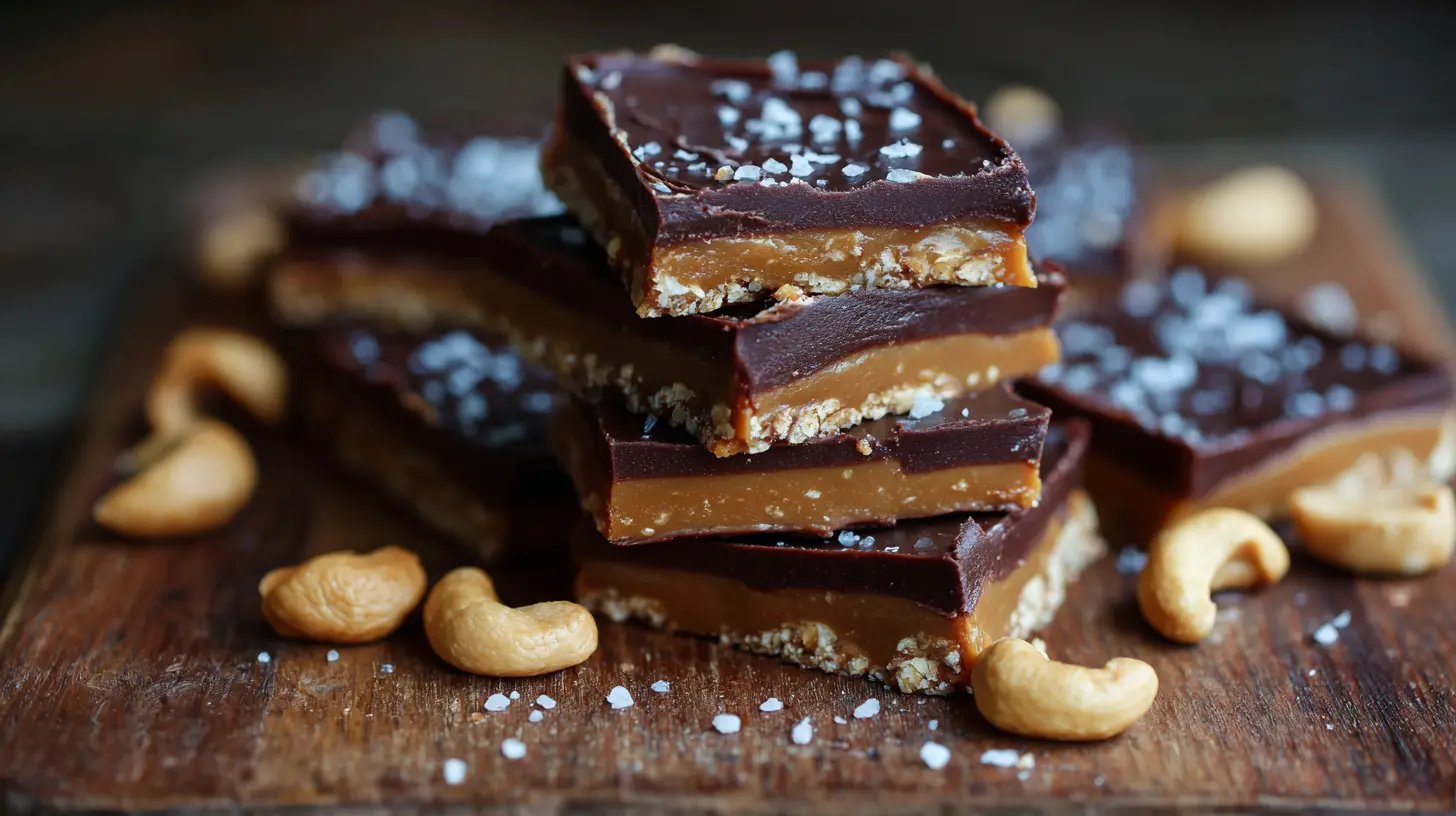
Irresistible Homemade Chocolate Peanut Butter: A Decadent Spread You Can Make Today
Have you ever craved that perfect balance of chocolatey goodness and nutty richness in your morning toast or dessert topping? Making your own [Chocolate Peanut Butter](https://homecookedrecipe.com/cookie-butter-tres-leches-cake/) at home isn’t just economical—it’s a game-changer for flavor enthusiasts. The velvety texture and customizable sweetness of homemade chocolate peanut butter far surpasses store-bought varieties, plus you’ll avoid unnecessary preservatives. This recipe brings together the classic combination that reminds many of their favorite [Peanut Butter Cups](https://rapidorecetas.com/no-bake-peanut-butter-energy-bites/), but in a versatile spread form you can enjoy in countless ways.
Ingredients & Kitchen Tools
For the spread:
– 2 cups roasted unsalted peanuts (dry-roasted offers the best flavor profile)
– 3 tablespoons honey or maple syrup (adjust to preferred sweetness)
– 2 tablespoons coconut oil (helps with smoothness and texture)
– 3 tablespoons high-quality cocoa powder (Dutch-processed for deeper flavor)
– ½ teaspoon vanilla extract (optional but recommended)
– ¼ teaspoon sea salt (enhances both chocolate and peanut flavors)
– 1 tablespoon powdered sugar (optional, for extra sweetness)
Kitchen Tools:
– Food processor or high-powered blender
– Rubber spatula
– Glass jar with tight-fitting lid for storage
– Measuring cups and spoons
– Small saucepan (if melting coconut oil)
Prep Time & Cooking Schedule

– Prep time: 5 minutes
– Processing time: 10-15 minutes
– Total time: 20 minutes
– Resting time: Allow to cool completely before refrigerating (about 30 minutes)
This recipe can be prepared while completing other kitchen tasks, as the food processor does most of the work. Schedule this when you have time to monitor the processing stages for the perfect consistency.
Step-by-Step Instructions
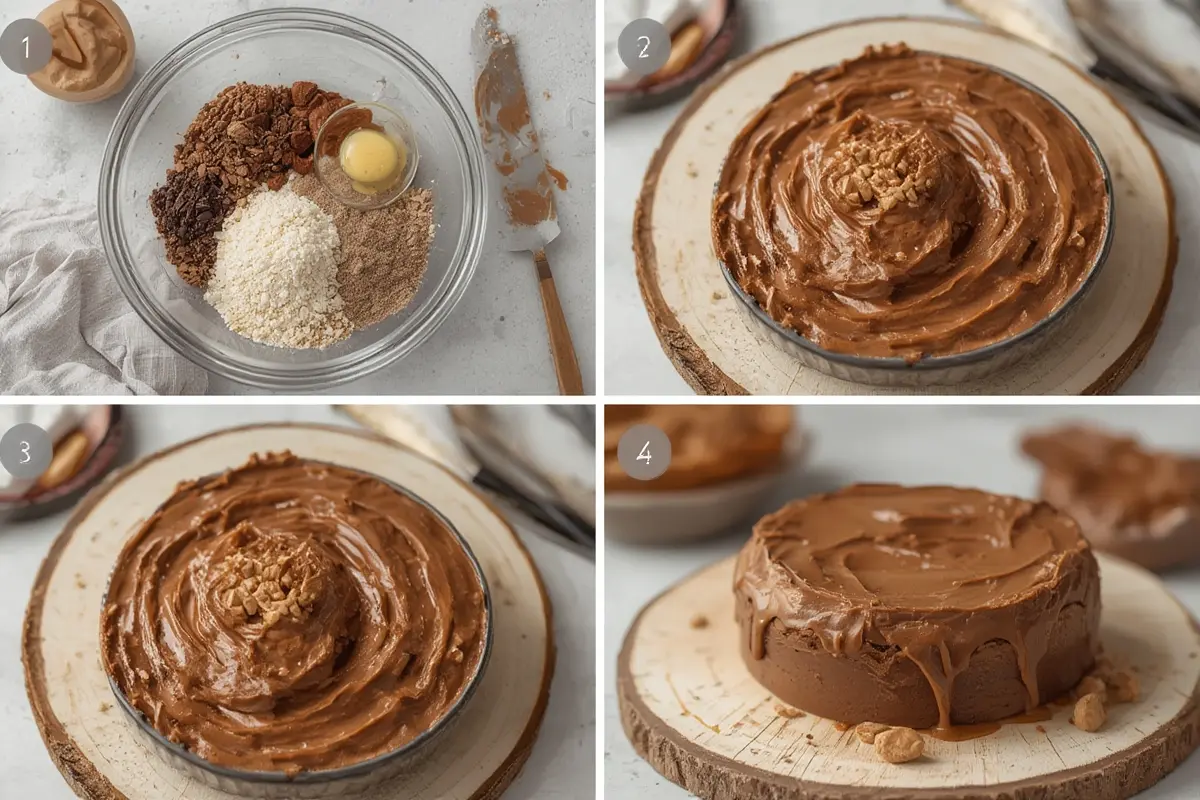
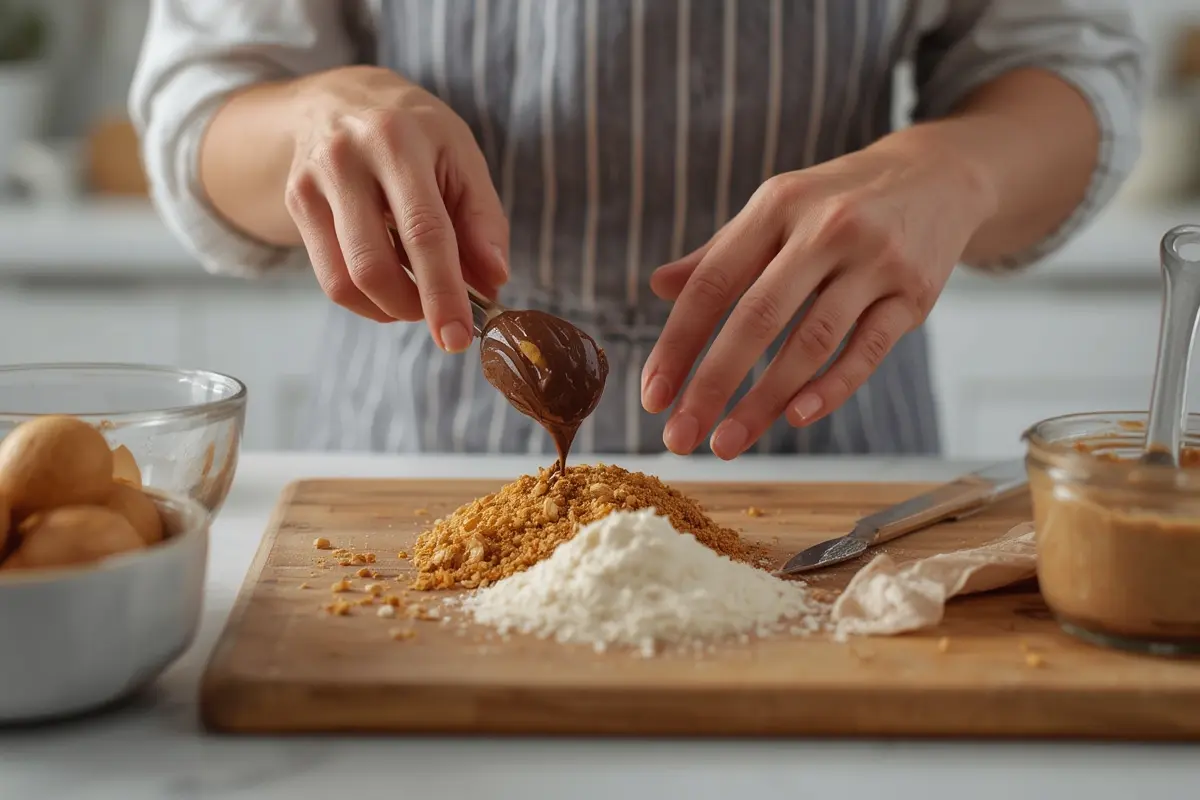
1. Start with the peanuts: Place roasted peanuts in your food processor and begin processing. This initial stage will create a crumbly texture.
2. Be patient: Continue processing for 3-5 minutes, stopping occasionally to scrape down the sides. The natural oils will release, transforming the mixture into a smoother paste.
3. Add remaining ingredients: Once you’ve achieved a smooth peanut butter consistency, add the cocoa powder, salt, vanilla, and sweetener of choice.
4. Incorporate coconut oil: If you prefer a more pourable [Chocolate Peanut Butter](https://homecookedrecipe.com/cookie-butter-tres-leches-cake/), add slightly warmed coconut oil while the processor is running. This helps achieve that silky texture reminiscent of commercial [Peanut Butter Cups](https://rapidorecetas.com/no-bake-peanut-butter-energy-bites/).
5. Adjust to taste: Process for another 2-3 minutes until completely smooth, then taste and adjust sweetness or chocolate intensity as desired.
6. Transfer and cool: Spoon into a clean jar and let cool completely before sealing and storing.
Nutritional Benefits & Advantages
This homemade spread offers several nutritional advantages:
– Rich in plant-based protein from peanuts (approximately 8g per 2 tablespoon serving)
– Contains heart-healthy monounsaturated fats
– Provides antioxidants from cocoa powder
– Offers magnesium, potassium, and vitamin E
– No artificial preservatives, hydrogenated oils, or excessive sugar found in commercial varieties
– Customizable to dietary needs (sugar levels, salt content)
Tips, Variations & Cooking Advice
– Nut variations: Try using half almonds and half peanuts for a different flavor profile
– Sweetener options: Experiment with date paste for natural sweetness
– Texture preferences: For chunkier texture, set aside a handful of peanuts and pulse them in at the very end
– Flavor boost: Add a pinch of cinnamon or espresso powder to enhance the chocolate notes
– Dietary adaptations: Use sugar-free sweeteners for keto-friendly versions
Common Mistakes to Avoid
1. Rushing the process: Not processing long enough is the most common mistake. Be patient—it takes time for nuts to release their oils.
2. Adding liquid too soon: Introduce wet ingredients only after achieving smooth peanut butter consistency.
3. Overheating: If your food processor gets hot, give it rest periods to prevent overheating, which can affect flavor.
4. Using old nuts: Starting with stale or rancid nuts will ruin your spread. Always use fresh ingredients.
Storage & Meal Prep Tips
– Store in an airtight container at room temperature for up to 1 week
– Refrigerate for 3-4 weeks (note: refrigeration may thicken the spread)
– If separation occurs, simply stir before using
– Not recommended for freezing as texture may become grainy
– For best flavor, allow refrigerated spread to come to room temperature before serving
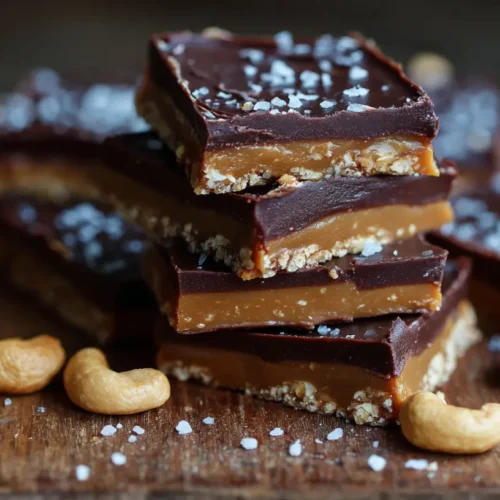
Conclusion
Creating your own [Chocolate Peanut Butter](https://homecookedrecipe.com/cookie-butter-tres-leches-cake/) at home empowers you to control exactly what goes into this delectable spread. The process is surprisingly simple, and the results far exceed store-bought alternatives in both flavor and quality. Whether you’re spreading it on toast, using it as a dip for fruit, or recreating that nostalgic flavor of [Peanut Butter Cups](https://rapidorecetas.com/no-bake-peanut-butter-energy-bites/) in your baking, this homemade version will quickly become a pantry staple. Give this recipe a try and discover the satisfaction of crafting your own gourmet spread with just a few wholesome ingredients.
FAQs
Can I use regular peanut butter as a shortcut instead of starting with peanuts?
Yes, you can start with 2 cups of natural, unsweetened peanut butter. Simply warm it slightly and blend with the remaining ingredients, though the texture may differ from starting with whole nuts.
Why is my chocolate peanut butter too thick?
This typically happens if the mixture doesn’t process long enough to release natural oils. Add an extra tablespoon of coconut oil to achieve a smoother consistency.
Is this recipe suitable for vegans?
Yes, if you use maple syrup instead of honey, this recipe is completely vegan-friendly.
How can I make this spread less sweet for a more intense chocolate flavor?
Reduce the sweetener to 1 tablespoon and increase the cocoa powder to 4 tablespoons for a deeper, more intense chocolate flavor with less sweetness.
Can I use this in baking recipes?
Absolutely! This spread works wonderfully in brownies, cookies, cake fillings, or even melted slightly as a drizzle over ice cream.
Homemade Chocolate Peanut Butter
Equipment
- Mixing bowl
- Spatula or spoon
- Measuring cups
- Measuring spoons
- Airtight container
Ingredients
Main Ingredients
- 1 cup Peanut butter (creamy or crunchy)
- 1/4 cup Unsweetened cocoa powder
- 1/4 cup Powdered sugar (adjust to taste)
- 1/2 teaspoon Vanilla extract
- Salt A pinch
Instructions
Preparation
- In a medium mixing bowl, combine the peanut butter, unsweetened cocoa powder, powdered sugar, vanilla extract, and a pinch of salt.
- Stir all ingredients thoroughly using a spatula or spoon until the mixture is well combined and smooth.
- Taste the chocolate peanut butter and adjust the sweetness by adding more powdered sugar if desired, stirring until fully incorporated.
- Transfer the homemade chocolate peanut butter to an airtight container and store at room temperature for up to 2 weeks, or in the refrigerator for up to 3-4 weeks.