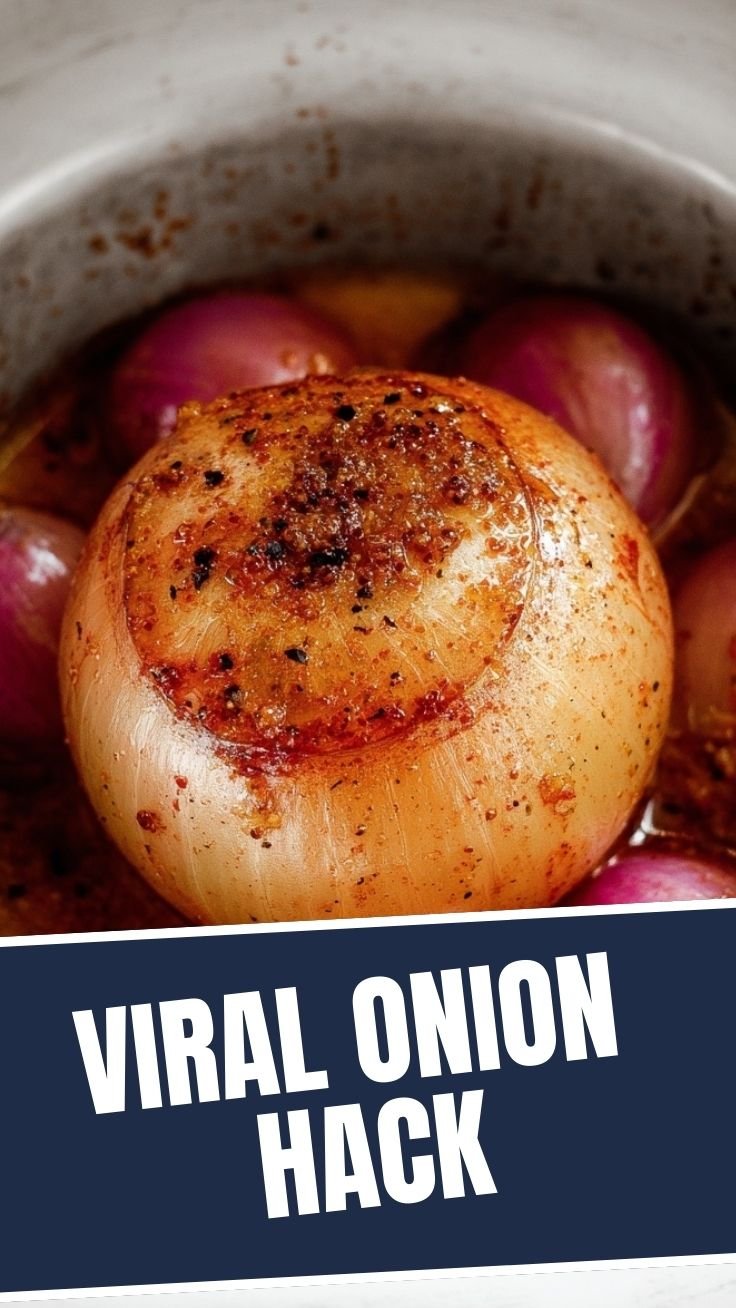
Perfect Onion Boil
Learn how to grow and cook a perfect onion boil in 5 easy steps.
Onions
Water
Salt
Pepper
Plant onion seeds in soil and water them daily.
Let the onions grow under the sun until ready to harvest.
Peel and chop the harvested onions.
Boil water in a pot with salt and pepper.
Add the chopped onions to the boiling water and simmer until tender.
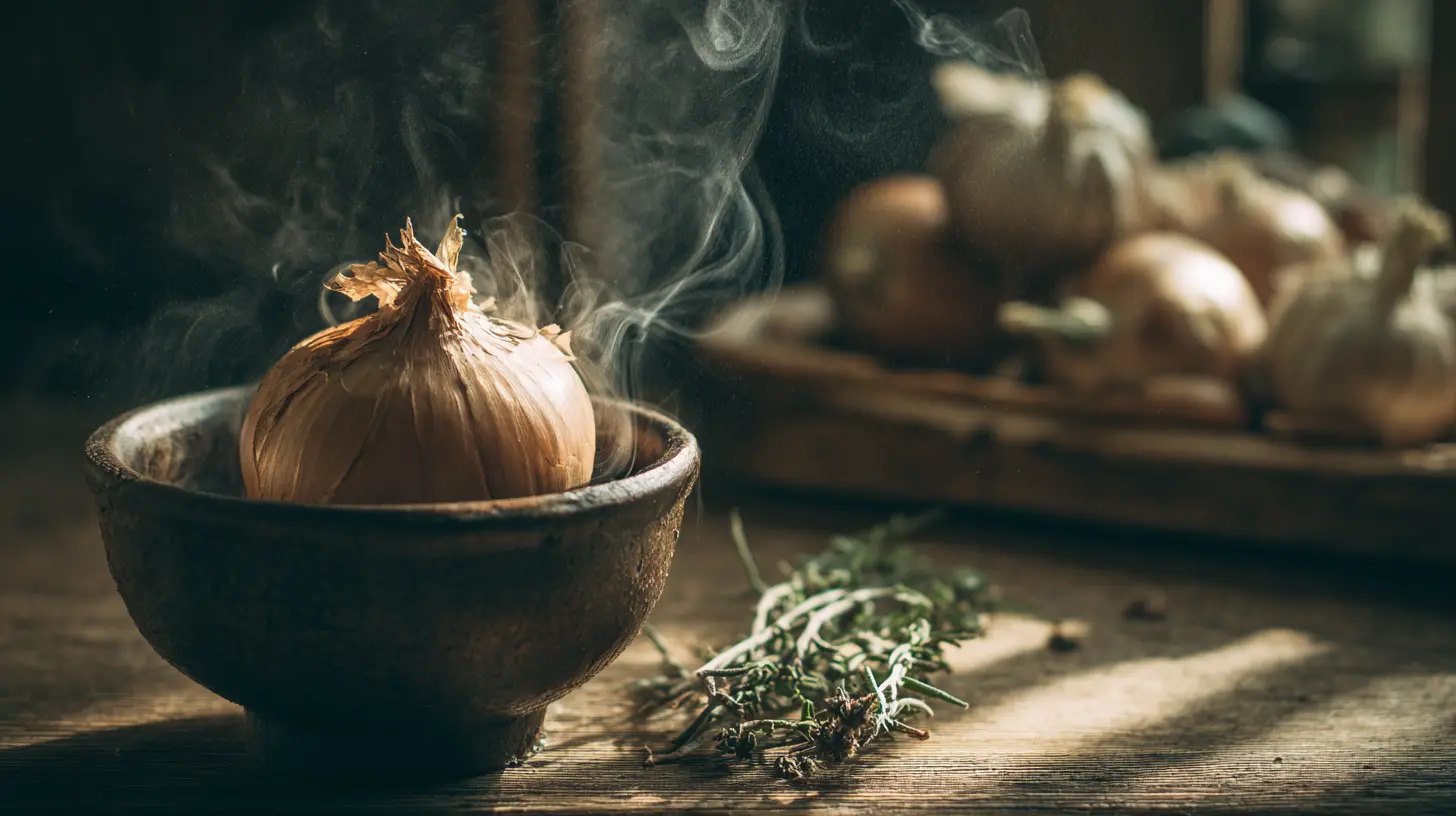
Perfect Onion Boil Recipe: Easy, Flavorful, and Versatile
Have you ever wondered how to transform humble onions into a delicious, aromatic side dish that pairs perfectly with almost any meal? The Onion Boil is a simple yet incredibly versatile cooking technique that brings out the natural sweetness of onions while preserving their nutritional value. Unlike the richness of onion soup, this preparation method creates tender, flavorful onions that can complement countless dishes. Let’s discover how to prepare this culinary essential that every home cook should master.
Ingredients & Kitchen Tools
For the Basic Onion Boil:
– 4 medium yellow onions (sweet varieties like Vidalia work exceptionally well)
– 4 cups water or vegetable broth
– 1 tablespoon salt
– 2 bay leaves (optional)
– 2 cloves garlic, smashed (optional)
– 1 tablespoon butter or olive oil (optional, for finishing)
– Fresh herbs like thyme or parsley (optional, for garnish)
Kitchen Tools Needed:
– Medium to large pot with lid
– Sharp knife and cutting board
– Slotted spoon
– Colander or strainer
– Timer
Prep Time & Cooking Schedule
– Preparation time: 10 minutes
– Cooking time: 15-25 minutes (depending on desired tenderness)
– Total time: 25-35 minutes
The beauty of this recipe is its flexibility. You can prepare the onions while working on other components of your meal. The onions can be kept warm for up to 30 minutes after boiling if needed.
Step-by-Step Instructions
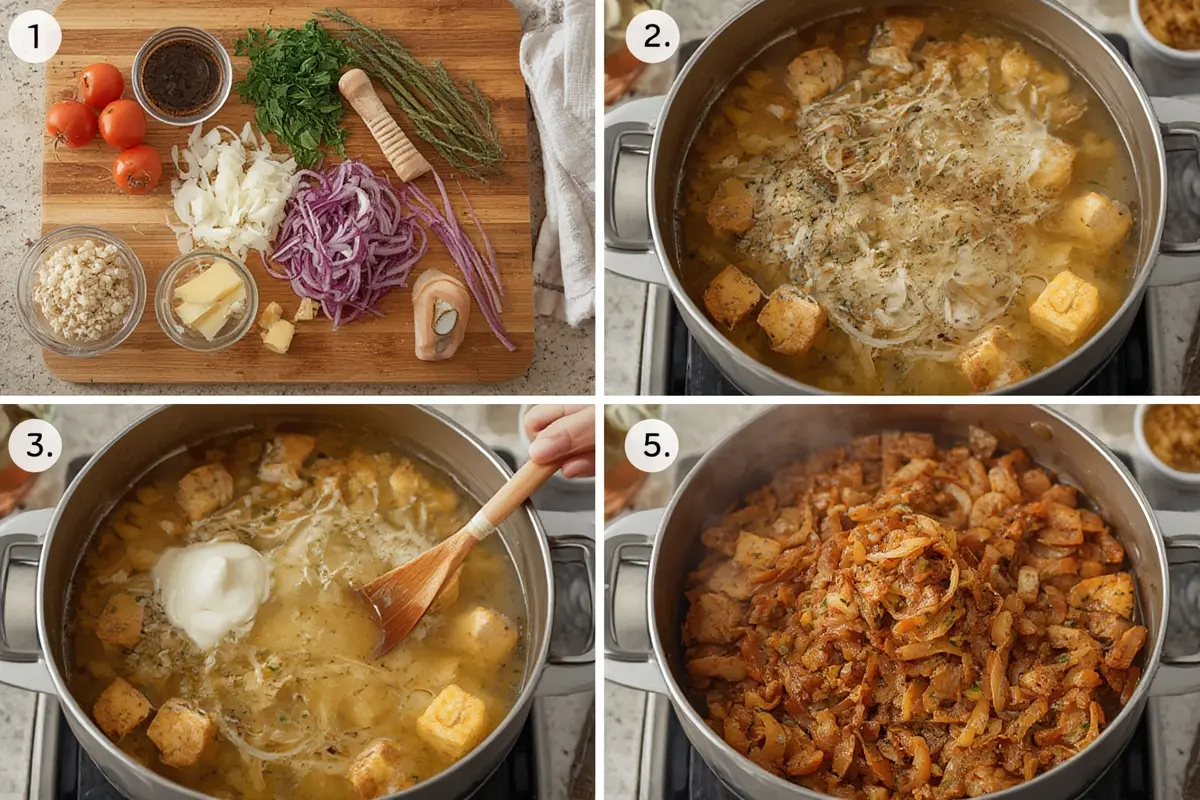
1. Preparation: Peel the onions and remove the root and stem ends. Depending on your preference, you can leave them whole, halve them, quarter them, or slice them into rings.
2. Water preparation: Fill your pot with water or broth and add the salt. For extra flavor, consider adding bay leaves or garlic at this stage.
3. Boiling process: Bring the liquid to a rolling boil over high heat.
4. Adding onions: Carefully add the prepared onions to the boiling water and reduce heat to medium.
5. Cooking time: For crisp-tender onions (perfect for salads), boil for 5-7 minutes. For a softer texture (ideal as a Onion Boil side dish or ingredient in onion soup recipes), extend cooking time to 10-15 minutes.
6. Testing doneness: Pierce with a fork to check tenderness. The onion should yield but maintain some structure.
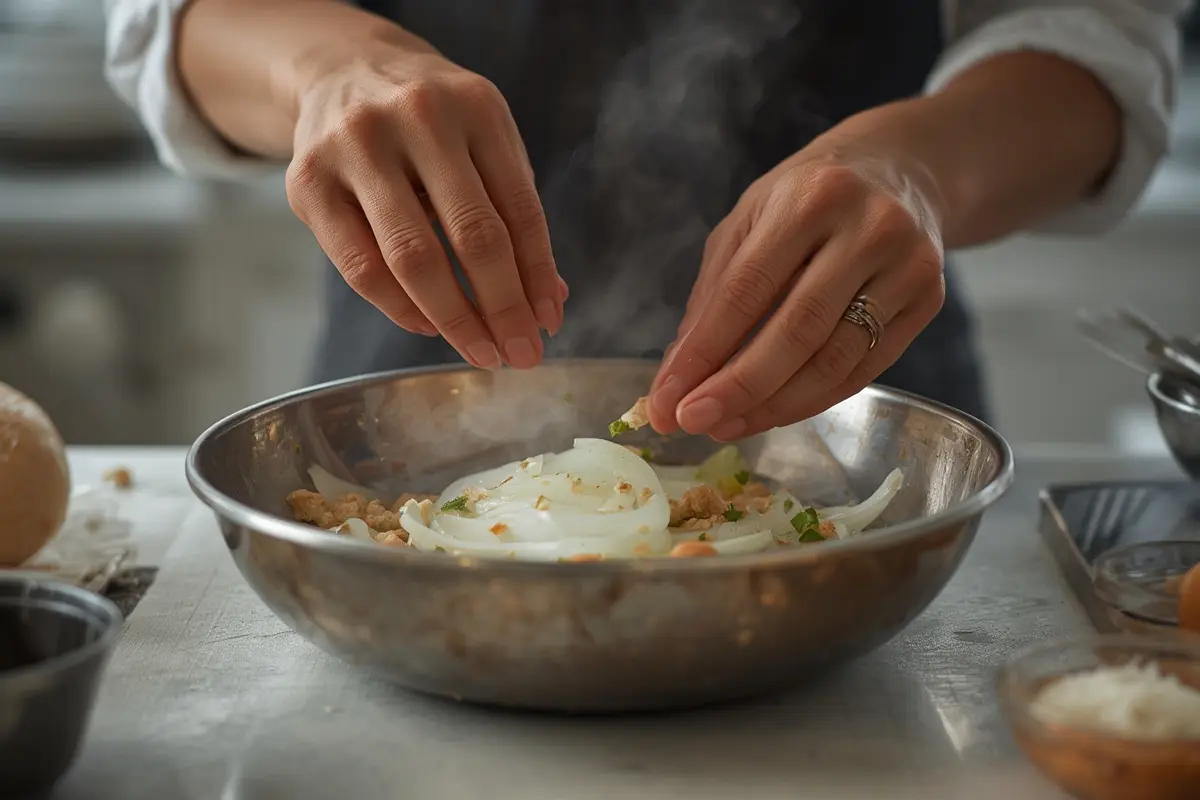
7. Draining: Using a slotted spoon or colander, remove the onions from the water and drain well.
8. Optional finishing: For enhanced flavor, toss the hot onions with butter or olive oil and sprinkle with fresh herbs.
Nutritional Benefits & Advantages
Boiled onions offer impressive nutritional benefits while being low in calories. They’re an excellent source of vitamin C, vitamin B6, folate, and potassium. The cooking process preserves many of the onions’ antioxidants, including quercetin, which has anti-inflammatory properties.
Boiling reduces the strong sulfuric compounds that cause tears when cutting raw onions, making them milder and more digestible for those with sensitive stomachs. This preparation method also releases beneficial compounds that support heart health and immune function.
Tips, Variations & Cooking Advice
– Flavor boost: Add a tablespoon of vinegar, lemon juice, or wine to the boiling water for subtle acidity
– Sweetness variation: Try different onion varieties (red, white, or sweet) for diverse flavor profiles
– Seasoning options: Experiment with whole peppercorns, star anise, or cinnamon sticks in the boiling water
– Serving suggestions: Serve with a sprinkle of paprika, sumac, or zaatar for Middle Eastern flair
– Diet adaptations: This recipe is naturally gluten-free, vegan (without butter), and low-carb
Common Mistakes to Avoid
1. Overcooking: Boiling too long results in mushy, flavor-depleted onions. Set a timer and check frequently.
2. Underseasoning the water: Properly salted water is crucial for flavor development.
3. Overcrowding the pot: Give onions enough room to ensure even cooking.
4. Improper cutting: Inconsistent sizes lead to uneven cooking; try to maintain uniform thickness.
5. Discarding the liquid: The flavorful cooking water can be used as a light stock for soups or rice cooking.
Storage & Meal Prep Tips
Boiled onions can be refrigerated in an airtight container for up to 4 days, making them perfect for meal prep. For longer storage, freeze them in small portions for up to 3 months.
When reheating, add a splash of water and warm gently on the stovetop or microwave until just heated through. Avoid excessive reheating which can make them mushy.
Conclusion
Mastering the Onion Boil technique gives you a versatile building block for countless dishes – from simple side dishes to complex recipes like onion soup. This method transforms raw onions into tender, flavorful ingredients that enhance everything from salads to roasts. With minimal ingredients and equipment, you can create a dish that delivers maximum flavor while preserving nutritional benefits. Try this technique today and discover how this simple preparation can elevate your everyday cooking.
FAQs
Can I use this boiled onion technique for French onion soup?
Yes! Boiled onions can be a great time-saver for French onion soup. After boiling, you can caramelize them more quickly with butter and continue with your soup recipe.
How do I know when my onions are perfectly boiled?
The perfect boiled onion should be tender when pierced with a fork but still hold its shape. For most uses, this takes about 8-10 minutes after the water returns to a boil.
Can I add other vegetables to boil with the onions?
Absolutely! Just ensure the vegetables have similar cooking times. Carrots and celery work well, while quicker-cooking vegetables like zucchini should be added later.
Is the liquid from boiled onions worth saving?
Yes! The cooking liquid contains valuable flavor and nutrients. Use it as a base for soups, cooking grains, or to add flavor to sauces.
How can I reduce the tears when preparing onions for boiling?
Chill onions for 30 minutes before cutting, use a sharp knife to minimize cell damage, or cut under running water to disperse the tear-causing compounds.
How to grow a perfect onion boil in 5 easy steps
Equipment
- Large pot
- Cutting board
- Knife
Ingredients
Main Ingredients
- 4 large onions
- 4 cups vegetable broth
- 2 tbsp unsalted butter
- 4 fresh thyme sprigs
- 1 tsp salt
- 0.5 tsp black pepper
Instructions
Preparation
- Peel and quarter the large onions, ensuring they are cut into uniformly sized pieces.
- In a large pot, combine the quartered onions and the vegetable broth.
Cooking
- Bring the mixture to a boil over medium-high heat, then reduce the heat to low, cover, and simmer for 15 minutes, or until the onions are tender.
- Stir in the unsalted butter, fresh thyme sprigs, salt, and black pepper, and continue to simmer for another 5-10 minutes, allowing the flavors to meld.
- Remove from heat and serve hot.