Proven way to grow creamy Hummus in 3 steps Hummus
Learn how to make creamy hummus in just three simple steps.
Chickpeas
Tahini
Lemon juice
Garlic
Olive oil
Salt
Cumin
Drain and rinse the chickpeas.
Blend chickpeas, tahini, lemon juice, garlic, olive oil, salt, and cumin until smooth.
Taste and adjust seasoning as needed. Serve with a drizzle of olive oil on top.
How to Make the Creamiest Hummus at Home: A Step-by-Step Guide
Have you ever wondered why store-bought hummus never quite rivals the silky, rich version you’ve tasted at a Mediterranean restaurant? The secret lies in a few simple techniques and the quality of your base ingredient. Making your own Hummus at home not only saves money but also lets you control the texture, flavor, and freshness. Plus, it all starts with the humble chickpea, a protein-packed legume that transforms into a creamy canvas for endless variations. In this guide, we’ll walk you through every step—from selecting the best chickpeas to achieving that ultra-smooth consistency—so you can whip up a batch of homemade hummus that rivals any restaurant version.
Ingredients & Kitchen Tools
For the Hummus:
– 1 can (15 oz) chickpeas (or 1½ cups cooked) – Drain and rinse; reserve the liquid (aquafaba) for extra creaminess.
– ⅓ cup tahini – Well-stirred; for nuttiness.
– 2–3 tablespoons lemon juice – Freshly squeezed for brightness.
– 1 small garlic clove – Minced or pressed; adjust to taste.
– 2–3 tablespoons ice water – For a fluffy texture.
– 3–4 tablespoons extra-virgin olive oil – Plus more for drizzling.
– ½ teaspoon salt – Or to taste.
– Optional: pinch of cumin or smoked paprika – For warmth.
Kitchen Tools:
– Food processor or high-speed blender – Essential for creaminess.
– Fine-mesh sieve – For rinsing chickpeas.
– Rubber spatula – To scrape sides.
– Measuring spoons and cups – Precision helps.
– Serving bowl – For presentation.
Optional Substitutions:
– No tahini? Use 2 tablespoons Greek yogurt or a splash of sesame oil.
– Gluten-free? Naturally gluten-free; just check store-bought tahini.
– Low-fat? Reduce olive oil to 1 tablespoon; use water or aquafaba for moisture.
Prep Time & Cooking Schedule
– Prep time: 10 minutes – Garlic peeling, lemon juicing, tahini mixing.
– Active blending time: 5–7 minutes – Scraping and blending in stages.
– Resting time: 30 minutes (optional) – Refrigerating to allow flavors to meld.
Total time: about 15 minutes active, plus optional rest.
This recipe is perfect for last-minute gatherings because it comes together in under 20 minutes. The resting step is not mandatory but highly recommended: covering the hummus and letting it sit in the fridge deepens the garlic and lemon notes, making it taste even better the next day. Plan ahead if you want to serve it at a party—prepare it a few hours early.
Step-by-Step Instructions
1. Prepare the chickpeas: Drain and rinse the chickpeas thoroughly. If using canned, warm them in a microwave for 30 seconds to soften the skins. For extra smoothness, you can pinch off the skins—this takes 5 minutes but yields a silky texture.
Tip: Reserve the can liquid (aquafaba) – it’s perfect for thinning without adding oil.
2. Blend the tahini and lemon juice first: In a food processor, combine tahini and lemon juice. Process for 1 minute until the mixture becomes thick and pale. This step emulsifies the tahini, preventing a bitter taste.
3. Add garlic and oil: Scrape down the sides, add garlic, olive oil, and salt. Pulse a few times. Then add the drained chickpeas. Process for 30 seconds.
4. Stream in the liquid: With the processor running, slowly add 2–3 tablespoons ice water (or aquafaba) through the feed tube. Blend for 2–3 minutes until the mixture is ultra-smooth and fluffy. Stop to scrape the sides. If it’s too thick, add another tablespoon of water.
Texture cue: The hummus should fall slowly from the spatula—soft but not runny.
5. Taste and adjust: Add more salt, lemon juice, or a pinch of cumin. Blend again for 10 seconds. This is the moment to fine-tune your Hummus to your preference.
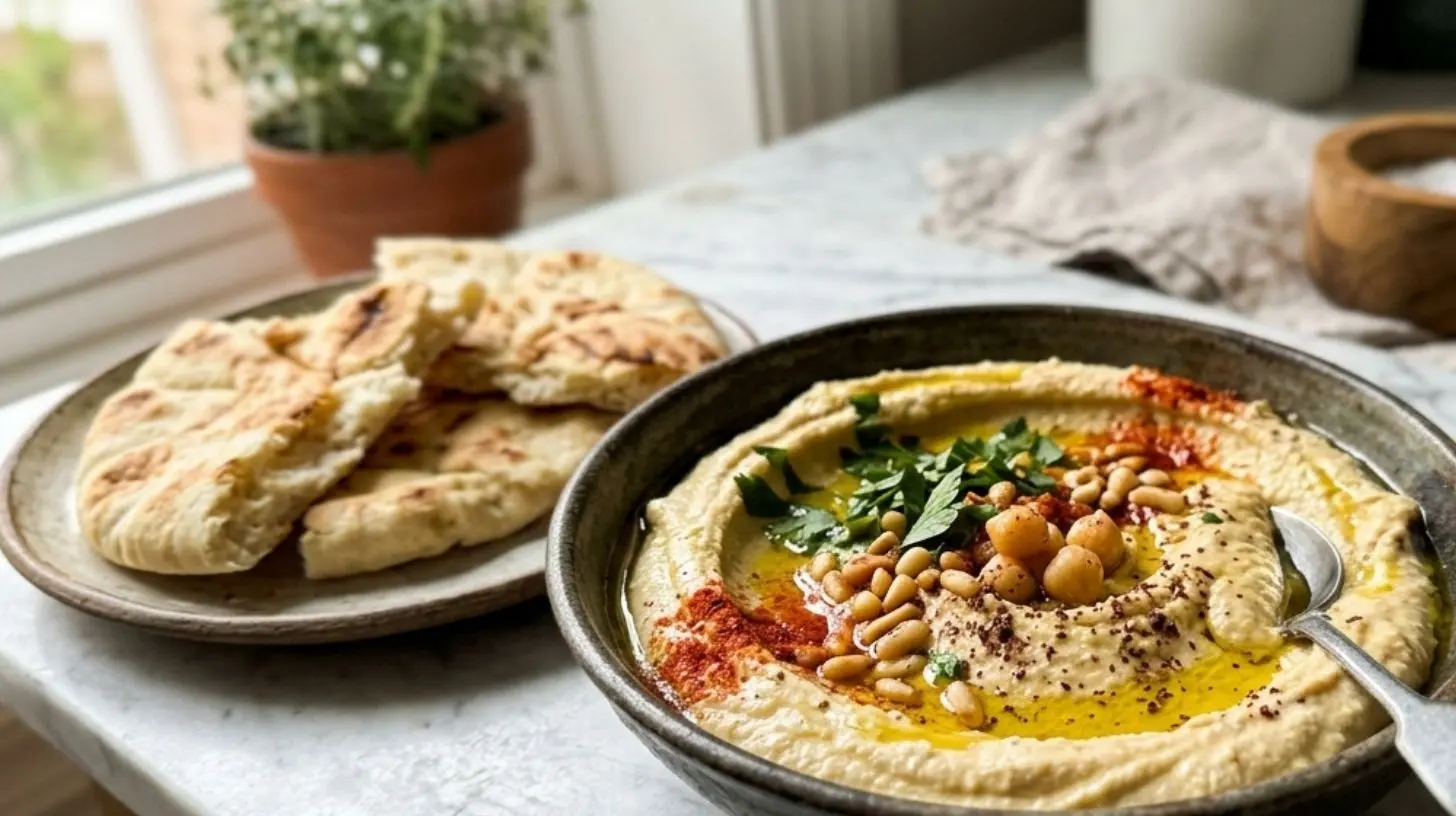
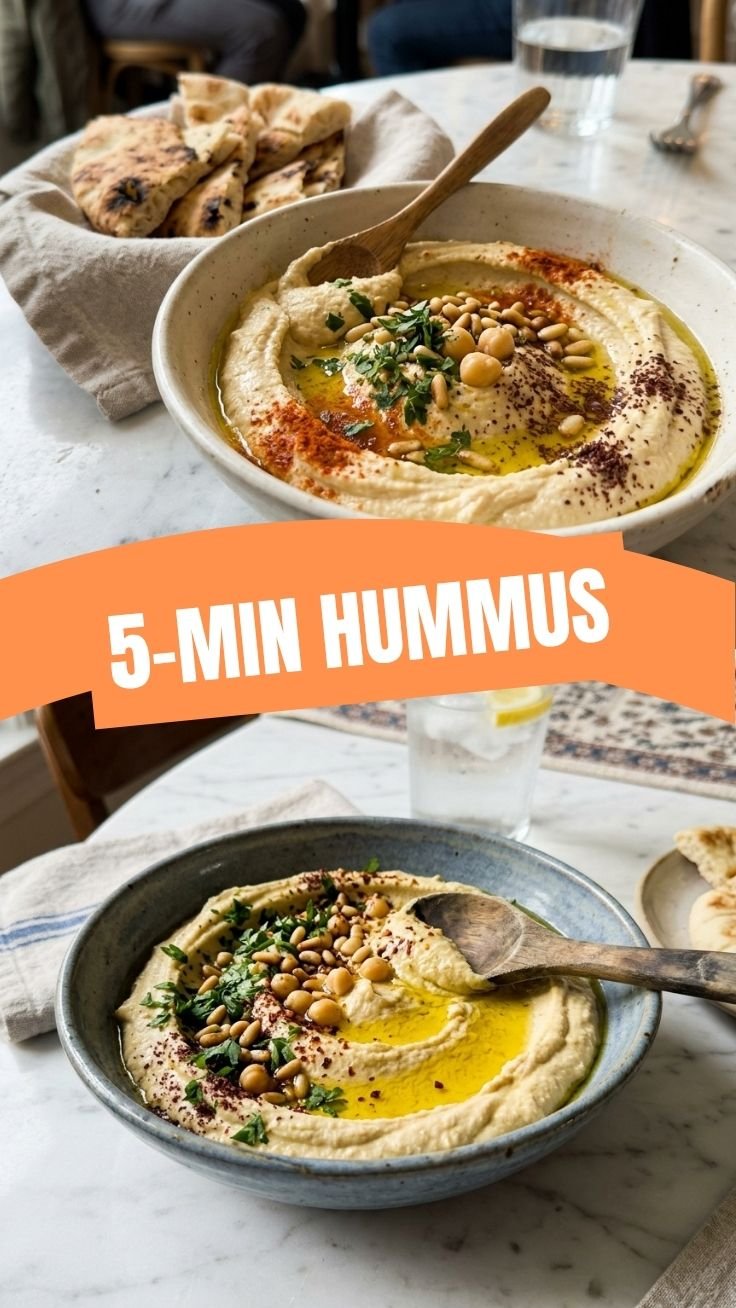
6. Serve: Transfer to a bowl, create a well with the back of a spoon, drizzle with olive oil, and sprinkle with paprika or parsley. Serve immediately or refrigerate.
Nutritional Benefits & Advantages
Hummus is a nutritional powerhouse. The chickpea base provides plant-based protein, fiber, and complex carbohydrates, which stabilize blood sugar and keep you full. Tahini contributes healthy unsaturated fats, calcium, and iron. Olive oil adds antioxidants and anti-inflammatory compounds. One serving (about 3 tablespoons) contains roughly 120 calories, 6g of protein, 5g of fiber, and only 2g of sugar. This dip is naturally vegan, gluten-free, and dairy-free, making it suitable for a wide range of diets. The combination of protein and fiber also supports digestive health and weight management. Plus, homemade hummus has no preservatives or excess sodium, giving you full control over your intake.
Tips, Variations & Cooking Advice
– Flavor variations:
– Roasted red pepper: Blend in ½ cup jarred roasted red peppers.
– Spicy: Add 1 teaspoon chili flakes or a spoonful of harissa.
– Herbaceous: Fold in fresh basil or cilantro before serving.
– Texture swaps:
– For a chunkier style, reserve a handful of whole chickpeas and fold them in after blending.
– For a thinner dip, add more lemon juice or water.
– Cooking method alternative: Use dried chickpeas soaked overnight and cooked until tender. This gives a deeper flavor and firmer texture. Expect 30–40 minutes of simmering.
– Dietary adaptations:
– Oil-free: Replace olive oil with additional aquafaba or water.
– Low-sodium: Use no-salt-added chickpeas and skip the salt.
– Nut-free: Ensure tahini is made from sesame seeds only—no peanut or almond contamination.
Common Mistakes to Avoid
– Skipping the tahini pre-blend: Blending tahini with lemon juice first prevents bitterness and creates a creamy base.
– Using cold chickpeas: Cold legumes cause a grainy texture. Always warm them slightly.
– Overloading garlic: Raw garlic can be overpowering. Start with one small clove and add more after tasting.
– Adding too much liquid too fast: A runny hummus is hard to fix. Add water in small increments.
– Not scraping the sides: This leads to uneven blending. Stop and scrape at least twice.
– Skipping the resting time: Fresh hummus tastes good, but resting for 30 minutes in the fridge allows flavors to marry.
Storage & Meal Prep Tips
– Refrigeration: Store in an airtight container for up to 5 days. Press a piece of plastic wrap directly onto the surface before sealing to prevent a skin from forming.
– Freezing: Hummus freezes beautifully. Portion into freezer-safe bags or containers (leave ½ inch headspace). Freeze for up to 3 months. Thaw overnight in the fridge.
– Reheating: Stir well and let it come to room temperature. If it seems dry, drizzle in a teaspoon of olive oil or water and whisk. Do not microwave on high—use low power or a warm water bath.
– Meal prep: Make a double batch on Sunday, then use it as a spread for wraps, a dip for veggies, or a sauce for grain bowls during the week.
Conclusion
Making your own creamy dip at home is a rewarding kitchen project that elevates everyday meals. By mastering the simple steps—starting with the right chickpea preparation, blending tahini and lemon first, and adjusting the texture with ice water—you’ll create a batch of Hummus that’s smoother, fresher, and more flavorful than anything from a store. I encourage you to try this recipe, experiment with your favorite toppings, and share your results in the comments. For more Mediterranean-inspired recipes, explore our collection of dips and spreads.
FAQs
1. Can I make hummus without tahini?
Yes! Substitute 2 tablespoons of Greek yogurt or a splash of sesame oil. The texture will be slightly different but still delicious. Alternatively, blend in a peeled, boiled potato for creaminess.
2. My hummus is too thick. How do I fix it?
Add ice water or aquafaba one tablespoon at a time while the processor runs. Blend until you reach the desired consistency. Avoid adding too much oil—it can make the dip greasy.
3. Why is my hummus bitter?
Bitterness usually comes from the tahini. Ensure your tahini is fresh and well-stirred. Also, blending the tahini with lemon juice first helps neutralize any bitterness. If it’s still bitter, add a pinch of sugar or more lemon juice.
4. How long can I leave hummus out at room temperature?
For food safety, don’t leave it out for more than 2 hours. If serving at a party, place the bowl on a bed of ice to keep it cool.
5. Can I use dried chickpeas instead of canned?
Absolutely. Soak 1 cup dried chickpeas overnight, then simmer for 1–1½ hours until tender. This yields a firmer, nuttier flavor. Follow the same blending steps, but add a bit more water since dried chickpeas are less starchy.