PB & J Sandwich
Learn how to make a classic peanut butter and jelly sandwich!
Bread
Peanut Butter
Jelly
Spread peanut butter on one slice of bread.
Scoop jelly and spread it on the other slice of bread.
Put the slices of bread together and press gently.
The Ultimate Homemade Apple Pie: A Timeless Dessert Recipe
What if you could recreate that bakery‑fresh, golden‑crusted Apple Pie right in your own kitchen? The aroma of cinnamon and baked apples wafting through your home is not only comforting—it’s a skill that saves money, controls ingredients, and impresses every guest. Whether you’re a seasoned baker or a curious beginner, preparing a classic pie from scratch is one of the most rewarding dessert recipes you’ll ever master. In this data‑driven guide, we’ll walk through every step, from selecting the perfect apples to achieving a flaky, golden crust. Ready to bake the best apple pie of your life? Let’s get started.
Ingredients & Kitchen Tools
For the Crust (makes one double crust):
– 2½ cups all‑purpose flour (use gluten‑free 1:1 blend for GF version)
– 1 cup cold unsalted butter, cubed (or vegan butter for dairy‑free)
– 1 tsp salt
– 1 tbsp sugar
– 6–8 tbsp ice water
For the Filling:
– 6–7 cups mixed apples (Granny Smith, Honeycrisp, or Braeburn work best)
– ¾ cup granulated sugar
– 2 tbsp brown sugar
– 2 tbsp lemon juice
– 1 tsp cinnamon
– ¼ tsp nutmeg
– ¼ tsp allspice
– 2 tbsp cornstarch (or tapioca starch)
– 1 tsp vanilla extract
Kitchen Tools:
– 9‑inch pie dish (glass or ceramic recommended)
– Rolling pin
– Pastry blender or two forks
– Mixing bowls (large + medium)
– Sharp knife or apple peeler
– Pastry brush + foil for edges
Optional Substitutions:
– Use lard or shortening for a flakier crust
– Swap cornstarch with arrowroot powder
– Replace white sugar with coconut sugar
Prep Time & Cooking Schedule
– Prep Time: 45 minutes (includes chilling)
– Baking Time: 50–60 minutes
– Resting Time: At least 2 hours (essential for setting the filling)
Planning Tip: Make the dough a day ahead; it improves flavor and texture. The filling macerates for 15 minutes while you roll the crust—perfect multitasking.
Step-by-Step Instructions
1. Make the Dough: In a large bowl, whisk flour, salt, and sugar. Cut in cold butter using a pastry blender until pea‑sized crumbs form. Sprinkle ice water, 1 tbsp at a time, and toss with a fork until dough just holds together. Divide in half, flatten into discs, wrap in plastic, and refrigerate at least 1 hour.
2. Prepare the Filling: Peel, core, and slice apples ¼‑inch thick. Toss with lemon juice, sugars, spices, cornstarch, and vanilla. Let sit 15 minutes—this draws out juices that become a syrupy glaze.
3. Roll the Crust: On a floured surface, roll one dough disc to 12‑inch diameter. Transfer to pie dish, trim overhang to ½ inch. Add apple filling, mounding slightly.
4. Top Crust & Vent: Roll second disc, place over filling. Crimp edges, cut 4–5 steam vents. Brush with egg wash (1 egg + 1 tbsp water) and sprinkle coarse sugar.
5. Bake: Place on a baking sheet; bake at 425°F for 20 minutes. Reduce to 375°F, tent edges with foil if browning too fast, and bake 35–40 minutes more until juices bubble and crust is deep golden.
6. Cool Completely: Rest on a wire rack for at least 2 hours. This is the hardest part—but skipping it results in a runny slice.
> Pro Tip: During step 4, remember that a perfect Apple Pie relies on balance. Adding a touch of lemon zest brightens the filling. And if you’re exploring classic dessert recipes, this technique transfers directly to cherry or peach pies.
Nutritional Benefits & Advantages
Apples are rich in fiber, vitamin C, and antioxidants like quercetin, supporting heart health and digestion. Using mixed varieties adds natural sweetness, allowing you to reduce added sugar. Homemade pie also avoids preservatives and trans fats common in store‑bought versions. One serving (⅛ of pie) provides about 350 calories, 5g fiber, and 4g protein when using butter and all‑purpose flour—easily customizable for dietary needs.
Tips Variations & Cooking Advice
Flavor Twists:
– Add ½ cup dried cranberries or chopped walnuts for texture
– Swap cinnamon for cardamom or ginger for a spiced variation
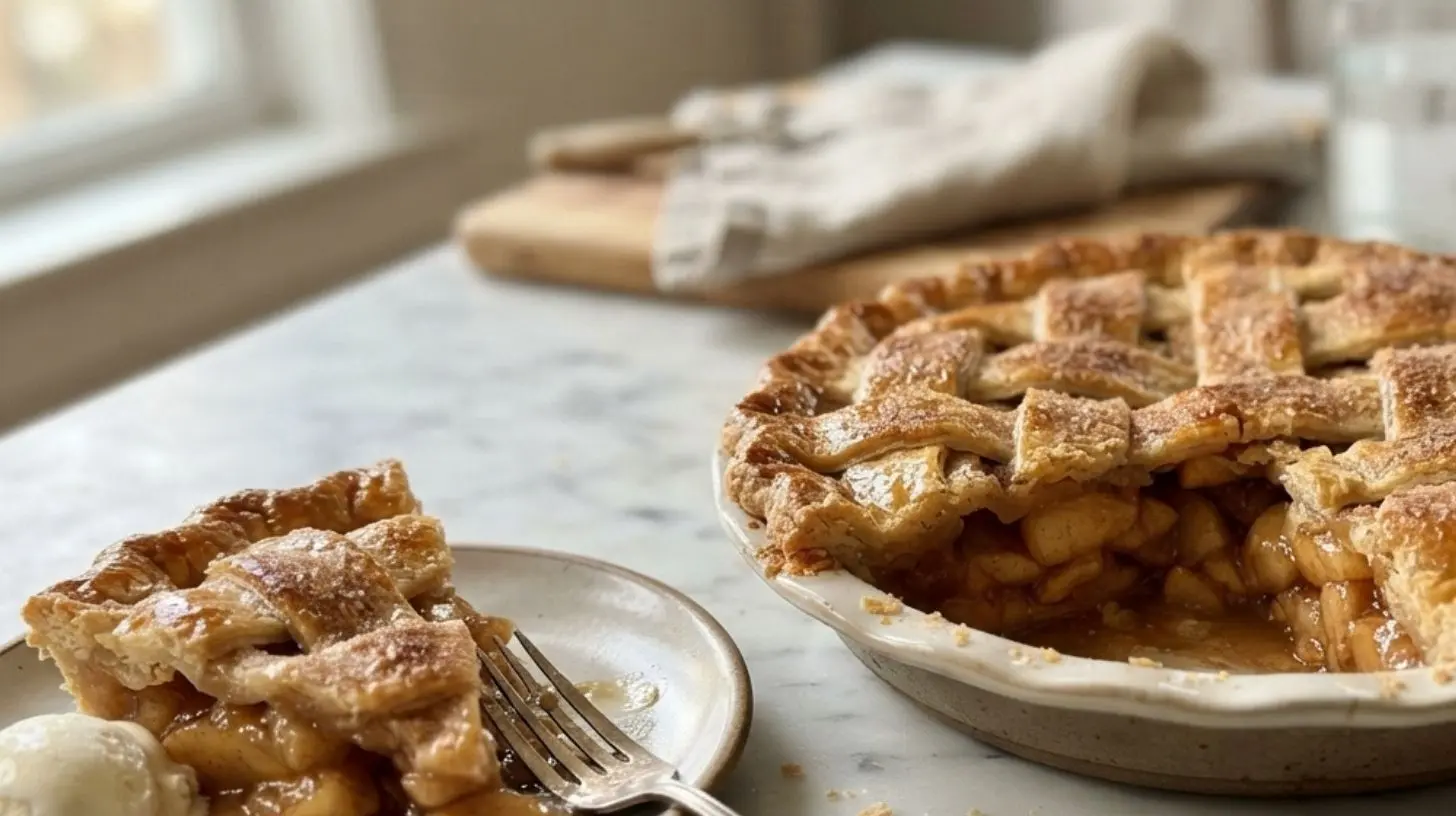
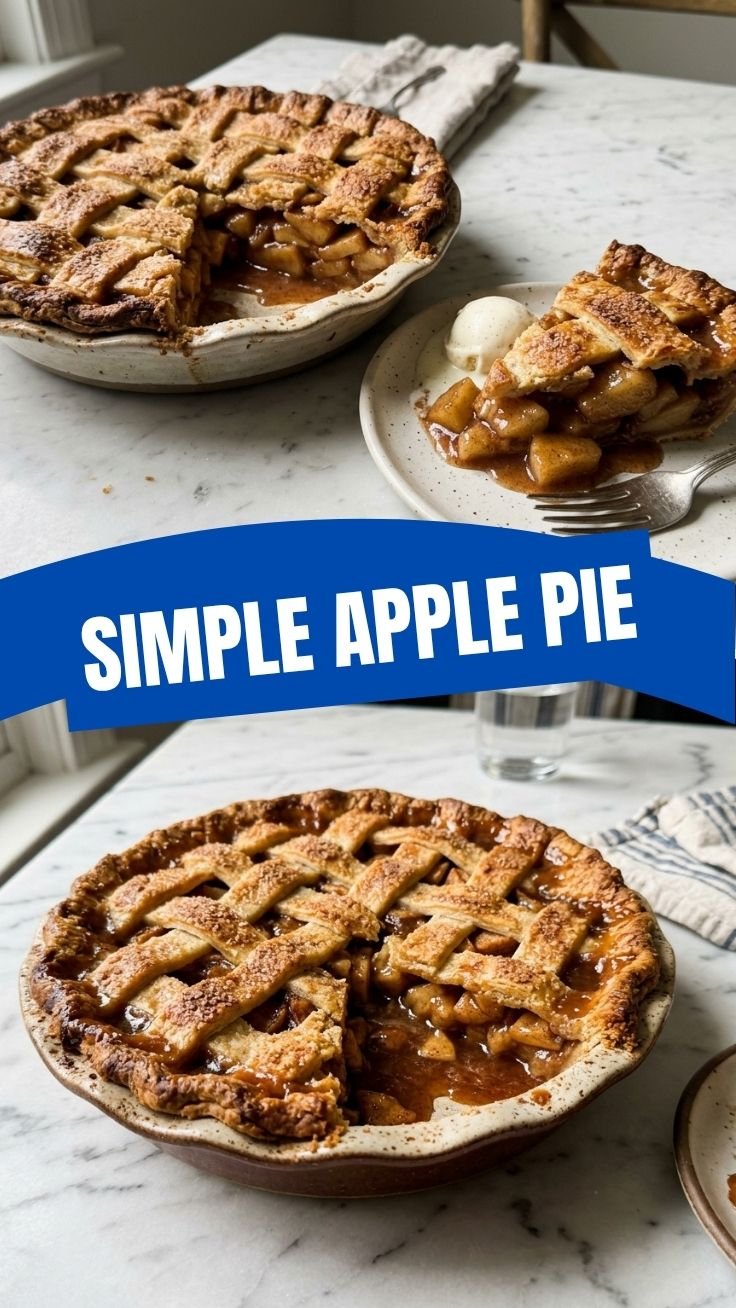
– Use a lattice top for a rustic look
Dietary Adaptations:
– Gluten‑free: Use a 1:1 all‑purpose gluten‑free flour blend + 1 tsp xanthan gum
– Dairy‑free: Replace butter with cold coconut oil or vegan butter
– Low‑sugar: Omit brown sugar, use ½ cup erythritol, and add 1 tbsp maple syrup
Alternative Method: Blind‑bake the bottom crust for 10 minutes at 375°F before adding filling to prevent a soggy bottom. Also try an all‑butter crust for superior flakiness.
Common Mistakes to Avoid
– Overworking the dough: Leads to tough crust. Handle as little as possible, and keep butter cold.
– Skipping the maceration step: Excess liquid makes pie runny. Always let apples sit in sugar before baking.
– Underbaking: Filling won’t set. Look for thick, bubbly juices through vents.
– Not cooling fully: Cutting warm pie collapses the structure. Patience is key.
Storage & Meal Prep Tips
– Refrigerate: Leftover pie keeps 4–5 days, covered loosely with foil.
– Freeze: Baked whole pie—wrap tightly in plastic + foil, freeze up to 3 months. Thaw overnight in fridge, then reheat at 350°F for 15 minutes.
– Reheat: Individual slices in a 300°F oven for 8 minutes, or microwave 30 seconds (crust will soften).
– Make‑Ahead: Prepare filling and dough separately up to 2 days ahead. Assemble and bake when ready.
Conclusion
There you have it—a foolproof method for a classic Apple Pie that rivals any bakery. This recipe is a cornerstone of timeless dessert recipes, and once you’ve tasted that warm, spiced filling encased in buttery pastry, you’ll never go back to store‑bought. I encourage you to bake one this weekend, share your results with family, and explore more seasonal pies on the blog. Happy baking!
FAQs
1. Can I use pre‑made pie crust? Yes, but homemade crust yields superior flavor and texture. If short on time, use a refrigerated crust and still follow the filling instructions.
2. How do I prevent a soggy bottom crust? Place your pie on the lowest oven rack, use a glass pie dish, and consider blind‑baking the bottom for 10 minutes before adding filling.
3. Can I freeze the unbaked pie? Absolutely. Assemble without egg wash, wrap tightly, freeze up to 3 months. Bake directly from frozen, adding 15–20 minutes to the total time.
4. What apples are best for pie? A mix of tart (Granny Smith) and sweet (Honeycrisp, Fuji) gives balanced flavor and texture. Avoid Red Delicious—they turn mushy.
5. My pie filling is too runny after baking. Why? You likely didn’t let it cool long enough (needs 2+ hours) or used too few thickeners. Next time, increase cornstarch to 3 tbsp and macerate longer.