
How to grow 5 delicious Milkshake
Learn how to make 5 different delicious milkshakes from scratch.
Milk
Bananas
Strawberries
Chocolate syrup
Vanilla ice cream
Peel and slice the bananas.
Pour milk into the blender.
Add strawberries to the blender.
Drizzle chocolate syrup into the blender.
Scoop vanilla ice cream into the blender.
Blend everything together until smooth.
The Ultimate Homemade Milkshake: Creamy, Dreamy, and Perfect for Summer
Are you craving a cold, creamy treat that tastes like a diner classic but is made with wholesome ingredients? Imagine sipping a thick, frosty Milkshake that is not only delicious but also packed with real fruit and protein. Preparing this iconic beverage at home allows you to control the sweetness, avoid artificial additives, and customize it to your dietary needs—all while saving money.
The beauty of a homemade Milkshake lies in its simplicity: just a few fresh ingredients blended into a silky, indulgent drink. Whether you’re looking for a post-workout refuel or a nostalgic dessert, this recipe delivers every time. By mastering the technique, you can whip up better-than-fast-food shakes in minutes, using a blender and your favorite flavors. Let’s dive into the secrets of the perfect milkshake, from classic vanilla to creative fruit combinations.
Ingredients & Kitchen Tools
Ingredients
– 2 cups vanilla ice cream (or dairy-free alternative) — Use high-quality ice cream for the creamiest texture; lower fat content can result in a watery shake.
– 1/2 cup whole milk (or oat/almond milk) — Adjust for thickness: less milk = thicker shake, more milk = thinner shake.
– 1 tablespoon sugar (optional) — Omit if using sweetened ice cream; add brown sugar for a caramel note.
– 1/2 teaspoon vanilla extract — Pure extract enhances flavor; imitation vanilla works but is less aromatic.
Kitchen Tools
– Blender — A high-speed blender ensures a smooth consistency without ice chunks.
– Measuring cups and spoons — Precision matters for consistent results.
– Tall glass — Chilling the glass beforehand keeps the shake cold longer.
– Straw or spoon — For serving; a thick straw works best for thick shakes.
Optional Substitutions
– Vegan version: Use coconut or cashew ice cream with oat milk.
– Low-sugar version: Swap ice cream for frozen banana and unsweetened almond milk.
– Add-ins: Cocoa powder, peanut butter, fresh berries, or protein powder.
Prep Time & Cooking Schedule
– Prep Time: 5 minutes
– Cook Time: 0 minutes (no cooking required)
– Total Time: 5 minutes
This recipe is perfect for busy days or last-minute cravings. The entire process is quick, but you can improve results by chilling your glass in the freezer for 10 minutes beforehand. If using frozen fruit, there’s no resting time needed—just blend and serve immediately to preserve the frosty texture.
Step-by-Step Instructions
1. Chill your glass (optional but recommended) — Place a tall glass in the freezer for 10 minutes to keep the shake cold while serving.
2. Combine ingredients — Add 2 cups ice cream, 1/2 cup milk, sugar (if using), and vanilla extract to your blender. For a thicker Milkshake, use less milk; for a thinner consistency, add more.
3. Blend until smooth — Start on low speed and gradually increase to high. Blend for 20–30 seconds until the mixture is uniform and creamy. Avoid over-blending, which can melt the ice cream.
4. Adjust texture — If the shake is too thick, add milk 1 tablespoon at a time and blend again. If too thin, add a handful of ice cubes or extra ice cream.
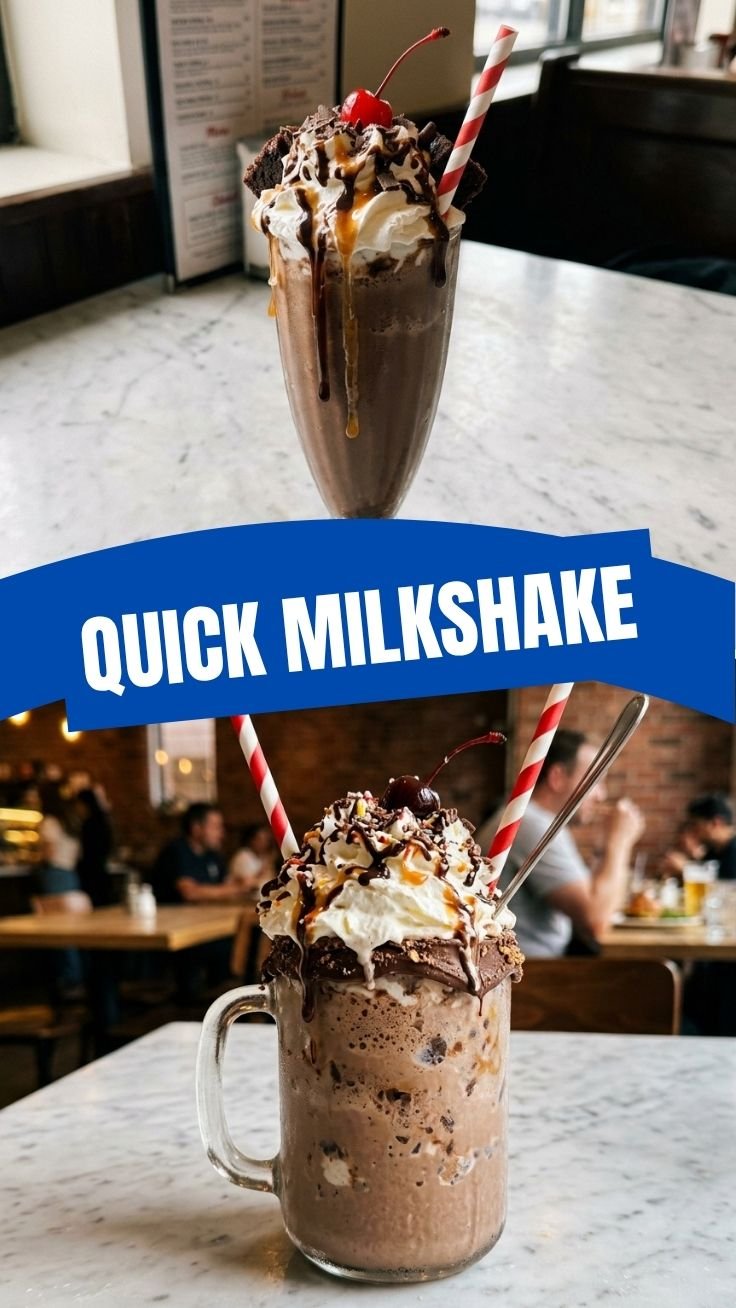
5. Serve immediately — Pour into the chilled glass and garnish with whipped cream, sprinkles, or a cherry. Enjoy with a straw or spoon.
6. Clean blender promptly — Rinse with warm water to prevent milk residue from drying.
For adventurous home cooks, these milkshake recipes can be adapted to include seasonal fruits like mango or strawberry, transforming the basic formula into a refreshing summer treat. The key is balancing the liquid-to-ice cream ratio for that ideal creamy-smooth texture.
Nutritional Benefits & Advantages
A homemade Milkshake offers more than just great flavor—it can be a surprising source of nutrients. When made with full-fat ice cream and whole milk, it provides calcium for bone health and protein for muscle repair. Adding fruits like banana or berries boosts fiber, vitamins, and antioxidants.
– Calcium: One serving covers about 20% of your daily needs.
– Protein: 6–8 grams per shake (varies by milk and ice cream type).
– Customizable: Use low-fat or plant-based options to reduce calories while keeping taste.
Because you control the ingredients, there are no preservatives or artificial flavors—just real, wholesome food. This makes it an excellent alternative to store-bought shakes that often contain high-fructose corn syrup.
Tips, Variations & Cooking Advice
– Flavor variations: Replace vanilla with chocolate ice cream for a classic chocolate shake; add 1 tablespoon cocoa powder for extra richness.
– Dairy-free version: Use coconut ice cream and almond milk; blend with a frozen banana for creaminess.
– Protein-packed: Add a scoop of vanilla protein powder or 1 tablespoon peanut butter.
– Vegan adaptation: Use cashew ice cream and soy milk; sweeten with maple syrup.
– Seasonal twist: Blend in fresh peaches or strawberries for a summer shake; reduce milk slightly to maintain thickness.
– Adult version: Drizzle in 1 ounce of bourbon or Kahlúa for a boozy treat.
Common Mistakes to Avoid
– Using too much milk: This creates a watery shake. Start with less milk and add gradually until you reach the desired texture.
– Over-blending: Blending too long melts the ice cream, resulting in a thin, runny shake. Pulse instead of running continuously.
– Ignoring temperature: Warm ingredients yield a less satisfying texture. Chill everything—including your glass—ahead of time.
– Skipping seasonings: A pinch of salt or extra vanilla extract enhances the flavor without extra sugar.
– Blocked blender: If frozen fruit clumps, let it thaw for 1–2 minutes before blending.
Storage & Meal Prep Tips
– Refrigeration: Store leftovers in an airtight container in the fridge for up to 1 day. The shake will separate and thin out.
– Freezing: Pour into ice cube trays and freeze for up to 1 month. Blend frozen cubes with a splash of milk for a quick re-shake.
– Reheating: Not applicable—this is a cold drink. If thawed, stir vigorously or re-blend with a little ice.
– Meal prep: Pre-portion ice cream and fruit into freezer bags for quick blending later.
Conclusion
This homemade Milkshake is a simple, delightful treat that brings together the best of flavor and simplicity. With just a few ingredients and five minutes, you can craft a creamy beverage that rivals any diner version. The key is balancing your liquids and experimenting with add-ins—from fresh fruit to protein powders—to make it uniquely yours. By mastering the basic technique, you’ll have endless milkshake recipes at your fingertips, perfect for cooling off on a hot day or satisfying a sweet craving without the guilt. Try this recipe today, tag us with your creations, and explore more frozen delights on our blog!
FAQs
1. Can I make this milkshake without a blender?
Yes! Use a mason jar and shake vigorously for 2 minutes, or mash ingredients with a fork until smooth. The texture will be slightly grainier but still tasty.
2. How do I fix a milkshake that is too thin?
Add a handful of ice cubes, a scoop of ice cream, or a frozen banana. Blend again until thickened.
3. Can I use non-dairy milk?
Absolutely. Oat, almond, or coconut milk works well. Note that thinner milks may require reducing the liquid amount.
4. How long does a homemade milkshake stay fresh?
Best consumed immediately, but it can be refrigerated for up to 24 hours. Stir or re-blend before serving.
5. What’s the best ice cream for a thick shake?
Heavy cream-based ice creams with at least 14% milk fat produce the thickest, creamiest results. Low-fat versions will yield a thinner shake.