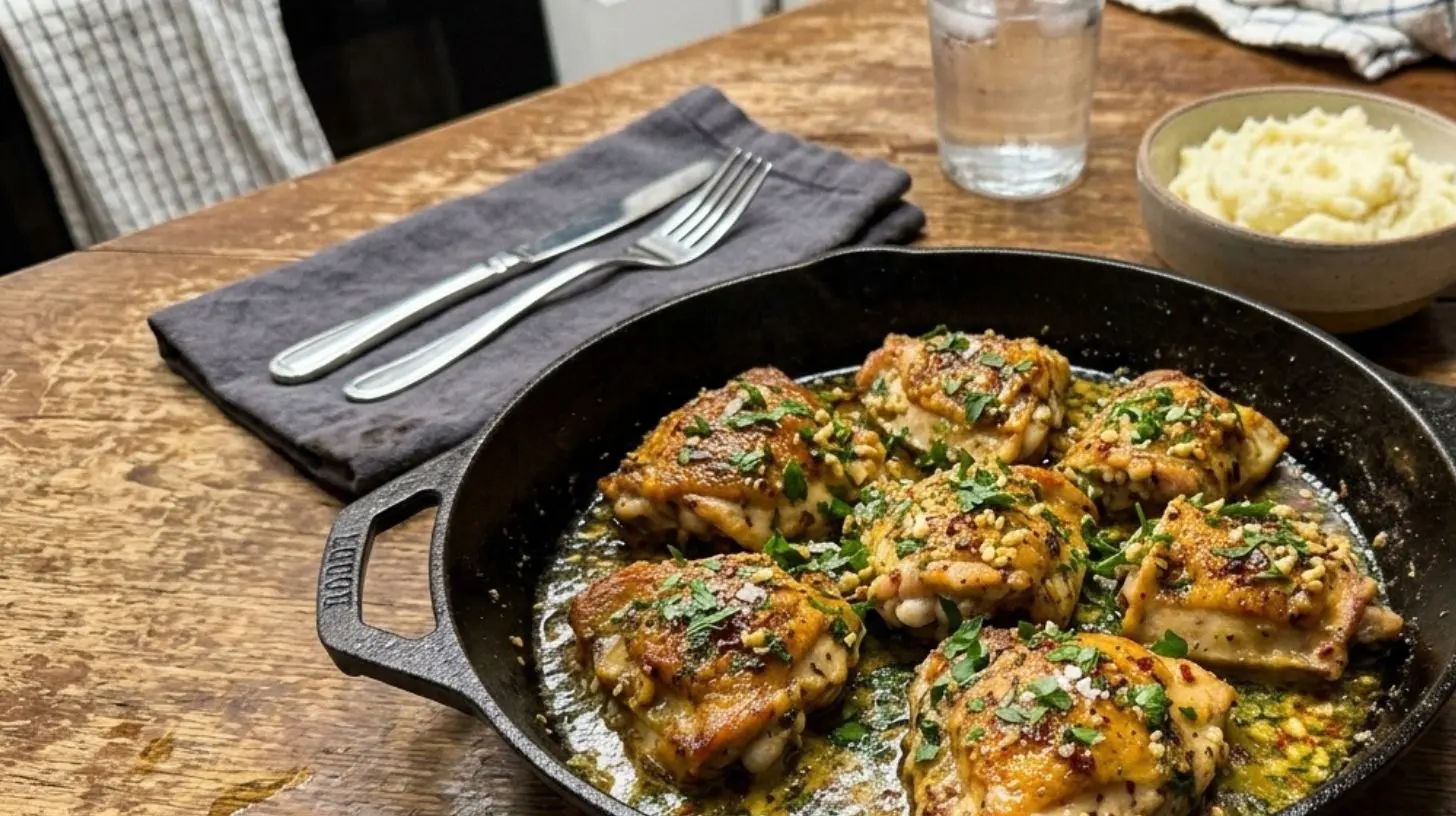
Garlic Butter Chicken
A quick and tasty way to make garlic butter chicken.
Chicken Breasts
Garlic
Butter
Salt
Pepper
Slice the chicken breasts into thin strips.
Mince the garlic cloves.
Melt the butter in a pan over medium heat.
Add the chicken strips to the pan and cook until no longer pink.
Add the minced garlic to the pan and cook until fragrant.
Stir in the salt and pepper.
Serve the garlic butter chicken hot.
Garlic Butter Chicken: The Ultimate Comfort Dish You Need to Try Tonight
Are you tired of dry, bland chicken dinners that leave your family reaching for the salt shaker? Imagine sinking your fork into perfectly seared, juicy chicken thighs coated in a rich, aromatic garlic butter sauce that’s so good you’ll want to drink it straight from the pan. That’s the magic of Garlic Butter Chicken—a dish that delivers restaurant-quality flavor with minimal effort. Whether you’re a busy parent or a weekend home cook, making this recipe at home saves money, lets you control the ingredients, and impresses every time. In this post, I’ll walk you through a foolproof method for the most succulent Garlic Butter Chicken you’ve ever tasted, complete with pro tips, nutritional insights, and time-saving hacks. Let’s dive in.
Ingredients & Kitchen Tools
For the Chicken:
– 4 bone-in, skin-on chicken thighs (or boneless if preferred – skin adds crispiness)
– 2 tablespoons olive oil (for searing; avocado oil also works)
– 4 tablespoons unsalted butter (divided – use quality butter for richer flavor)
– 6 cloves garlic, minced (fresh is non-negotiable; jarred garlic lacks punch)
– 1 teaspoon salt (kosher preferred)
– ½ teaspoon black pepper (freshly ground)
– ½ teaspoon paprika (smoked or sweet – adds color and depth)
– 1 tablespoon fresh lemon juice (optional, for brightness)
For the Garlic Butter Sauce:
– 2 tablespoons butter (reserved from the total)
– 1 tablespoon fresh parsley, chopped (or 1 teaspoon dried – fresh is best)
– ½ teaspoon red pepper flakes (optional for heat)
Kitchen Tools:
– Large cast-iron skillet or heavy-bottomed pan (even heat distribution is key)
– Meat thermometer (to avoid overcooking)
– Tongs (for flipping without piercing)
– Small bowl for mixing seasoning
– Cutting board and chef’s knife
Substitutions: Dairy-free? Use ghee or vegan butter. Gluten-free? This recipe is naturally gluten-free. Want more protein? Swap chicken breast, but reduce cooking time to avoid dryness.
Prep Time & Cooking Schedule
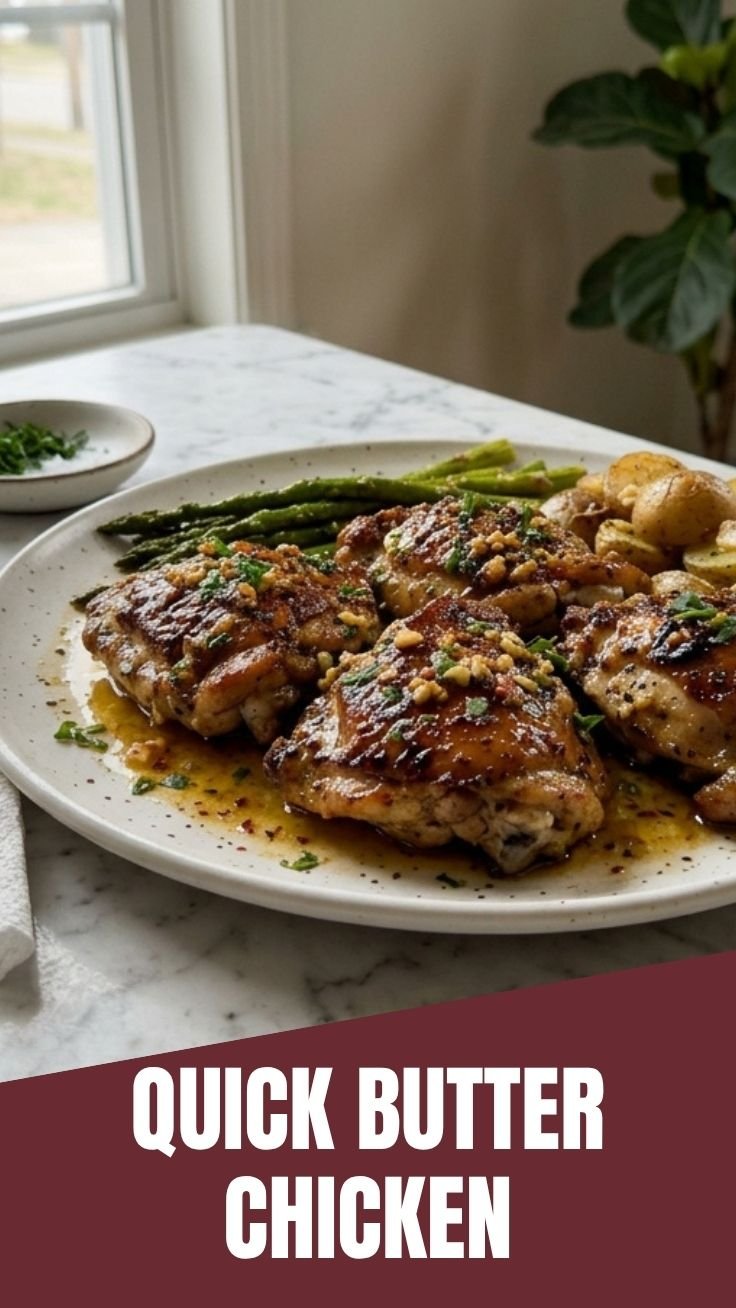
This recipe requires about 10 minutes of active prep and 20 minutes of cooking. No marinating is needed, but you can pat the chicken dry and season it 15 minutes ahead for better crust formation. Here’s a timeline:
– Prep: 10 minutes (season chicken, mince garlic, chop parsley)
– Cook: 20 minutes total (5 minutes searing per side, 5–7 minutes basting, 2 minutes resting)
– Total: 30 minutes
Serve immediately—this dish is best fresh, but it keeps well (see storage tips below).
Step-by-Step Instructions
1. Pat the chicken dry with paper towels. This is crucial for a golden, crispy skin. Season both sides generously with salt, pepper, and paprika.
2. Heat your skillet over medium-high heat. Add olive oil. When the oil shimmers, place chicken skin-side down. Do not move it for 5 minutes—let the skin render and crisp.
3. Flip the chicken using tongs. Add 2 tablespoons butter and the minced garlic around the pan. Swirl to melt. Reduce heat to medium.
4. Baste the chicken for 5–7 minutes, spooning the garlic butter over the thighs repeatedly. Use a meat thermometer—remove when internal temp reaches 165°F (74°C) for safety, or 175°F for fall-off-the-bone tenderness.
5. Add the remaining butter and lemon juice in the last minute. Swirl until melted and fragrant. The sizzling garlic butter sauce is the heart of this Garlic Butter Chicken. For a perfectly balanced Garlic Butter Chicken Recipe, adjust salt only after tasting the sauce—garlic bitterness can develop if burned.
6. Rest for 2 minutes before serving. Garnish with parsley and red pepper flakes.
Nutritional Benefits & Advantages
This dish is not just delicious—it’s packed with nutrients. Chicken thighs offer more iron and zinc than breasts, plus healthy fats that keep you satiated. Garlic is a powerhouse: it contains allicin, which supports immune function and may reduce inflammation. Butter provides fat-soluble vitamins A, D, E, and K, especially if you use grass-fed varieties. The olive oil adds heart-healthy monounsaturated fats. One serving (two thighs with sauce) contains roughly 450 calories, 35g protein, and 12g carbs (all from garlic and lemon). It’s naturally low-carb and keto-friendly, making it a versatile choice for various diets. The absence of breading or flour keeps it gluten-free. For a lighter option, drain excess butter after cooking—but why would you?
Tips Variations & Cooking Advice
– Flavor variations: Add 1 teaspoon dried thyme or rosemary with the garlic. Swap lemon for lime juice. Stir in 2 tablespoons heavy cream at the end for a creamy garlic butter sauce.
– Cooking methods: You can bake the chicken at 400°F for 25 minutes after searing, then baste with butter and garlic. For air fryer, cook at 380°F for 12 minutes, basting halfway.
– Dietary adaptations: Use ghee or coconut oil for dairy-free. For a lower-calorie version, skip the skin and use boneless thighs—reduce cooking time by 5 minutes.
– Portion changes: This recipe serves 4. Double the butter and garlic if feeding 8, but sear in batches to avoid overcrowding.
Common Mistakes to Avoid
– Skipping the dry pat: Wet skin steams instead of sears. You lose that crispy texture.
– Overcrowding the pan: Cook in batches if needed. Crowding lowers pan temperature, leading to mushy skin.
– Burning the garlic: Garlic burns quickly. Add it after flipping, not earlier. If it turns dark brown, start over—burnt garlic tastes bitter.
– Undercooking or overcooking: Use a thermometer. Chicken thighs can handle higher temps (up to 185°F) without drying out, but breasts become tough above 165°F.
– Not resting: Cutting immediately releases juices. Resting locks in moisture.
Storage & Meal Prep Tips
Refrigeration: Store leftovers in an airtight container for up to 4 days. Keep the garlic butter sauce separate if possible, or pour it over the chicken to prevent drying.
Freezing: Freeze cooked chicken (without sauce) for up to 3 months. Wrap individually in plastic wrap, then foil. Thaw overnight in the fridge. Reheat sauce separately.
Reheating: For best texture, reheat in a skillet over medium-low heat with a splash of broth or water. Add a pat of butter to refresh the sauce. Microwave works in a pinch but softens the skin. Use oven at 350°F for 10 minutes for crispier results.
Meal prep: Cook a double batch, shred the meat, and use it in salads, wraps, or pasta. The garlic butter sauce is also fantastic over roasted vegetables.
Conclusion
Perfecting a homemade Garlic Butter Chicken is all about technique—dry skin, hot pan, and careful basting. This recipe delivers juicy meat, crispy edges, and a garlicky butter sauce that elevates any weeknight meal. With a balanced Garlic Butter Chicken Recipe that’s both simple and adaptable, you can customize it to your taste while reaping the nutritional benefits of high-quality protein and healthy fats. I encourage you to try this recipe tonight, share your results with friends, or explore more weeknight-friendly dishes on our blog. Don’t forget to leave a comment below if you discover a new favorite variation!
FAQs
Q: Can I use chicken breasts instead of thighs?
A: Yes, but reduce cooking time to 4–5 minutes per side and use a thermometer to avoid overcooking. Boneless breasts cook faster than bone-in.
Q: What if my garlic butter sauce is too salty?
A: Add a squeeze of lemon juice or a splash of water to dilute. For future batches, use unsalted butter and adjust salt at the end.
Q: How do I prevent the skin from sticking to the pan?
A: Ensure the pan is hot enough before adding chicken. Use enough oil, and don’t flip too early—the skin will release naturally when browned.
Q: Can I make this dairy-free?
A: Absolutely. Substitute butter with ghee (clarified butter, still dairy-free technically) or a vegan butter alternative like Miyoko’s. The flavor will change slightly but remain delicious.
Q: How long does the garlic butter sauce last in the fridge?
A: Up to 1 week in an airtight container. Reheat gently to avoid separating. Do not freeze the sauce alone—it tends to separate upon thawing.
Quick way to grow Garlic Butter Chicken
Equipment
- large skillet
- paper towels
Ingredients
Main Ingredients
- 4 boneless, skinless chicken breasts
- 1/2 cup butter
- 4 cloves, minced garlic
- 1/2 cup chicken broth
- 1 tablespoon lemon juice
- 2 tablespoons, chopped parsley
- 1/2 teaspoon salt
- 1/4 teaspoon black pepper
Instructions
Preparation
- Pat the chicken breasts dry with paper towels and season them with salt and black pepper.
- Melt the butter in a large skillet over medium-high heat.
Cooking
- Add the chicken to the skillet and cook for 5-7 minutes per side, until golden brown and cooked through.
- Remove the chicken from the skillet and set it aside, keeping it warm.
- Add the minced garlic to the skillet and cook for 1 minute until fragrant.
- Pour in the chicken broth and lemon juice, scraping up any browned bits from the bottom of the skillet.
- Simmer the sauce for 2-3 minutes, until slightly thickened.
Finishing Touches
- Return the chicken to the skillet and spoon the garlic butter sauce over it.
- Garnish with fresh chopped parsley and serve immediately.