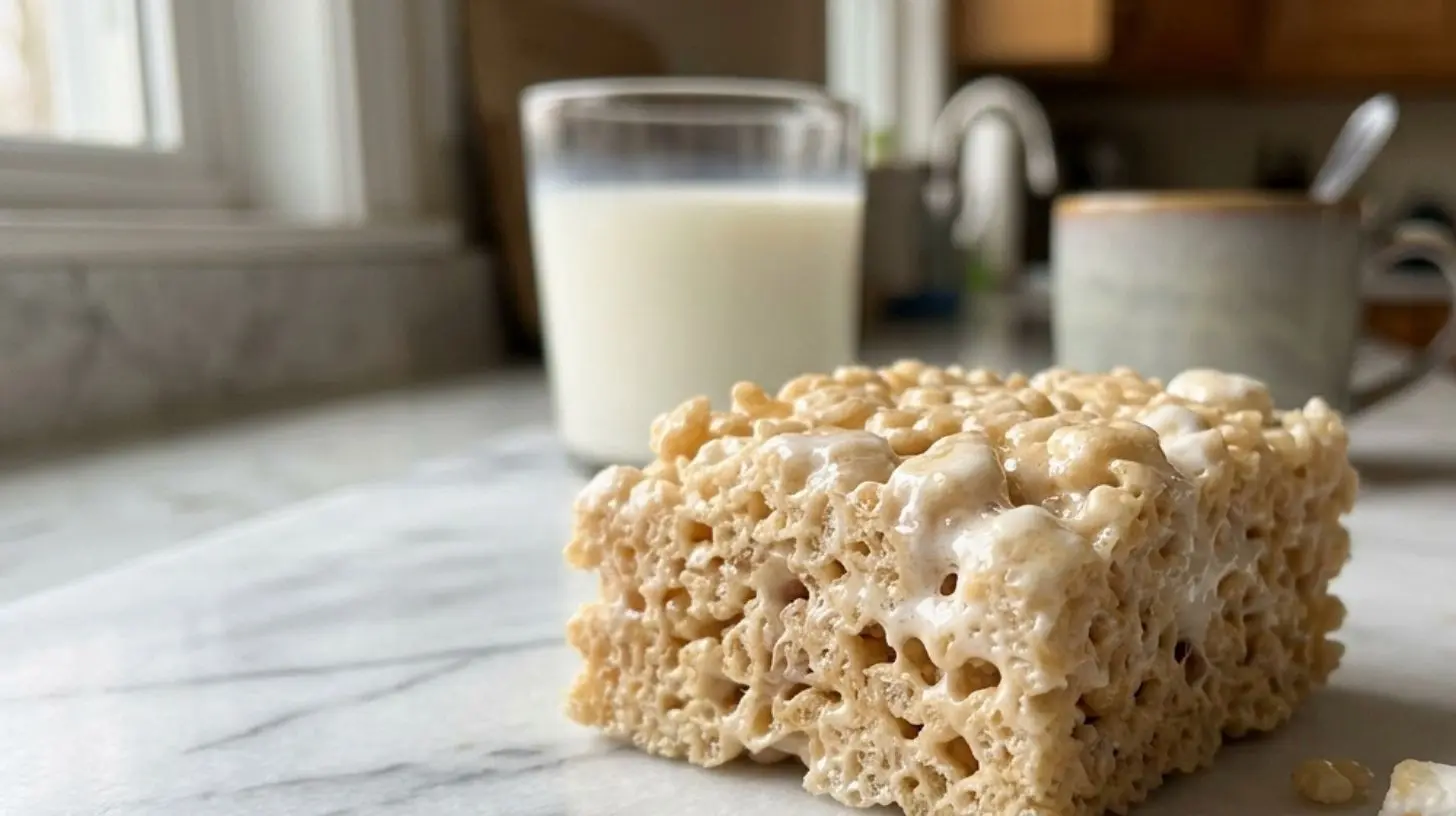
Quick way to grow Rice Krispie Treats
An easy recipe to make delicious Rice Krispie Treats in no time!
Rice Krispies
Marshmallows
Butter
Vanilla extract
Rainbow Sprinkles
Melt the butter in a large pot over low heat.
Add marshmallows to the pot and stir until melted.
Stir in vanilla extract for extra flavor.
Mix in Rice Krispies and rainbow sprinkles until well combined.
Press the mixture into a greased pan and let it cool before cutting into squares.
The Ultimate Guide to Perfect Homemade Rice Krispie Treats
Have you ever bitten into a store-bought Rice Krispie Treat only to find it disappointingly hard, dry, and lacking that nostalgic gooeyness? You’re not alone. The truth is, nothing compares to the warm, buttery, marshmallow-laden perfection of homemade Rice Krispie Treats. Preparing them at home isn’t just about saving money—it’s about controlling the texture, flavor, and freshness. By the end of this guide, you’ll know exactly how to craft the chewiest, most irresistible batch using simple rice krispie cereal as the foundation.
—
Ingredients & Kitchen Tools
Ingredients
– Marshmallows (10 oz/280g) – Standard-sized or mini (mini melt faster and more evenly). For extra gooeyness, use Jet-Puffed or a high-quality brand.
– Unsalted Butter (3 tbsp/42g) – Unsalted lets you control saltiness. Vegan butter works for dairy-free.
– Rice Krispie Cereal (6 cups/180g) – The classic puffed rice cereal. For gluten-free, ensure the brand is certified (most are).
– Salt (¼ tsp) – Optional, but balances sweetness.
– Vanilla Extract (½ tsp) – Optional, adds depth.
Kitchen Tools
– Large saucepan (4-quart) – Non-stick or stainless steel; avoid thin pans that scorch.
– Wooden spoon or silicone spatula – For gentle folding.
– 8×8 or 9×9-inch baking pan – For even thickness.
– Parchment paper or aluminum foil – Lining the pan prevents sticking.
– Sharp knife or bench scraper – For clean cuts.
– Measuring cups and spoons – Accuracy ensures texture.
Optional Substitutions
– Peanut butter (2 tbsp) – Adds protein and flavor.
– Chocolate chips (½ cup) – Melt in with marshmallows.
– Coconut oil (swap for butter) – Dairy-free alternative.
—
Prep Time & Cooking Schedule
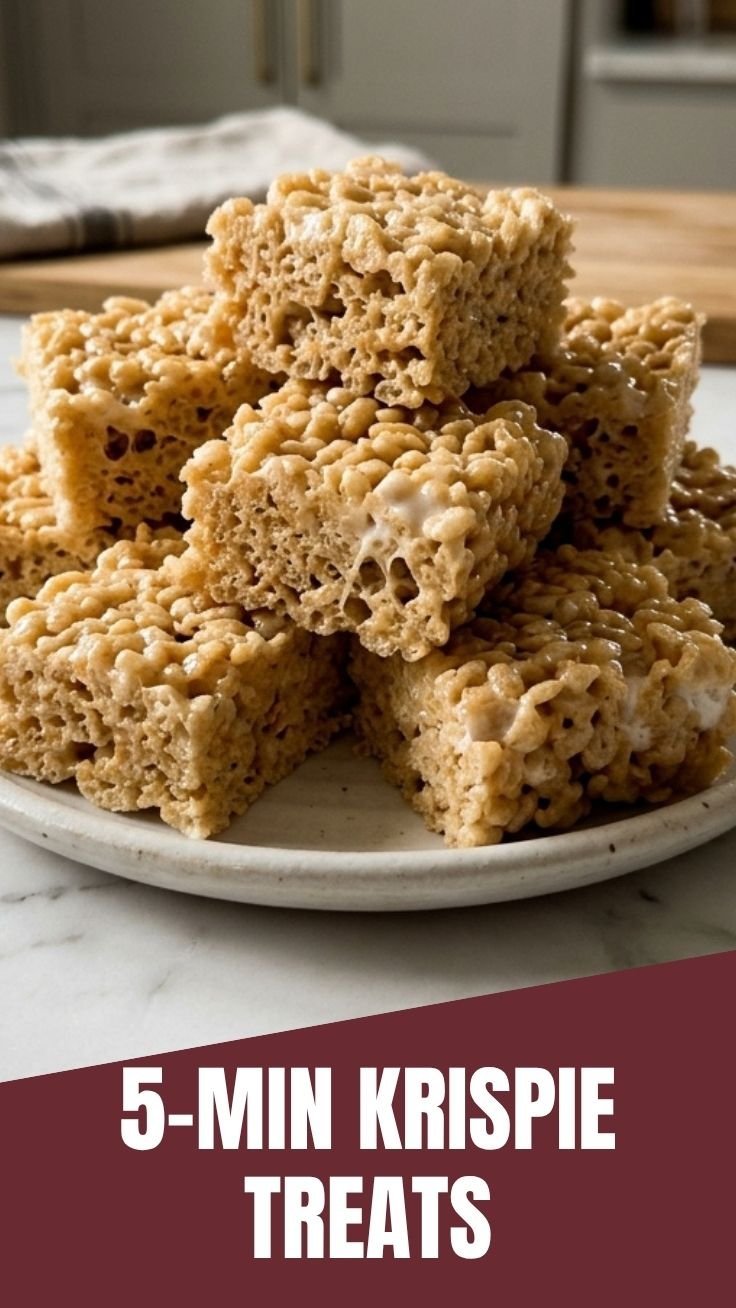
– Prep Time: 5 minutes (measure ingredients, line pan)
– Cook Time: 10–12 minutes (melt butter and marshmallows)
– Assembly Time: 3–5 minutes (mix and press)
– Resting/Cooling Time: 30–45 minutes (room temperature) or 15–20 minutes (refrigerated)
Why timing matters: If you rush the cooling, the treats may crumble when cut. Allow full setting for clean squares. Plan this as a quick after-school or last-minute dessert.
—
Step-by-Step Instructions
1. Prepare the pan. Line an 8×8-inch pan with parchment paper, leaving overhang on two sides. Lightly grease with butter or non-stick spray.
2. Melt the butter. In a large saucepan over medium-low heat, melt 3 tbsp butter. Stir frequently to avoid browning (browned butter adds nutty flavor, but if you want classic creaminess, keep heat low).
3. Add marshmallows. Pour in the entire bag of marshmallows (10 oz). Stir constantly until completely melted and smooth. Remove from heat immediately to avoid scorching.
4. Incorporate vanilla and salt. If using, stir in ½ tsp vanilla and ¼ tsp salt. This elevates the flavor without overpowering.
5. Fold in the cereal. Gradually add 6 cups of rice krispie cereal, folding gently with a silicone spatula. Do not overmix—this crushes the puffs and makes treats dense. The key is to coat every puff evenly while maintaining airiness.
6. Press into pan. Transfer the mixture to the prepared pan. Using a greased spatula or wax paper, press into an even layer. Don’t compress too hard; gentle pressure holds shape without squishing.
7. Cool completely. Let rest at room temperature for 30–45 minutes, or refrigerate for 15–20 minutes if you want firmer treats. These Rice Krispie Treats achieve peak chewiness when cooled slowly.
Pro tip: For extra gooeyness, reduce marshmallow melt time by 30 seconds—this leaves small marshmallow lumps that yield soft pockets.
—
Nutritional Benefits & Advantages
While not a health food, these treats offer several advantages:
– Low in fat (compared to cookies or brownies)
– Quick energy from carbohydrates—ideal for post-workout or child snacks
– Gluten-free (most rice krispie cereal is naturally gluten-free, but verify labels)
– Customizable for dietary needs (dairy-free with vegan butter and marshmallows)
– Portion control (cut into 16 small squares to manage sugar intake)
Comparison: A 2×2-inch treat has roughly 120 calories, 2g fat, and 24g carbs—lighter than a standard granola bar.
—
Tips Variations & Cooking Advice
Flavor Variations
– Chocolate drizzle: Melt ½ cup chocolate chips with 1 tsp coconut oil; drizzle over cooled treats.
– Salted caramel: Add 2 tbsp caramel sauce to marshmallow mixture; top with flaky sea salt.
– Peanut butter swirl: Stir in 2 tbsp peanut butter before adding cereal.
– Berry burst: Fold in ½ cup freeze-dried strawberries for tang.
Dietary Adaptations
– Vegan: Use vegan butter (e.g., Earth Balance) and vegan marshmallows (e.g., Dandies).
– Low-sugar: Use sugar-free marshmallows (texture may be slightly less gooey).
– Nut-free: Use sunflower seed butter instead of peanut butter.
Cooking Method Tips
– Microwave method: Melt butter and marshmallows in a large bowl in 30-second bursts, stirring between each. This reduces cleanup but requires careful timing to avoid overheating.
– Slow cooker: Perfect for parties—melt on low for 1 hour, then stir in cereal.
—
Common Mistakes to Avoid
| Mistake | Cause | Solution |
|———|——-|———-|
| Hard, rock-like treats | Overheating marshmallows | Remove from heat as soon as melted; use medium-low heat. |
| Soggy, dense texture | Overmixing cereal | Fold gently just until coated; stop while still slightly uneven. |
| Stuck to pan | Not lining with parchment | Always use parchment or grease generously. |
| Uneven cutting | Treats too warm | Cool completely; use a sharp knife dipped in hot water. |
| Burnt bottom | High heat | Butter should sizzle gently, not brown rapidly. |
—
Storage & Meal Prep Tips
– Room temperature: Store in an airtight container for up to 3 days. Layer with parchment to prevent sticking.
– Refrigerator: Keeps for 5–7 days; texture becomes denser but remains edible.
– Freezer: Wrap individually in plastic wrap, then foil. Freeze for up to 3 months. Thaw at room temp for 30 minutes.
– Reheating: Microwave a single treat for 5–8 seconds to restore gooeyness. Never overheat—marshmallows will harden.
Pro tip: Divide treats into snack bags for lunchboxes or road trips—they travel well without crumbling.
—
Conclusion
Making Rice Krispie Treats from scratch is a rewarding kitchen project that delivers superior taste, texture, and nostalgia. By using simple rice krispie cereal and fresh marshmallows, you avoid preservatives and achieve that coveted chewy-soft balance. Whether you’re a beginner or a seasoned baker, this recipe offers infinite room for creativity—from mix-ins to toppings. So grab your saucepan, line that pan, and create a batch that will disappear in minutes. Share your masterpiece on social or tag us—we’d love to see your spin!
—
FAQs
1. Can I use brown butter instead of regular butter?
Yes! Brown butter adds a nutty, caramel-like flavor. Just melt butter over medium heat until golden specks appear—about 3–4 minutes—then proceed with marshmallows.
2. Why are my treats too hard?
Overcooking the marshmallows is the culprit. Use medium-low heat and remove from the stove as soon as the marshmallows are smooth. Also, avoid overcompressing the mixture in the pan.
3. Can I make these gluten-free?
Most rice krispie cereal is gluten-free, but always check the label. Use certified gluten-free marshmallows to ensure safety.
4. How do I cut clean squares without mess?
Cool treats completely. Use a large, sharp knife dipped in hot water, wiping between cuts. For extra precision, freeze for 10 minutes before slicing.
5. Can I add mix-ins like chocolate or nuts?
Absolutely! Fold in up to ½ cup of chocolate chips, chopped nuts, or dried fruit after the cereal. Alternatively, drizzle melted chocolate on top after cooling.
6. My treats are too sticky—what went wrong?
Stickiness usually means too much marshmallow. Stick to the 10 oz/6 cup ratio. If using mini marshmallows, measure by weight, not volume, for accuracy.
Quick way to grow Rice Krispie Treats
Equipment
- large saucepan
- 8x8 inch pan
Ingredients
Main
- 3 tablespoons unsalted butter
- 10 ounces miniature marshmallows
- 6 cups Rice Krispies cereal
Instructions
Preparation
- Melt butter in a large saucepan over low heat.
- Add marshmallows and stir until completely melted and smooth.
- Remove from heat and stir in Rice Krispies cereal until well coated.
- Press the mixture evenly into an 8x8 inch pan lined with parchment paper.
- Let cool completely before cutting into squares and serving.