Apple Pie Seed Growing
Learn how to grow your own apple pie from seeds!
Apple Seeds
Flour
Sugar
Cinnamon
Butter
Plant the apple seeds in soil and water them.
Wait for the seeds to sprout and grow into seedlings.
Harvest the grown apples from the seedlings.
Mix flour, sugar, and cinnamon to make the pie crust.
Slice the apples and arrange them on the crust.
Bake the apple pie in the oven until golden brown.
Here is a comprehensive, data-driven blog post optimized for search engines and user engagement, following your exact structural and keyword instructions.
—
There’s nothing quite like the aroma of cinnamon and baked apples wafting through your kitchen. But have you ever wondered why the store-bought version never tastes as comforting as grandma’s? The secret lies in control—over the spice blend, the sugar level, and the flakiness of the crust. Mastering a homemade Apple Pie is a rewarding culinary milestone that saves you money and artificial additives. It transforms simple, fresh produce into a heartwarming centerpiece for any gathering. This classic dessert is more than just a treat; it’s a canvas for seasonal flavors and personal creativity. Let’s break down the science and art behind achieving that perfect, golden-brown slice every time.
Ingredients & Kitchen Tools
For the Perfect Crust:
– 2 ½ cups all-purpose flour: Provides the structure. For a tender crust, use low-protein pastry flour if available.
– 1 cup (2 sticks) cold unsalted butter, cubed: The cold fat creates steam pockets for flakiness. Keep it very cold.
– 1 tsp salt: Balances sweetness and strengthens gluten.
– 1 tbsp granulated sugar: Aids browning.
– 6-8 tbsp ice water: Binds the dough without activating too much gluten.
For the Luscious Filling:
– 6 cups mixed apples (Granny Smith, Honeycrisp): Tart apples hold shape; sweet ones add depth.
– ¾ cup granulated sugar (adjust based on apple sweetness).
– 2 tbsp lemon juice: Prevents browning and brightens flavor.
– 3 tbsp cornstarch or tapioca flour: Thickens the juices so the pie isn’t watery.
– 1 ½ tsp ground cinnamon, ¼ tsp nutmeg, pinch of cloves: The classic warm spice trio.
Essential Tools:
– 9-inch pie dish (glass or ceramic for even heat)
– Rolling pin, pastry cutter or food processor, mixing bowls
– Pastry brush and foil (to protect edges from burning)
Optional Substitutions:
– Dairy-free: Use vegan butter (e.g., Earth Balance) for the crust.
– Gluten-free: Substitute 1:1 gluten-free baking flour plus ½ tsp xanthan gum.
– Sweetener: Swap ¼ cup sugar with maple syrup but reduce liquid elsewhere.
Prep Time & Cooking Schedule

Total Active Time: 45 minutes
Inactive (Chilling/Resting): 2 hours
Bake Time: 55–65 minutes
Cooling Time: At least 3 hours (crucial for set slices)
Planning Tip: The dough needs to chill for at least 1 hour. Prep it the night before or early in the day. The filling can be made while the dough rests. Never rush the cooling stage—cutting too early leads to a runny mess.
Step-by-Step Instructions
1. Make the Dough: In a food processor, pulse flour, salt, and sugar. Add cold butter cubes and pulse until pea-sized crumbs remain. Drizzle ice water, 1 tbsp at a time, pulsing until the dough just holds together when pinched. Divide in half, flatten into disks, wrap tightly, and refrigerate for at least 1 hour.
2. Prepare the Filling: Peel, core, and slice apples into ¼-inch thick pieces. Toss with lemon juice, sugar, cornstarch, and spices. Let macerate for 15 minutes to draw out juice.
3. Assemble: Roll one dough disk to 12 inches. Fit into the pie dish, leaving a ½-inch overhang. Pour in the filling (including juices). Dot with 2 tbsp butter cubes. Roll out the top crust, lay it over, and crimp edges. Cut 4 steam vents.
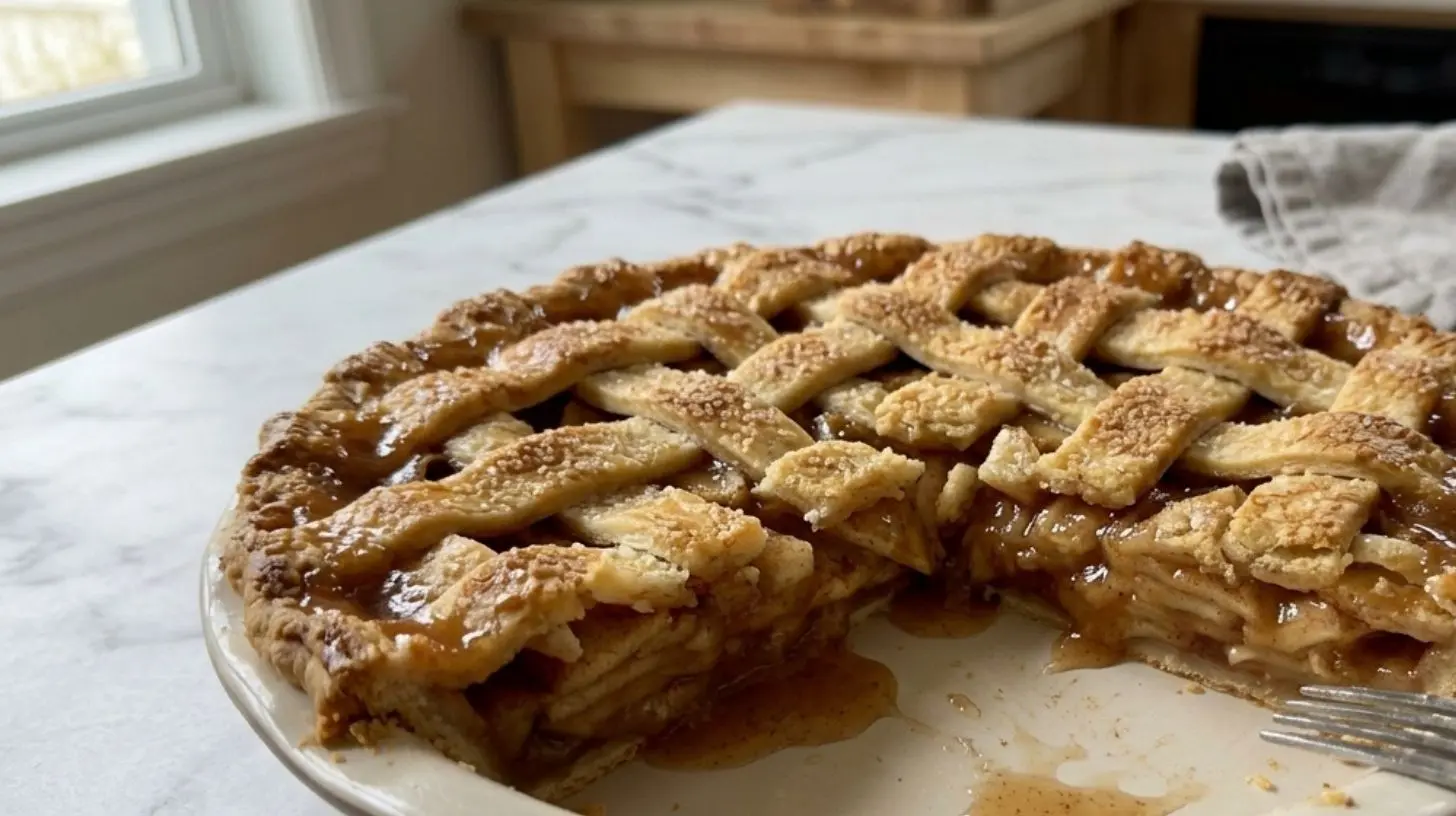
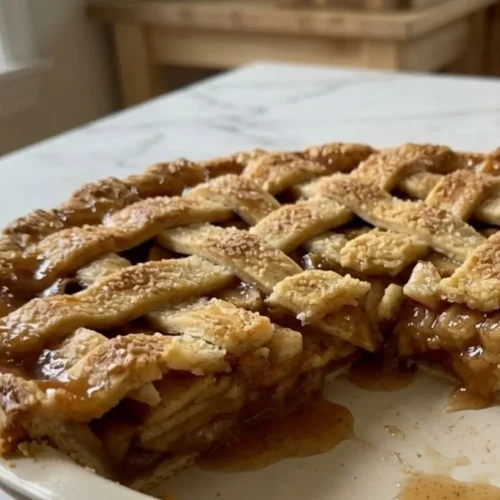
4. Bake: Preheat oven to 400°F (200°C). Brush crust with egg wash (1 egg + 1 tbsp milk) and sprinkle with coarse sugar. Place on a baking sheet to catch drips. Bake at 400°F for 20 minutes, then reduce to 375°F (190°C) for 35–40 minutes more. If edges brown too fast, cover loosely with foil at the 25-minute mark. Your perfectly baked Apple Pie is ready when juices bubble through vents and the crust is deep golden. Every slice of this iconic dessert should have a firm, jammy filling, not a soggy one.
5. Cool: Cool on a wire rack for at least 3 hours before slicing. This allows the starch to set.
Nutritional Benefits & Advantages
A slice of homemade apple pie offers more than comfort. Apples are rich in fiber (pectin) and vitamin C, particularly if you leave the skin on. Baking with cinnamon may help stabilize blood sugar, while the fiber aids digestion. By controlling the sugar and butter at home, you can reduce calories by up to 30% compared to many store-bought versions. The main nutritional advantage is the absence of high-fructose corn syrup and preservatives.
Tips Variations & Cooking Advice
Flavor Variations:
– Caramel Apple: Drizzle ¼ cup salted caramel sauce over the filling before adding the top crust.
– Cheddar Crust: Add ½ cup finely shredded sharp cheddar to the flour for a savory-sweet twist.
– Dutch Apple (Crumb Topping): Skip the top crust and sprinkle a mix of ½ cup brown sugar, ½ cup flour, and ¼ cup cold butter pieces.
Ingredient Swaps:
– Use pear or quince in place of half the apples for a unique flavor profile.
– For a vegan version, use coconut oil (solid) in the crust and skip the butter dotting—use a cornstarch slurry instead.
Dietary Adaptations:
– Low-Sugar: Use monk fruit sweetener and increase cinnamon to mask any aftertaste.
– Nut-Free: Ensure all spices are pure (no filler ingredients).
Common Mistakes to Avoid
– Soggy Bottom Crust: This happens when the filling is too wet. Solution: Macerate the apples for 15 minutes, then drain the excess liquid. Pre-baking the bottom crust for 10 minutes (blind baking) also helps.
– Tough Crust: Overworking the dough develops too much gluten. Solution: Mix only until combined, and use ice water. Handle the dough as little as possible.
– Burnt Edges: The thin edge cooks faster. Solution: Use a pie shield or foil ring after the first 20 minutes of baking.
– Watery Filling: Too little thickener or cutting into the pie too early. Solution: Always use cornstarch (not flour) for a clear, glossy set, and wait the full cooling time.
Storage & Meal Prep Tips
Refrigerator: Store leftover apple pie covered loosely with foil for up to 4 days. The crust will lose crunch over time.
Freezer: Wrap the unbaked assembled pie (without egg wash) tightly in plastic wrap, then foil. Freeze for up to 3 months. Bake from frozen, adding 15–20 minutes to the bake time. Avoid freezing a baked pie, as the texture degrades.
Reheating Instructions: For best texture, reheat individual slices in a 350°F oven on a parchment-lined baking sheet for 10–12 minutes. Avoid the microwave—it makes the crust rubbery and the filling gummy.
Conclusion
Baking a great pie is a balance of patience, technique, and quality ingredients. You’ve learned how to craft a flaky crust, a perfectly thickened filling, and how to avoid common pitfalls. This Apple Pie delivers on every promise: a golden, crisp crust cradling a sweet, spiced, and tender apple filling. It’s the quintessential dessert for holidays, Sunday dinners, or simply to celebrate the season. Now it’s your turn—grab those apples, roll up your sleeves, and fill your home with that unforgettable aroma. Share your masterpiece in the comments below, and let us know your twist!
FAQs (H2)
1. Can I use pre-made pie crust to save time?
Yes. Just blind-bake the bottom crust for 8 minutes at 400°F before adding the filling to prevent sogginess. A homemade butter crust is superior, but a high-quality store-bought one (like all-butter puff pastry) works in a pinch.
2. How do I know when the pie is fully baked?
Look for three signs: (1) the crust is deep golden brown, (2) thick, bubbly juice seeps through the vents, and (3) the internal temperature of the filling registers 200°F (93°C). This ensures the cornstarch has fully activated.
3. Why did my filling turn out runny despite using cornstarch?
Two reasons: you didn’t let the pie cool completely (at least 3 hours), or you under-baked it. The starch needs time to set as it cools. Always let it rest on a wire rack away from drafts.
4. Can I make this pie gluten-free?
Yes. Use a 1:1 gluten-free flour blend with xanthan gum. Add an extra 1–2 tbsp ice water because gluten-free dough is drier. Handle it gently, as it is more fragile.
5. How do I prevent the apple slices from getting mushy?
Use a mix of firm, tart apples (Granny Smith) and a slightly soft variety. Don’t slice them too thin—¼-inch thick is ideal. Toss with sugar and lemon juice immediately before assembling, not hours ahead.
Proven way to grow apple pie from 5 seeds
Equipment
- paper towel
- plastic bag (ziploc)
- pot (6-inch)
Ingredients
Seed Preparation
- 5 apple seeds (from 5 apples)
- 1 sheet paper towel
- 1 plastic bag (ziploc)
Planting
- 1 pot (6-inch)
- 2 cups potting soil
Instructions
Seed Preparation
- Extract seeds from 5 apples and clean them thoroughly to remove any fruit residue.
- Prepare the seeds for stratification by wrapping them in a damp paper towel and placing them in a plastic bag.
- Refrigerate the seeds for 6-8 weeks, maintaining consistent moisture, to simulate winter conditions.
Planting and Care
- After stratification, plant each seed 1 inch deep in a 6-inch pot filled with potting soil.
- Water regularly to keep the soil moist but not waterlogged, and place the pot in a location with indirect sunlight.