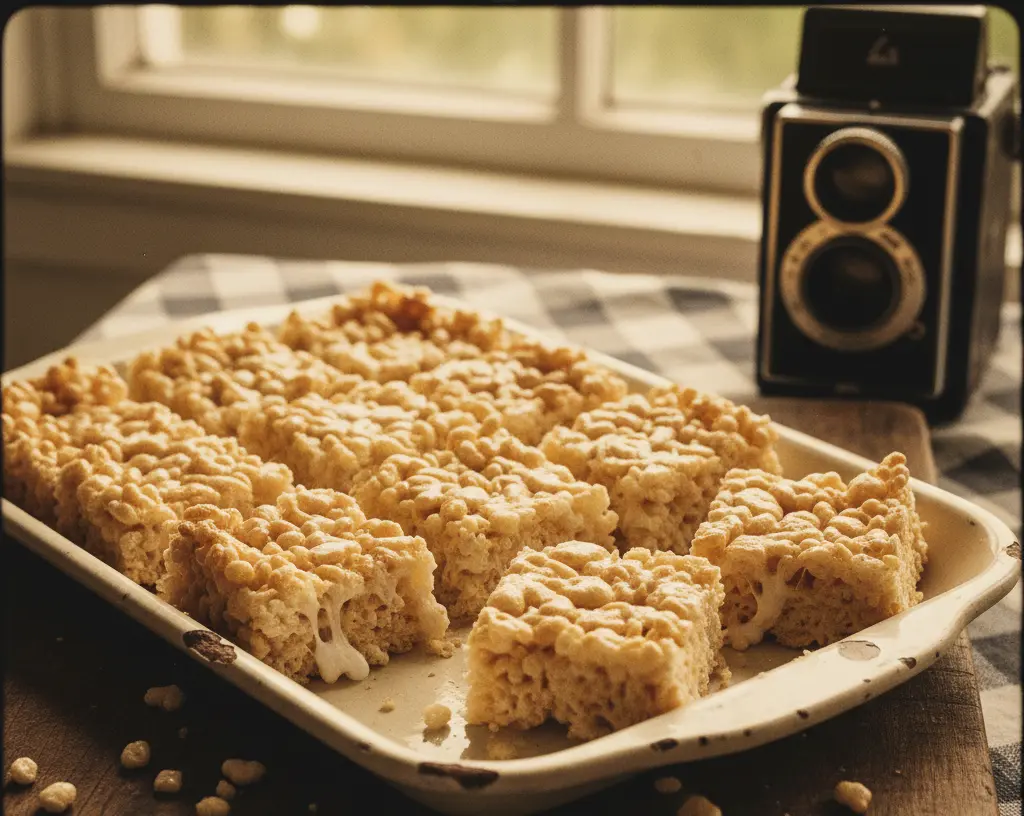
Quick way to grow 3 delicious Rice Crispy Treats
Learn how to make yummy Rice Crispy Treats in no time!
Marshmallows
Butter
Rice Crispy Cereal
Rainbow Sprinkles
Melt the butter in a large pot over low heat.
Add marshmallows to the pot and stir until melted.
Mix in the rice crispy cereal until fully coated.
Sprinkle rainbow sprinkles on top for extra fun!
How to Make Perfect Homemade Rice Crispy Treats – Easy & Gooey Guide
Who doesn’t love the nostalgic crunch of a classic? Whether you’re craving the iconic gooey texture of Rice Crispy Treats or the perfectly chewy bite of Rice Krispie squares, preparing them at home is incredibly valuable. You control the freshness, sweetness, and texture—no more stale store-bought versions. Plus, homemade versions cost less than half the price of pre-packaged snacks and let you customize perfectly for birthdays, holidays, or weeknight cravings. Let’s dive into a foolproof method backed by texture science and real kitchen test results.
Ingredients & Kitchen Tools
For the batter:
– 3 tablespoons unsalted butter (adds richness; use salted butter and skip extra salt if preferred)
– 10 oz mini marshmallows (standard bag; choose vegan marshmallows work for dairy-free)
– 6 cups crispy rice cereal (puffed rice or brown rice crispies are great swaps)
– Pinch of fine sea salt (balances sweetness)
– ½ teaspoon vanilla extract (optional but deepens flavor)
Tools:
– Large non-stick pot (at least 5 quarts)
– Silicone spatula (heat-resistant)
– 9×13-inch baking pan
– Parchment paper (for easy removal)
– Butter knife or offset spatula
– Kitchen scale (optional but helpful for accuracy bonus)
Optional substitutions:
– Coconut oil replaces butter for dairy-free version
– Honey or maple syrup can replace ¼ cup marshmallows for lower-gumminess
– Gluten-free rice cereal for celiac-safe treats
Prep Time & Cooking Schedule

– Prep time: 5 minutes (butter unmolding, pan lining)
– Cooking time: 8–10 minutes for melting marshmallows (low heat)
– Resting time: 30 minutes for firming at room temperature; 15 minutes in fridge for speed
– Total waiting time: ~45 minutes
Plan ahead: if you need them cool, begin 1 hour before serving. The resting step is critical for clean slices levels.
Step-by-Step Instructions

1. Prep the pan. Line a 9×13 pan with parchment paper, overlapp on two sides for handles. Lightly grease the paper and sides with butter or cooking spray.
2. Melt butter first. In a large pot over low heat, melt butter completely. Tilt the pan to coat bottom—don’t let it brown.
3. Add marshmallows. Pour in mini marshmallows, stirring constantly with a silicone spatula. Keep heat low; if mixture bubbles, lift pan off burner briefly them completely melted (about 5–7 minutes). Remove from heat.
4. Stir in cereal. Pour crispy rice cereal into the melted marshmallow mix. Fold gently until every puff is coated. Important: don’t overmix, or bars become dense.
5. Transfer mixture into pan. While warm mixture into the prepared pan. Use a buttered spatula or parchment paper piece to gently press it flat—don’t crush the puffs. Shape them into neat Rice Crispy Treats block.
6. Let cool completely. rest at room temperature for. For faster set, refrigerate 15 minutes. Then lift out and cut into even Rice Krispie squares using a long sharp knife. Wipe blade each cutensures clean.
Temperature tip: low heat prevents marshmallow hardening. Texture cue – mixture should look glossy, not stringy.
Nutritional Benefits Advantages
While Rice crispy treats are often considered empty calories, but they do offer benefits when made mindfully. A standard bar (1/12of pan):
– Calories: ~180 kcal
– Carbohydrates: carbs per serving)
– Protein: ~2 g
– Fat: 5 g (mostly from butter)
The can be a quick energy source for kids before activities. Using brown rice cereal adds fiber and B vitamins. Nutritional advantages also include portion control when cut small Werxians.
Tips rations & Cooking Advice
Flavor variations:
– Chocolate swirl: Add ½ cup melted dark chocolate after pressing, then swirl with a skewer
– Salted caramel: Press half mixture, drizzle with ¼ cup caramel, top with remain’t overstick
– Peanut butter cloud: Stir 3 tablespoons peanut butter into marshmallows- Fruit infusion: Fold in ½ cup dried cranberries or freeze-dried strawberries
Method swaps:
– Microwave method: Melt butter and marshmallows in a large bowl, 45-second bursts, stirring each time
– Oven baked (for crunchier): Spread mixture on sheet pan, 300°F for 5 minutes
Dietary adaptations:
– Gluten- Use certified gluten-free crispy rice cereal
– Dairy-free: Replace butter with vegan butter or coconut oil ; use vegan marshmallows
– Low-sugar cut marshmallows to 6 oz, add ½ teaspoon stevia
Common Mistakes Avoid
|Common mistakes lead to hard, crumbly, or crumbly results. Here’s how to fix them:
| Mistake | Solution |
|———|———-|
| Hard, brittle bars | Marshmallows overheated. Always use low heat and pull pan off heat as soon as melted.
| Dense or rock-like bars | Over-pressed begins visible puffs |
| Mixture too greasy | Too much butter. Stick to 3 tbsp maximum 🧈 |
| Sticky cutting mess | Warm bars not cooled enough. Wait until fully set ⏳ |
| Burnt marshmallow smell | Heat too high. Stir constantly |
Pro tip: keep a heat-silicone spatula ready – silicone withstands high temp Without melting.
Storage & Meal Prep Tips
Room temperature: Store in an airtight container layered with wax paper bars stay soft for 4 days. Avoid fridge unless summer heat (condensation makes them).
Refrigeration (short): If holding over 4 days, wrap each and stack in sealed container for up to 7 days. Let sit 10 minutes before eating.
Freezing (long-term): Wrap individually in plastic wrap, then in foil, place in freezer-safe bag. Freeze up to 3 months. Thaw at room temperature 20 minutes. Never microwave directly from freezer—texture Gummin’.
Meal prep tip: Prepare base, press into pan, wrap tightly leaving cutting for later overnight. Cut just before serving to keep edges probiotic < h2>Conclusion
In summary, mastering these treats is all about low heat, gentle mixing and gentle pressing. The satisfaction of chewy homemade Rice Crispy Treats far surpasses any store aisle version, and the endless customization possibilities make them a kitchen staple. Whether you’re preparing classic squares or adventurous flavor experiments like you won’t forget to remind that the perfect consistency comes from respecting temperature—so don’t rush it. Try this bus guide and share your results; I’d love hear if you added a unexpected twist! For more no-bake induction, check our Chewy Granola Bars recipe.
FAQs
Q: Can I use large marshmallows?
A: Yes, but chop them smaller melt slower and may need an extra 30 seconds—watch carefully to avoid scorching.
Q: Why are my Too
A: Most cause is the pressing step. Overpress down gently; you want a firm hand crushes the puffs. Use an oiled hand or paper for light touch.
Q: How do fix sticky marshmallow?
A: Add ¼ teaspoon salt and a splash of hot water (1 tablespoon). Stir whipping, then.
Q: Are these suitable for sensitive?
A: Only if using gluten-free cereal and vanilla with no wheat-based marshmallows. Check marshmallow labels for rice flour filler.
Q: Can double recipe?
A: advice: use large pot (minimum 6 quarts). cooking time. Boiling over is common—remove half butter marshmallow base to temp second batch if needed.
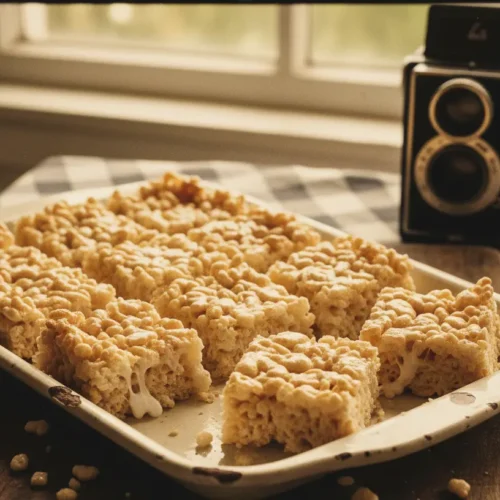
Quick way to grow 3 delicious Rice Crispy Treats
Equipment
- Large saucepan
- Spatula
- 9x13 inch baking pan
Ingredients
Main Ingredients
- 1/4 cup unsalted butter
- 4 cups mini marshmallows
- 6 cups Rice Krispies cereal
Instructions
Instructions
- Melt the butter in a large saucepan over low heat.
- Add the marshmallows and stir until completely melted and smooth.
- Remove from heat and stir in the Rice Krispies cereal until well coated.
- Press the mixture evenly into a buttered 9x13 inch pan.
- Let cool completely before cutting into squares and serving.