Proven way to grow Juneteenth Red Velvet Cake in 5
Learn how to make a delicious Juneteenth Red Velvet Cake in just 5 steps!
Flour
Sugar
Cocoa Powder
Buttermilk
Red Food Coloring
Vanilla Extract
Butter
Eggs
Preheat the oven to 350°F.
Mix flour, sugar, and cocoa powder in a bowl.
Add buttermilk, red food coloring, and vanilla extract to the mixture.
Beat in butter and eggs until well combined.
Pour the batter into a greased cake pan and bake for 30-35 minutes.
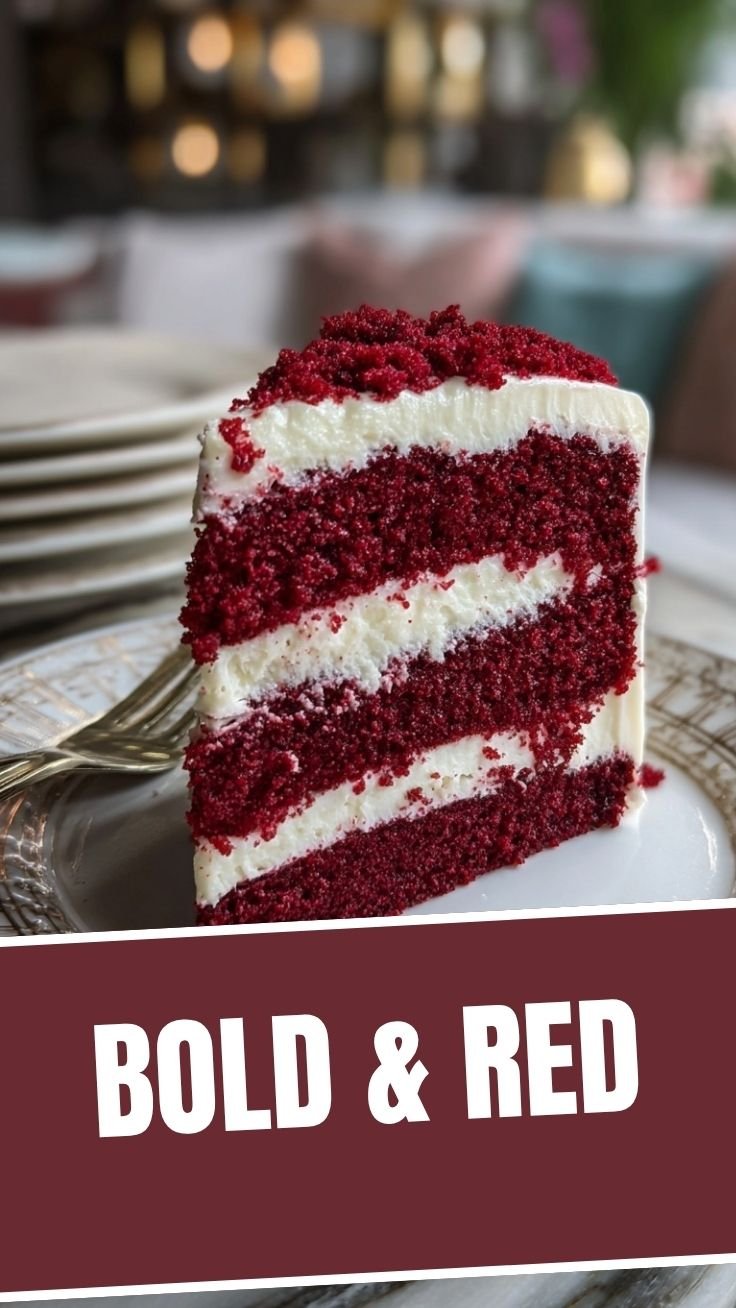
How to Make an Amazing Juneteenth Red Velvet Cake: A Complete Guide
Have you ever wondered how to create a stunning dessert that honors the rich cultural heritage of Juneteenth while satisfying your sweet tooth? Learning to make a Juneteenth Red Velvet Cake at home allows you to connect with tradition while developing valuable baking skills. This vibrant red cake has become synonymous with Juneteenth celebration desserts across America, symbolizing resilience and freedom with its bold color and delicious flavor profile. Creating this iconic dessert yourself means customizing it to your preferences while honoring its cultural significance.
Ingredients & Kitchen Tools
For the cake:
– 2½ cups all-purpose flour (sifted for best texture)
– 2 tablespoons unsweetened cocoa powder (use Dutch-processed for deeper flavor)
– 1 teaspoon baking soda (for proper rise)
– 1 teaspoon salt (to enhance flavors)
– 1½ cups granulated sugar (provides sweetness and structure)
– 1 cup buttermilk (adds tanginess and moisture)
– 1 cup vegetable oil (creates tenderness)
– 2 large eggs (room temperature for better incorporation)
– 2 tablespoons red food coloring (gel or liquid)
– 1 teaspoon white vinegar (activates baking soda)
– 1 teaspoon vanilla extract (for aromatic flavor)
For cream cheese frosting:
– 16 oz cream cheese (softened)
– ½ cup unsalted butter (room temperature)
– 4 cups powdered sugar (sifted to avoid lumps)
– 1 teaspoon vanilla extract (for flavor)
– Pinch of salt (balances sweetness)
Kitchen tools:
– 2 9-inch round cake pans
– Electric mixer (stand or handheld)
– Mixing bowls (various sizes)
– Measuring cups and spoons
– Rubber spatula
– Cooling racks
– Offset spatula (for frosting)
– Sifter (for dry ingredients)
– Parchment paper (for lining pans)
Prep Time & Cooking Schedule
– Prep time: 30 minutes
– Baking time: 25-30 minutes
– Cooling time: 2 hours
– Frosting time: 20 minutes
– Total time: Approximately 3 hours
This timing allows the cake to cool completely before frosting, preventing melting issues. Consider preparing the cake layers a day ahead for less stress when hosting a Juneteenth celebration.
Step-by-Step Instructions
1. Prepare your workspace: Preheat oven to 350°F (175°C). Grease two 9-inch cake pans and line with parchment paper circles.
2. Mix dry ingredients: In a medium bowl, whisk together flour, cocoa powder, baking soda, and salt until well combined.
3. Prepare wet ingredients: In a large bowl, beat sugar and eggs until light and fluffy (about 2 minutes). Add vegetable oil and mix well.
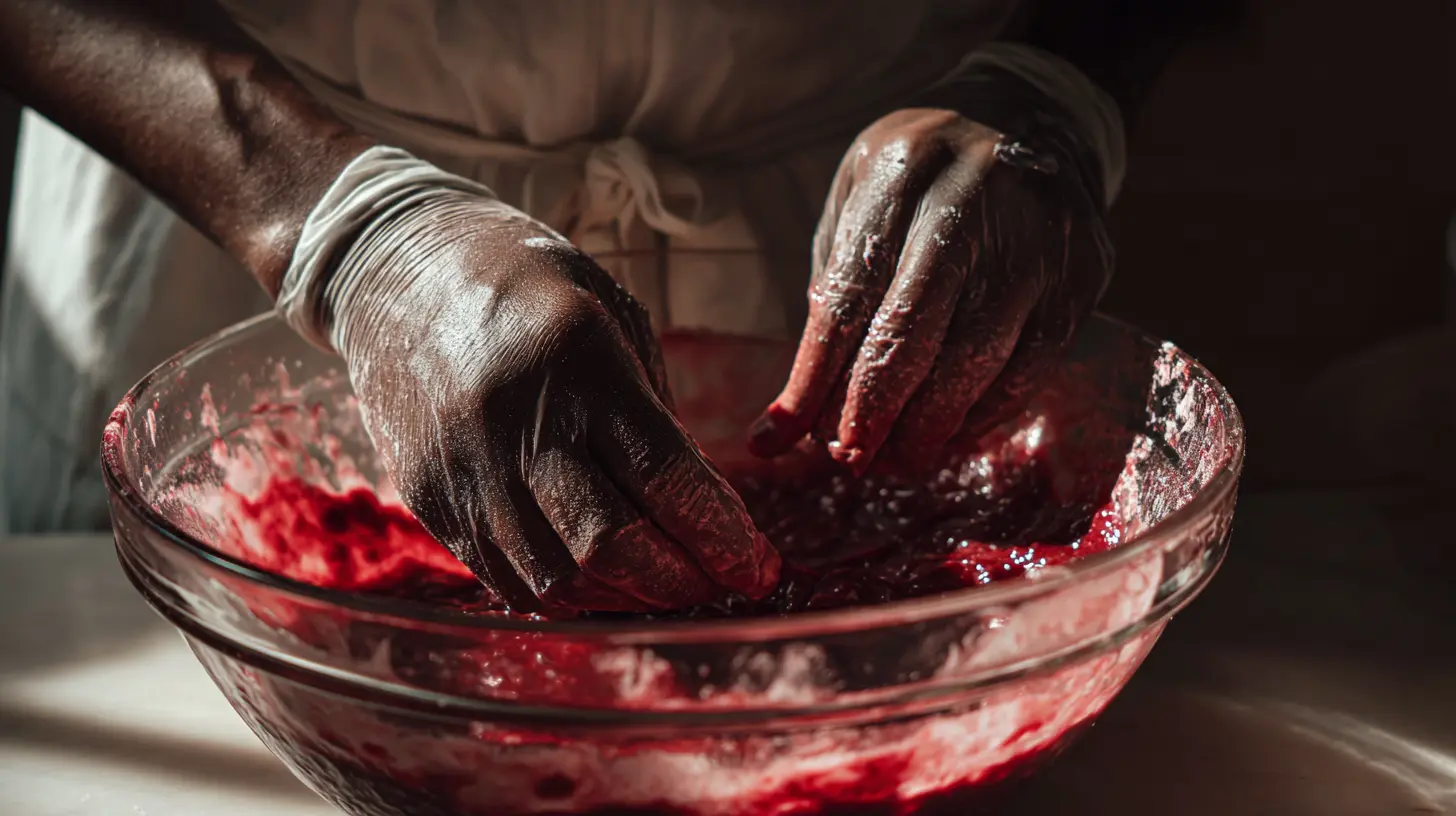
4. Add color and flavor: Mix in buttermilk, red food coloring, vinegar, and vanilla extract until fully incorporated. This creates the signature color perfect for Juneteenth Red Velvet Cake traditions.
5. Combine mixtures: Gradually add the dry ingredients to the wet mixture, mixing on low speed until just combined. Don’t overmix, which can make the cake tough.
6. Bake the layers: Divide batter evenly between prepared pans. Bake for 25-30 minutes or until a toothpick inserted in the center comes out clean.
7. Cool completely: Allow cakes to cool in pans for 10 minutes, then transfer to wire racks to cool completely (about 2 hours).
8. Make frosting: Beat cream cheese and butter until smooth and creamy. Gradually add powdered sugar, vanilla, and salt, mixing until fluffy.
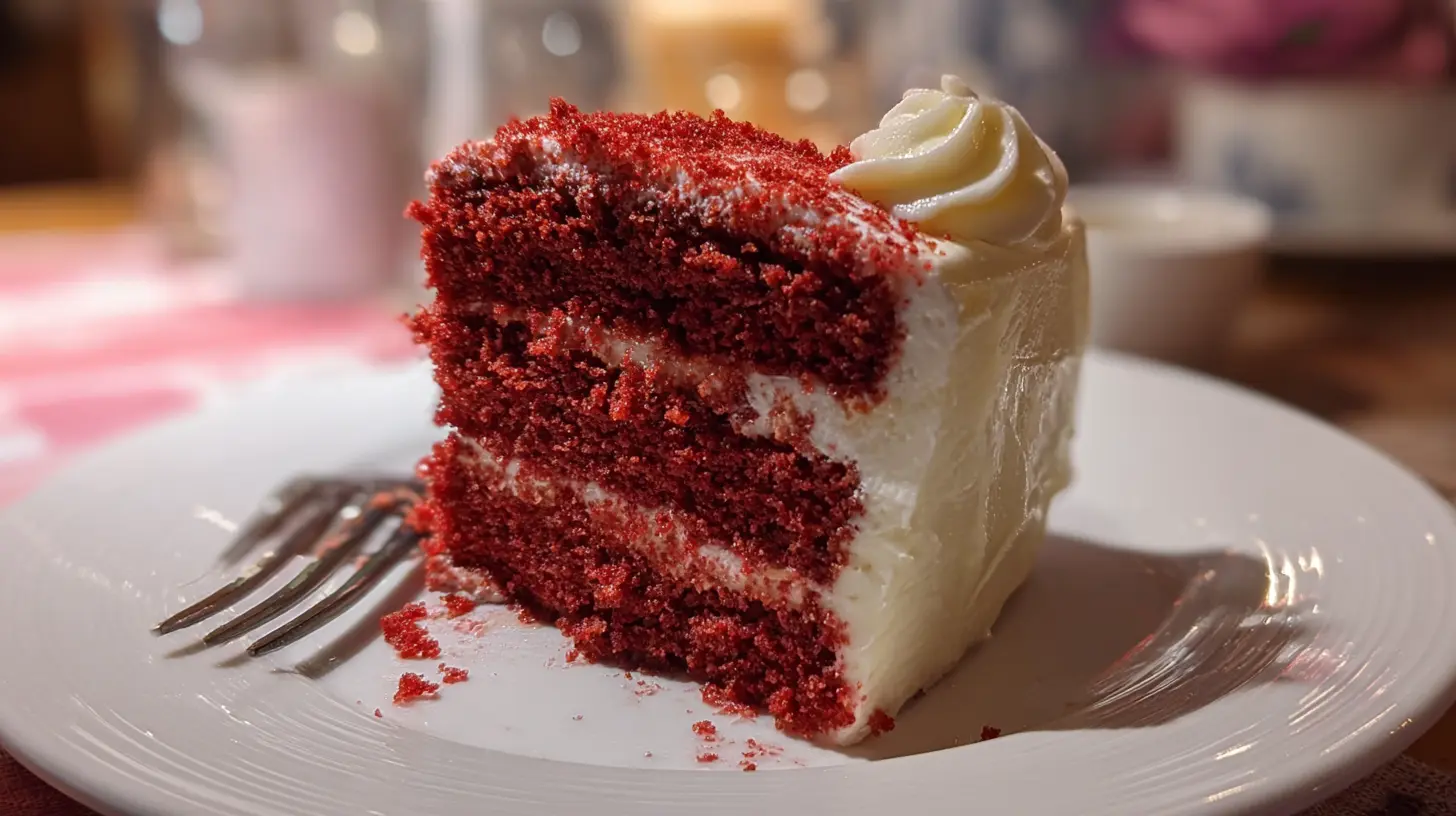
9. Assemble cake: Place one layer on a serving plate, spread frosting on top, add the second layer, then frost the top and sides. This creates a beautiful centerpiece for your Juneteenth celebration desserts table.
Nutritional Benefits & Advantages
While this cake is certainly an indulgence, it does offer some nutritional benefits. The cocoa powder contains antioxidants, while the eggs provide protein and essential nutrients. Using vegetable oil instead of butter reduces saturated fat content. For a healthier version, consider reducing sugar slightly or using whole wheat pastry flour for part of the all-purpose flour.
Tips, Variations & Cooking Advice
– Natural coloring option: Replace artificial food coloring with 2 tablespoons of beet powder for a natural red hue.
– Dietary adaptations: For dairy-free, use plant-based milk with 1 tablespoon lemon juice and vegan cream cheese.
– Portion control: Make cupcakes instead of a layer cake (bake for 18-20 minutes).
– Flavor variations: Add 1 teaspoon of coffee powder to enhance the chocolate notes.
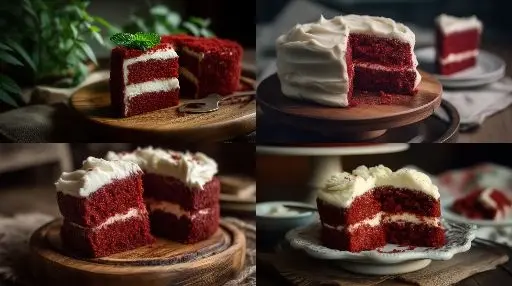
– Decoration ideas: Garnish with fresh berries, chocolate shavings, or edible gold dust for elegance.
Common Mistakes to Avoid
1. Overmixing the batter: This develops gluten, resulting in a tough cake. Mix just until ingredients are combined.
2. Opening the oven door too early: This causes temperature fluctuations that lead to sinking.
3. Frosting while warm: Always allow cakes to cool completely before frosting to prevent melting.
4. Using cold ingredients: Room-temperature ingredients incorporate better, creating a smoother texture.
5. Skipping the parchment paper: This simple step prevents sticking and makes cake removal easier.
Storage & Meal Prep Tips
– Counter storage: Store frosted cake under a cake dome at room temperature for up to 2 days.
– Refrigeration: Store in an airtight container for up to 5 days. Bring to room temperature before serving.
– Freezing unfrosted layers: Wrap tightly in plastic wrap and freeze for up to 2 months.
– Freezing frosted cake: Place unwrapped in freezer until firm, then wrap in plastic and foil. Thaw in refrigerator overnight.
– Make-ahead options: Prepare cake layers and frosting separately up to 2 days ahead, then assemble before serving.
Conclusion
Creating your own Juneteenth Red Velvet Cake is more than just baking—it’s participating in a meaningful tradition that honors history while creating new memories. With its striking appearance and delicious flavor, this cake stands as a perfect centerpiece for your celebration table. We hope this guide empowers you to create spectacular Juneteenth celebration desserts that bring joy to your gatherings while honoring this important holiday’s significance.
FAQs
Can I make this cake without food coloring?
Yes! Substitute with 2 tablespoons of beet powder or purée for natural coloring, though the shade will be more burgundy than bright red.
Why is my red velvet cake dry?
This typically happens from overbaking or measuring flour incorrectly. Use the spoon-and-level method for measuring flour and check for doneness early.
Can I substitute buttermilk?
Yes, mix 1 cup regular milk with 1 tablespoon lemon juice or white vinegar and let stand for 5 minutes before using.
How do I get the perfect cream cheese frosting consistency?
Ensure both cream cheese and butter are completely room temperature, and add powdered sugar gradually while beating at medium speed.
Can I prepare components of this cake in advance?
Absolutely! Cake layers can be baked 1-2 days ahead and stored wrapped at room temperature. Frosting can be made 1 day ahead and refrigerated, then brought to room temperature before using.
Proven way to grow Juneteenth Red Velvet Cake in 5
Equipment
- oven
- 9-inch round cake pans
- large bowls
- whisk
- electric mixer
Ingredients
Cake
- 2.5 cups all-purpose flour
- 1.75 cups granulated sugar
- 2 tablespoons unsweetened cocoa powder
- 1 teaspoon baking soda
- 0.5 teaspoon salt
- 1 cup buttermilk
- 0.5 cup vegetable oil
Frosting
- 8 ounces cream cheese, softened
- 0.5 cup unsalted butter, softened
- 4 cups powdered sugar
- 1 teaspoon vanilla extract
Instructions
Cake Preparation
- Preheat oven to 350°F (175°C) and prepare two 9-inch round cake pans by greasing and flouring them; set aside.
- In a large bowl, whisk together the dry ingredients: flour, sugar, cocoa powder, baking soda, and salt.
- In a separate medium bowl, combine the wet ingredients: buttermilk, vegetable oil, eggs, red food coloring, and vanilla extract.
- Add the wet ingredients to the dry ingredients and mix until just combined, being careful not to overmix.
- Divide the batter evenly between the prepared cake pans and bake for 25-30 minutes, or until a toothpick inserted into the center comes out clean.
Frosting Preparation
- While the cakes cool, prepare the cream cheese frosting: In a large bowl, beat the softened cream cheese and butter until smooth and creamy.
- Gradually add the powdered sugar, beating until fully incorporated, then stir in the vanilla extract.
- Once the cakes are completely cooled, frost the cake with the prepared cream cheese frosting.