
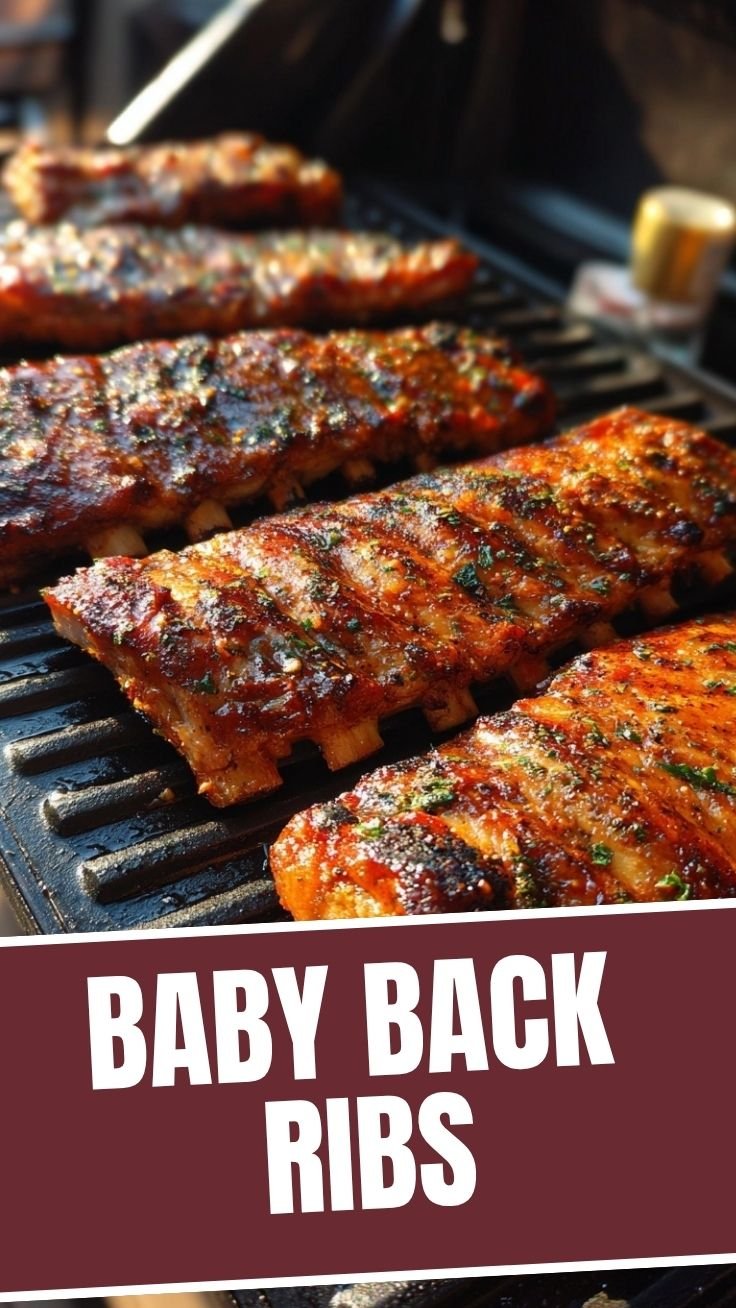
Baby Back Ribs
Learn the best way to grow Baby Back Ribs using the 4-2-1 method.
Baby Back Ribs
Dry Rub
Apple Cider Vinegar
Barbecue Sauce
Brown Sugar
Remove membrane from ribs.
Season ribs with dry rub.
Let ribs sit in the fridge for 4 hours.
Cook ribs in oven for 2 hours.
Brush ribs with barbecue sauce and brown sugar.
The Ultimate Guide to Perfect Tender Ribs: Master the Grill!
Have you been dreaming about restaurant-quality ribs but hesitating to make them at home? You’re not alone! Many home cooks feel intimidated by preparing Baby Back Ribs or BBQ Ribs, thinking they require professional equipment or secret techniques. The truth is, with the right guidance, you can create fall-off-the-bone tender ribs right in your backyard. This comprehensive guide will walk you through creating mouthwatering Baby Back Ribs and BBQ Ribs that will have your family and friends begging for your recipe.
Ingredients & Kitchen Tools
For the Ribs:
– 2 racks of baby back ribs (2-3 pounds each)
– 1/4 cup yellow mustard (helps the rub adhere)
– 1/2 cup brown sugar (adds caramelization)
– 3 tablespoons paprika (for color and mild flavor)
– 2 tablespoons garlic powder
– 2 tablespoons onion powder
– 1 tablespoon black pepper
– 1 tablespoon salt
– 1 teaspoon cayenne pepper (optional, for heat)
– 1 cup apple juice (for spritzing)
– 1 cup of your favorite BBQ sauce
Kitchen Tools:
– Grill or smoker (gas, charcoal, or electric all work)
– Wood chips (hickory, apple, or cherry recommended)
– Meat thermometer (essential for perfect doneness)
– Aluminum foil (heavy-duty preferred)
– Spray bottle (for apple juice spritzing)
– Sharp knife or kitchen shears (for membrane removal)
– Paper towels (for patting dry)
– Large baking sheet (for preparation)
Prep Time & Cooking Schedule
Total Time: 5-6 hours
– Preparation: 30 minutes
– Marinating: Optional, but 2-24 hours recommended for deeper flavor
– Cooking: 4-5 hours (low and slow is the key!)
– Resting: 10-15 minutes before serving
This is definitely a weekend project, but most of the time is hands-off. Plan to start at least 6 hours before mealtime to avoid rushing the process—rushing ribs is a recipe for tough meat!
Step-by-Step Instructions
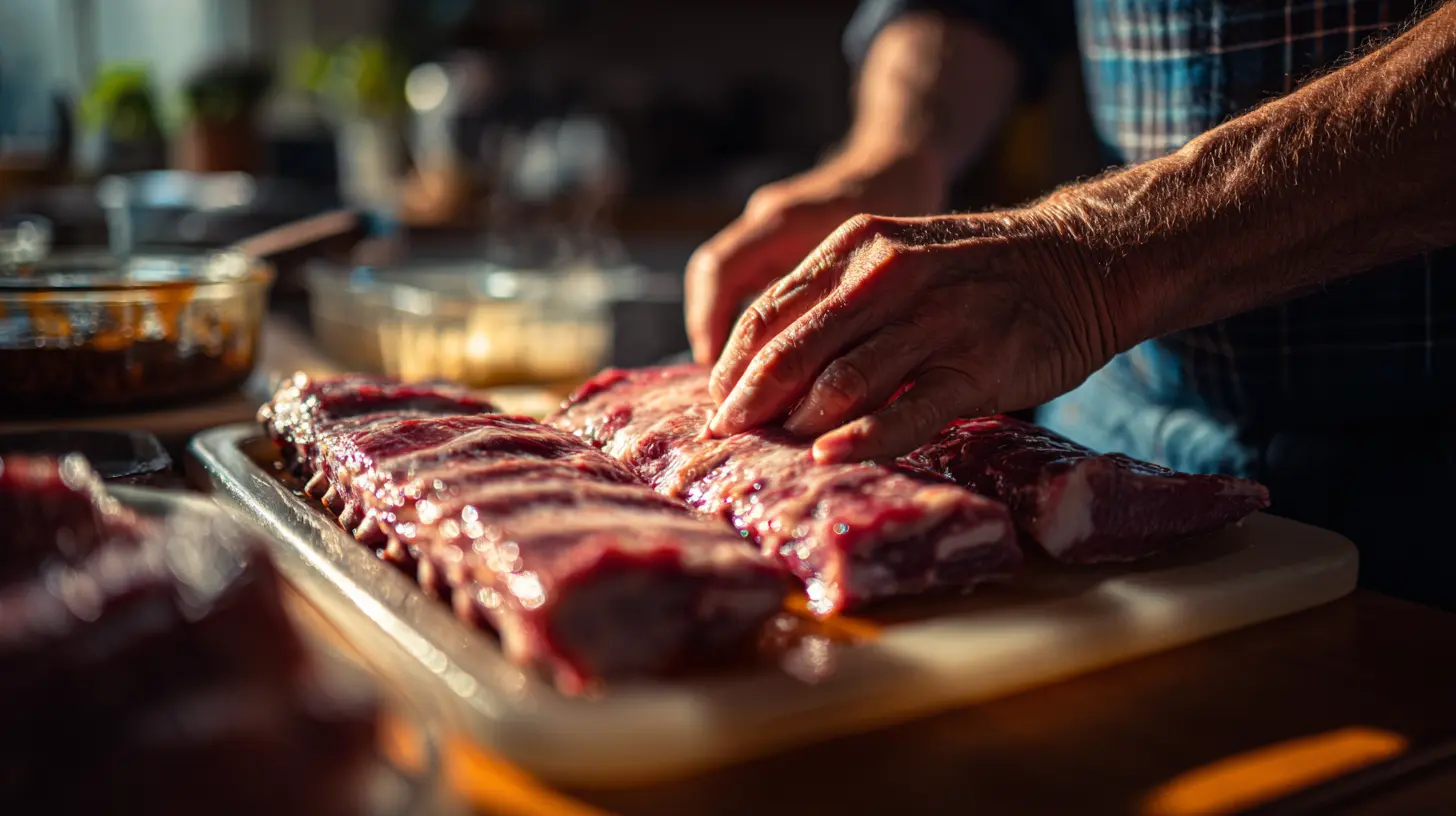
1. Prep the Ribs:
– Remove ribs from packaging and pat dry with paper towels.
– Turn the rack bone-side up and locate the silvery membrane.
– Slide a butter knife under the membrane, then use paper towels to grip and pull it off completely.
2. Apply the Base Layer:
– Coat both sides of the Baby Back Ribs with a thin layer of yellow mustard.
– Mix all dry rub ingredients in a bowl, then generously apply to both sides of the ribs.
– For best results, wrap rubbed ribs in plastic and refrigerate for 2 hours or overnight.
3. Prepare Your Grill:
– Set up your grill for indirect cooking at 225-250°F.
– Add wood chips according to your grill’s instructions for a smoky flavor.
4. The Smoking Phase (2-3 hours):
– Place ribs bone-side down on the cooler side of the grill.
– Close the lid and maintain temperature between 225-250°F.
– Spritz with apple juice every 45 minutes to keep moist.
5. The Wrapping Phase (2 hours):
– When the meat starts pulling back from the bones (about 3 hours in), remove from grill.
– Place each rack on a large sheet of heavy-duty foil.
– Add a splash of apple juice, wrap tightly, and return to the grill.
– Continue cooking for about 2 more hours until the meat is tender.
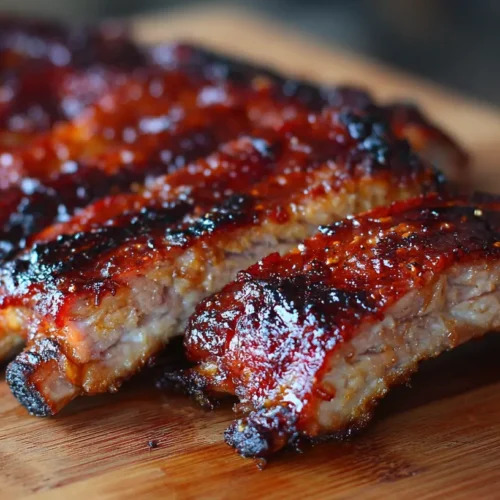
6. The Glazing Phase (30 minutes):
– Carefully unwrap the BBQ Ribs (watch for hot steam).
– Brush with your favorite BBQ sauce and return to the grill unwrapped.
– Cook for 30 minutes until the sauce is caramelized but not burnt.
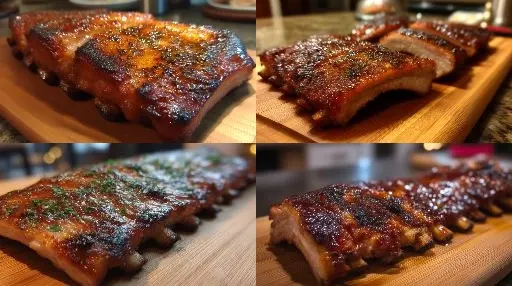
7. Rest and Serve:
– Let ribs rest for 10-15 minutes before cutting.
– Slice between the bones and serve with extra sauce on the side.
Nutritional Benefits & Advantages
While ribs are indulgent, they do offer nutritional benefits when prepared thoughtfully:
– High-quality protein for muscle building
– B vitamins for energy metabolism
– Zinc and selenium for immune function
– Iron for healthy blood cells
– When paired with vegetable sides, creates a balanced meal
Tips, Variations & Cooking Advice
– Sauce Variations: Try a Carolina mustard sauce, spicy chipotle, or Asian-inspired hoisin glaze.
– Dietary Adjustments: Use sugar-free rubs for low-carb diets.
– Time-Saving Option: Pre-cook ribs in the oven at 300°F for 2 hours, then finish on the grill.
– Indoor Alternative: Use the oven-to-broiler method (275°F for 3 hours, then broil with sauce).
– Flavor Boosters: Add ground coffee or cocoa powder to your rub for depth.
Common Mistakes to Avoid
1. Cooking too hot/fast: Results in tough meat. Maintain 225-250°F throughout.
2. Skipping membrane removal: Creates chewy, unpleasant texture. Always remove it.
3. Saucing too early: Causes burning. Only sauce during the final 30 minutes.
4. Checking too frequently: Opening the grill constantly loses heat. Trust the process.
5. Not testing for doneness: Ribs should bend easily but not fall apart completely.
Storage & Meal Prep Tips
– Refrigeration: Store leftover ribs in airtight containers for up to 3-4 days.
– Freezing: Wrap portions tightly in plastic wrap, then foil, and freeze for up to 3 months.
– Reheating: For best results, wrap in foil with a splash of apple juice and heat in a 275°F oven until warmed through (about 20-30 minutes).
– Make-Ahead: You can smoke ribs until the wrapping phase, then refrigerate and finish the next day.
Conclusion
Mastering Baby Back Ribs and BBQ Ribs at home is truly a culinary achievement worth celebrating. With patience, the right techniques, and this detailed guide, you’ve now got everything you need to create restaurant-quality ribs in your own backyard. Remember that great ribs aren’t about rushing—they’re about respecting the process and letting time work its magic. Share your rib-making adventures with friends and family, and don’t be surprised when they start requesting your legendary ribs for every gathering!
FAQs
Can I use spare ribs instead of baby back ribs?
Yes! Spare ribs require slightly longer cooking time (add about 60 minutes) due to their larger size and higher fat content.
What’s the best way to tell when ribs are done?
The “bend test” is reliable—pick up the rack with tongs; when it bends in the middle and the meat cracks slightly, they’re ready.
Can I make these ribs without a grill?
Absolutely! Bake in the oven at 275°F for 3-4 hours wrapped in foil, then unwrap, sauce, and finish under the broiler for 3-5 minutes.
Is it necessary to remove the membrane?
Yes—it prevents flavor penetration and becomes tough and chewy when cooked. Removing it makes a significant difference.
How can I make my ribs spicier?
Add more cayenne to the rub, use a spicy BBQ sauce, or serve with hot sauce on the side. You can also add chipotle powder to the rub for smoky heat.
Best way to grow Baby Back Ribs using the 4-2-1 method
Equipment
- Smoker
- Aluminum foil
- Basting brush
- Meat thermometer
Ingredients
For the Ribs
- 2 racks baby back ribs
- 1/4 cup yellow mustard
- 1/2 cup BBQ rub
For the Braise
- 1 cup apple juice
- 1/4 cup butter
For the Sauce
- 1 cup BBQ sauce
- 2 tablespoons honey
Instructions
Preparation
- Pat the ribs dry with paper towels and remove the membrane from the back of each rack.
- Spread a thin layer of yellow mustard evenly over both sides of the ribs, then generously apply the BBQ rub, ensuring full coverage.
The 4-2-1 Method
- Smoke the ribs at 225°F for 4 hours, maintaining a consistent temperature.
- After smoking, transfer the ribs to aluminum foil, add apple juice and butter, then tightly seal the foil and return to the smoker for 2 hours.
- Carefully unwrap the ribs, discard the liquid, brush with a mixture of BBQ sauce and honey, and return to the smoker for 1 hour to set the sauce.
Finishing
- Once the sauce is set and the ribs are tender, remove them from the smoker.
- Let the ribs rest for 10-15 minutes before slicing and serving.