Ultimate 7-Layer Cheesecake
Learn how to make the best 7-layer cheesecake ever!
Graham Crackers
Cream Cheese
Sugar
Vanilla Extract
Whipped Cream
Strawberries
Chocolate Sauce
Crush graham crackers for the crust.
Mix cream cheese, sugar, and vanilla extract for the filling.
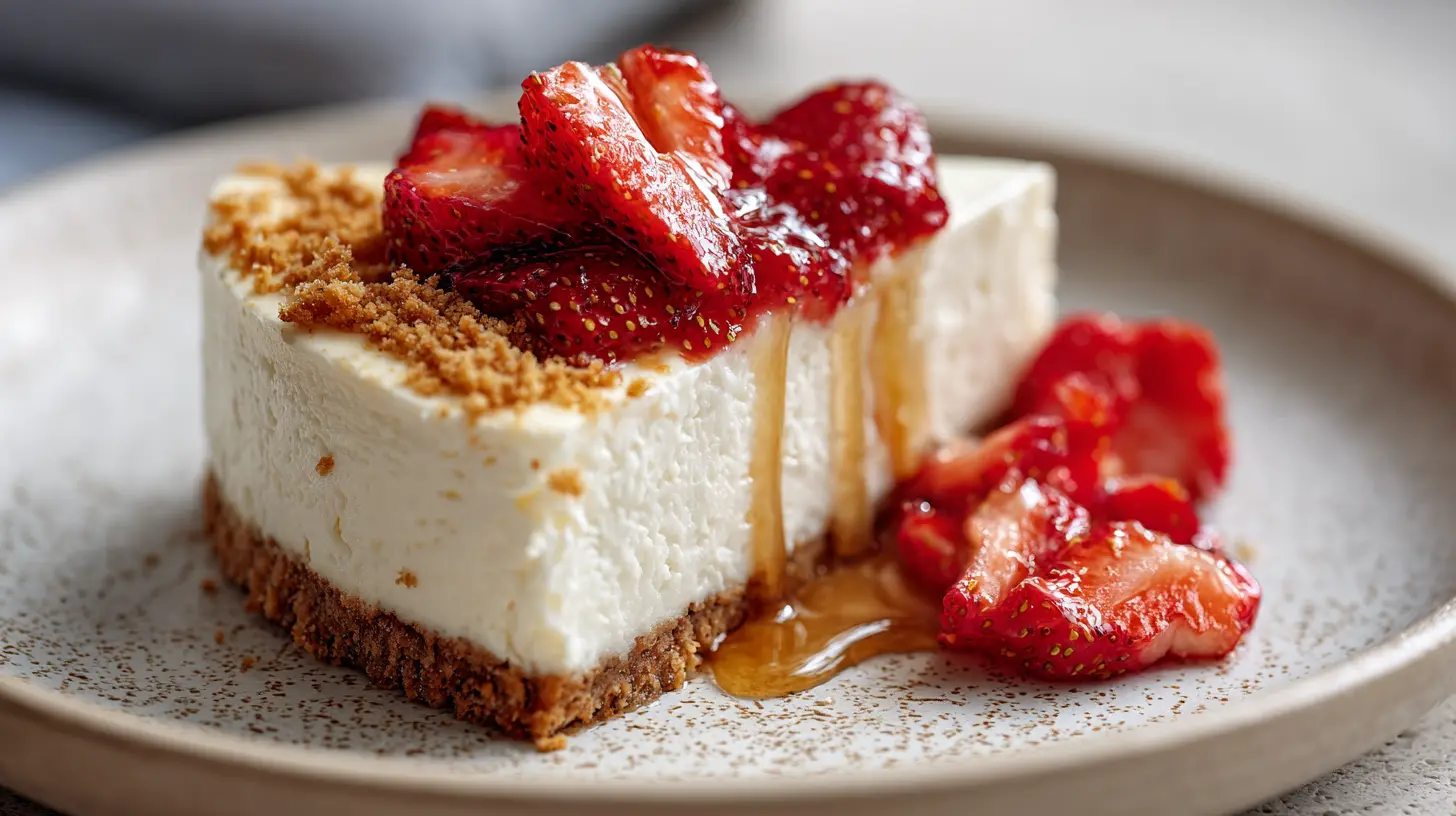
Layer graham cracker crust, cream cheese mixture, and whipped cream.
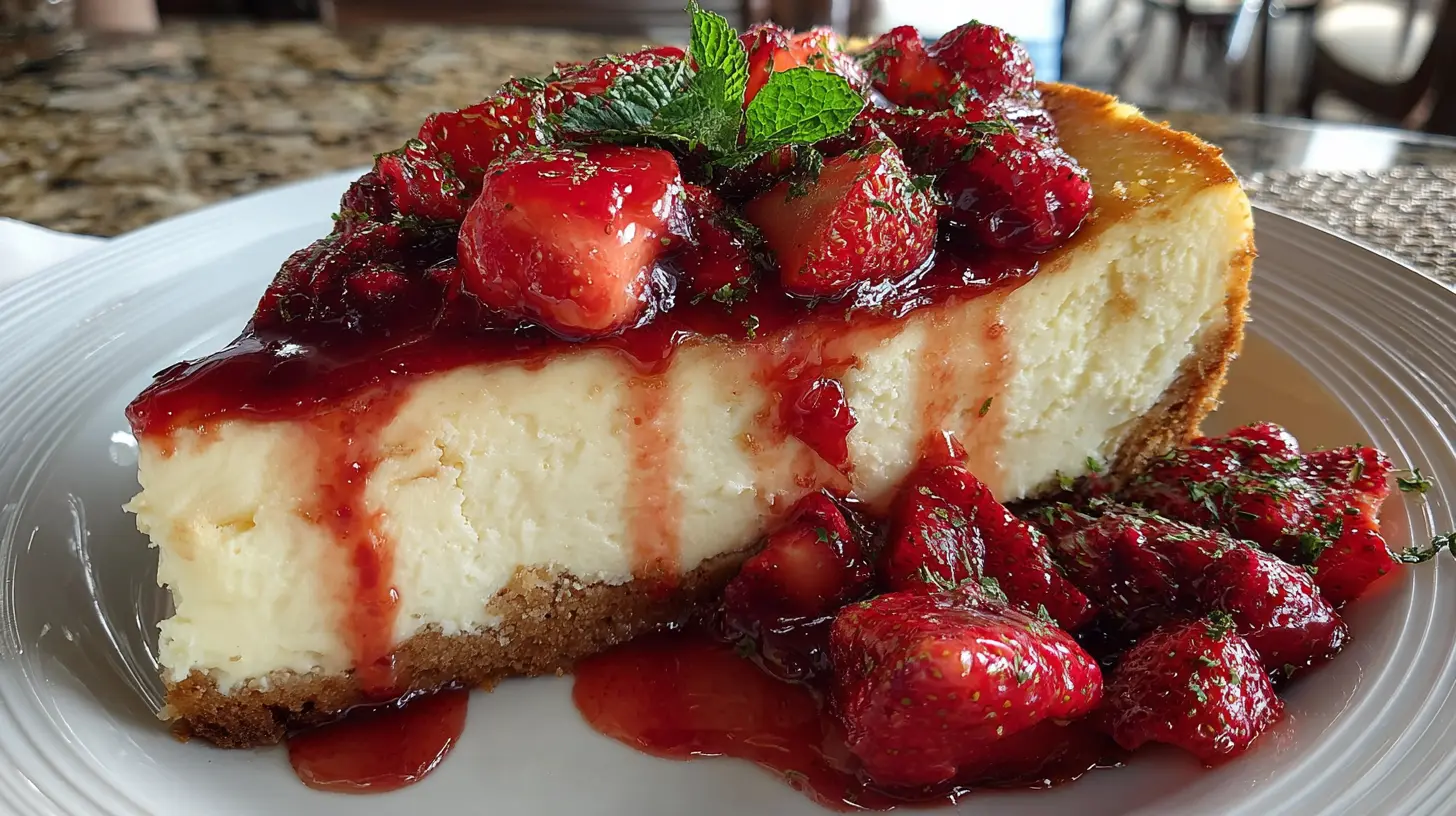
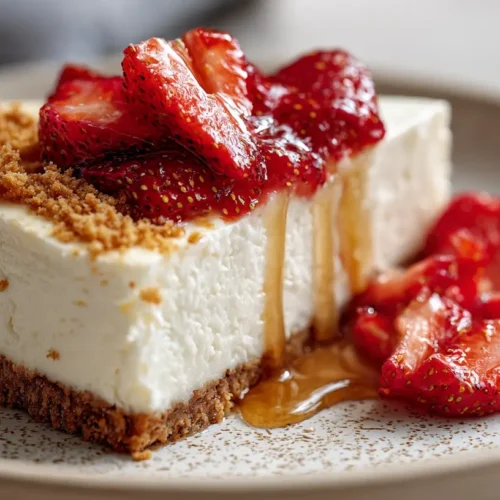
Add a layer of sliced strawberries on top.
Drizzle chocolate sauce over the cheesecake.
Easy No-Bake Cheesecake: The Perfect Summer Treat
Looking for a delicious summer treat that doesn’t require turning on your oven? This no-bake Cheesecake recipe is your answer! With its creamy texture and versatile flavor profile, this dessert is perfect for warm weather entertaining or simply satisfying your sweet tooth without heating up your kitchen. Making this no-bake cheesecake at home gives you complete control over the ingredients and allows you to customize it to your preferences, all while saving money compared to store-bought options.
Ingredients & Kitchen Tools
For the Crust:
– 2 cups graham cracker crumbs (about 15 full sheets, pulverized)
– 1/3 cup granulated sugar
– 1/2 cup (1 stick) unsalted butter, melted
– Pinch of salt (enhances the flavor contrast)
For the Filling:
– 16 oz (2 packages) cream cheese, softened at room temperature
– 1 cup powdered sugar, sifted to remove lumps
– 2 teaspoons pure vanilla extract
– 2 tablespoons fresh lemon juice (adds brightness without tasting lemony)
– 1 1/2 cups heavy whipping cream
– 1/4 cup sour cream (optional, for tanginess)
Equipment Needed:
– 9-inch springform pan (essential for easy removal)
– Large mixing bowl
– Hand mixer or stand mixer
– Rubber spatula
– Measuring cups and spoons
– Microwave-safe bowl (for melting butter)
– Refrigerator space for chilling
Prep Time & Cooking Schedule
– Preparation Time: 25 minutes
– Chilling Time: Minimum 6 hours, preferably overnight
– Total Time: 6 hours 25 minutes (including chilling)
This make-ahead dessert is perfect for planning around busy schedules. Prepare it the day before your event for best results, as the extended chilling time allows the flavors to meld and the texture to set properly.
Step-by-Step Instructions
1. Prepare the pan: Lightly grease the sides of your springform pan with butter or cooking spray.
2. Make the crust: In a medium bowl, combine graham cracker crumbs, sugar, and salt. Pour in melted butter and mix until the mixture resembles wet sand. Press firmly into the bottom of the prepared springform pan, creating an even layer. Use the bottom of a measuring cup to compact the crust. Place in the refrigerator while preparing the filling.
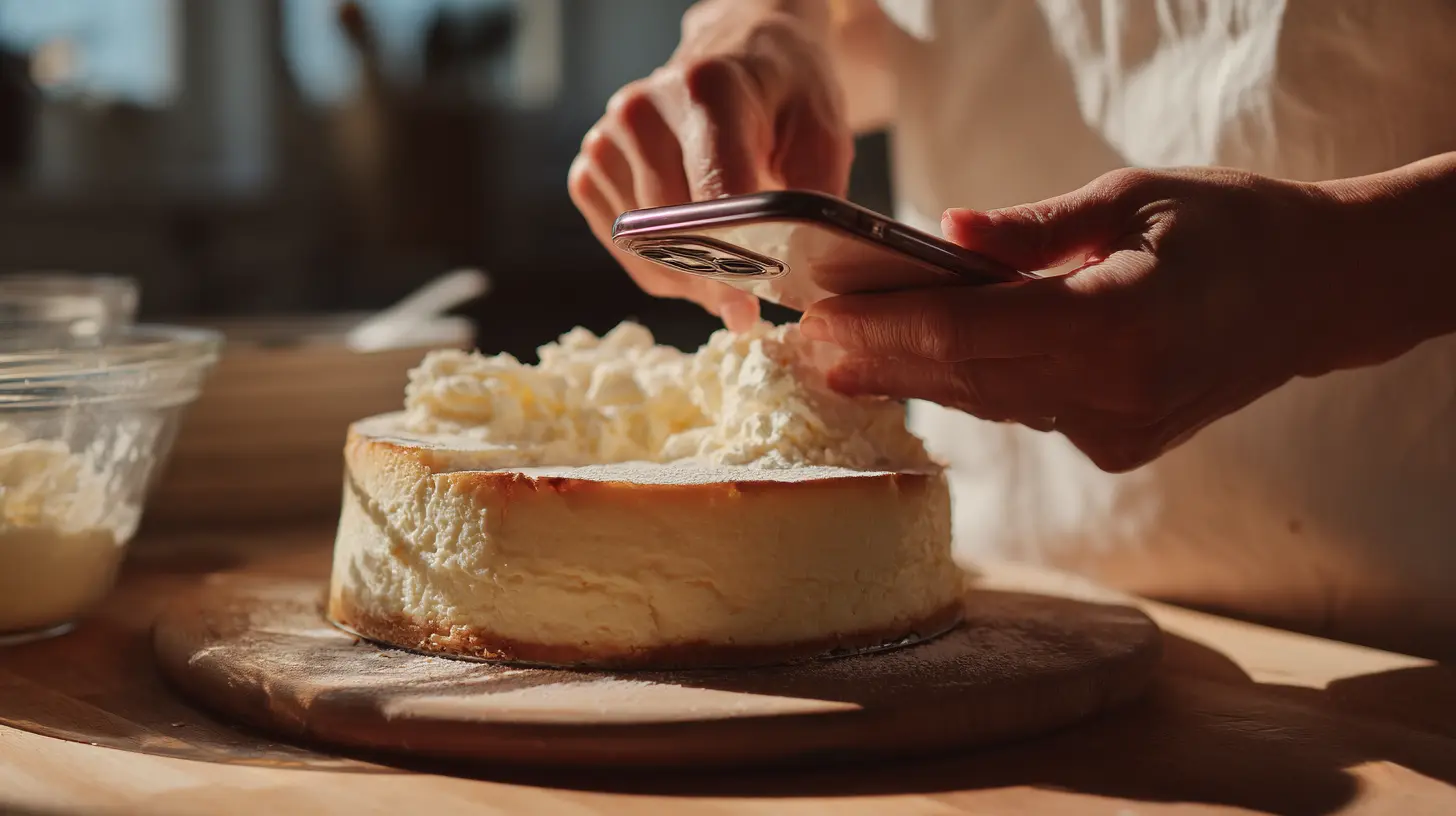
3. Beat the cream cheese: In a large bowl, beat the softened cream cheese until completely smooth and free of lumps, about 2-3 minutes. This Cheesecake filling requires absolutely smooth cream cheese as a foundation.
4. Add sweetener and flavoring: Add the powdered sugar, vanilla extract, and lemon juice. Beat until well combined and creamy.
5. Incorporate dairy elements: Fold in the sour cream if using. In a separate bowl, whip the heavy cream until stiff peaks form, then gently fold into the cream cheese mixture until fully incorporated, maintaining as much air as possible for a light dessert texture.
6. Fill and chill: Pour the filling onto the prepared crust, smoothing the top with a spatula. Refrigerate for at least 6 hours, preferably overnight.
Nutritional Benefits & Advantages
While this cheesecake is undoubtedly an indulgence, it does offer some nutritional benefits. The cream cheese provides calcium and protein, while the optional sour cream adds probiotics. Using fresh lemon juice incorporates a small amount of vitamin C. For a lighter version, you can substitute low-fat cream cheese and Greek yogurt for some of the heavy cream.
Tips, Variations & Cooking Advice
– Flavor variations: Add 1/4 cup cocoa powder for chocolate cheesecake, or fold in 1 cup of fresh berries for a fruity twist.
– Crust alternatives: Use crushed Oreos, vanilla wafers, or gingersnaps instead of graham crackers.
– Dairy-free option: Substitute plant-based cream cheese and coconut cream (chilled and whipped) for a dairy-free version.
– Sweetener options: Replace powdered sugar with honey or maple syrup for a different flavor profile (reduce by 1/4 cup).
– Mini cheesecakes: Use a muffin tin with liners for individual portions, reducing chilling time to about 3 hours.
Common Mistakes to Avoid
1. Using cold cream cheese: Always bring cream cheese to room temperature to prevent lumps in your filling.
2. Under-whipping the cream: Heavy cream must reach stiff peaks to provide structure.
3. Over-mixing after adding whipped cream: Fold gently to maintain airiness.
4. Rushing the chilling process: The minimum 6 hours is non-negotiable for proper setting.
5. Removing from the pan too soon: Release the springform sides only when fully set.
Storage & Meal Prep Tips
Store the cheesecake covered in the refrigerator for up to 5 days. For freezing, place the fully set cheesecake (without toppings) on a cardboard round, wrap in plastic wrap, then aluminum foil, and freeze for up to 3 months. Thaw overnight in the refrigerator before serving. Add fresh toppings just before serving for best appearance and texture.
Conclusion
This no-bake Cheesecake offers the perfect balance of simplicity and sophistication. With minimal effort and no baking required, you can create a showstopping dessert that will impress family and friends. The versatility of this recipe allows for countless variations to suit any occasion or preference. Give this recipe a try and discover how easy it can be to create a professional-quality cheesecake right in your own kitchen!
FAQs
Can I use a regular pan instead of a springform pan?
Yes, you can line a regular cake pan with parchment paper with overhanging edges to help lift out the cheesecake after it sets.
Why is my cheesecake not firming up properly?
This typically happens if the heavy cream wasn’t whipped to stiff peaks or if the cheesecake hasn’t chilled long enough. Give it more time in the refrigerator.
Can I add gelatin for more stability?
Yes, dissolve 1 tablespoon of unflavored gelatin in 3 tablespoons of hot water and cool slightly before adding to the mixture for extra firmness.
How do I prevent condensation on top when uncovering from the refrigerator?
Place paper towels between the plastic wrap and the cheesecake surface to absorb moisture during storage.
What’s the best way to slice a cheesecake cleanly?
Dip a sharp knife in hot water, wipe dry before each cut, and clean the knife between slices for perfect presentation.
Best way to grow the ultimate 7-layer cheesecakeCheesecake
Equipment
- springform pan
- mixing bowls
- electric mixer
- measuring cups and spoons
- sharp knife
Ingredients
Crust
- 1.5 cups graham cracker crumbs
- 0.5 cup melted butter
- 0.25 cup sugar
Cheesecake Filling
- 32 ounces cream cheese, softened
- 1 cup sugar
- 4 large eggs
- 0.5 cup sour cream
- 1 teaspoon vanilla extract
Toppings
- chocolate sauce
- caramel sauce
- whipped cream
- chopped nuts
- fresh berries
- chocolate shavings
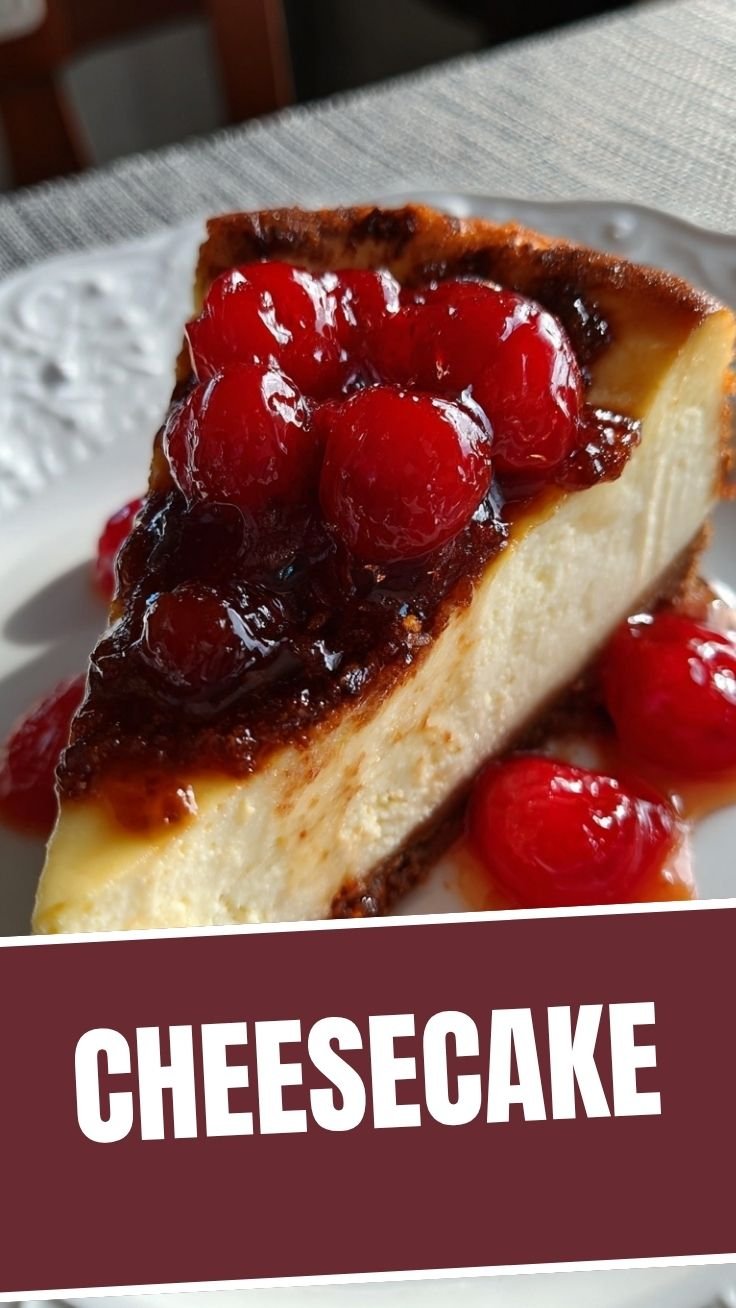
- cherry pie filling
Instructions
The Seed Layer
- Combine graham cracker crumbs, melted butter, and sugar, then press the mixture firmly into the bottom of a springform pan to create the "seed" layer.
Nurturing the Base
- Beat softened cream cheese and sugar until smooth, then incorporate eggs one at a time, followed by sour cream and vanilla extract for the foundational cheesecake batter.
The Growth Spurt
- Pour the cheesecake batter over the crust in the springform pan, and bake at 325°F (160°C) for 50-60 minutes until the edges are set and the center slightly jiggles.
Layering the Flavors
- Allow the baked cheesecake to cool completely, then carefully remove it from the pan and gently divide it into five circular layers using a sharp, thin knife.
The Blooming Toppings
- Apply your chosen toppings, such as chocolate sauce, caramel, or fresh berries, to each of the five cheesecake layers, creating a vibrant display of flavors and textures.
Constructing the Tower
- Carefully restack the adorned cheesecake layers, ensuring each one is perfectly aligned to form the impressive seven-layer cheesecake.
Harvesting the Delight
- Chill the assembled cheesecake for at least 4 hours, or preferably overnight, before slicing and serving this magnificent, multi-layered dessert.