Proven way to grow 7 Fried Chicken Herbs
Learn how to make delicious fried chicken with herbs from your garden.
Chicken
Herbs
Flour
Egg
Milk
Salt
Pepper
Pick fresh herbs from your garden.
Cut the chicken into small pieces.
Mix flour, salt, and pepper in a bowl.
Dip chicken pieces in egg and milk mixture.
Coat chicken in flour mixture.
Fry chicken until golden brown.
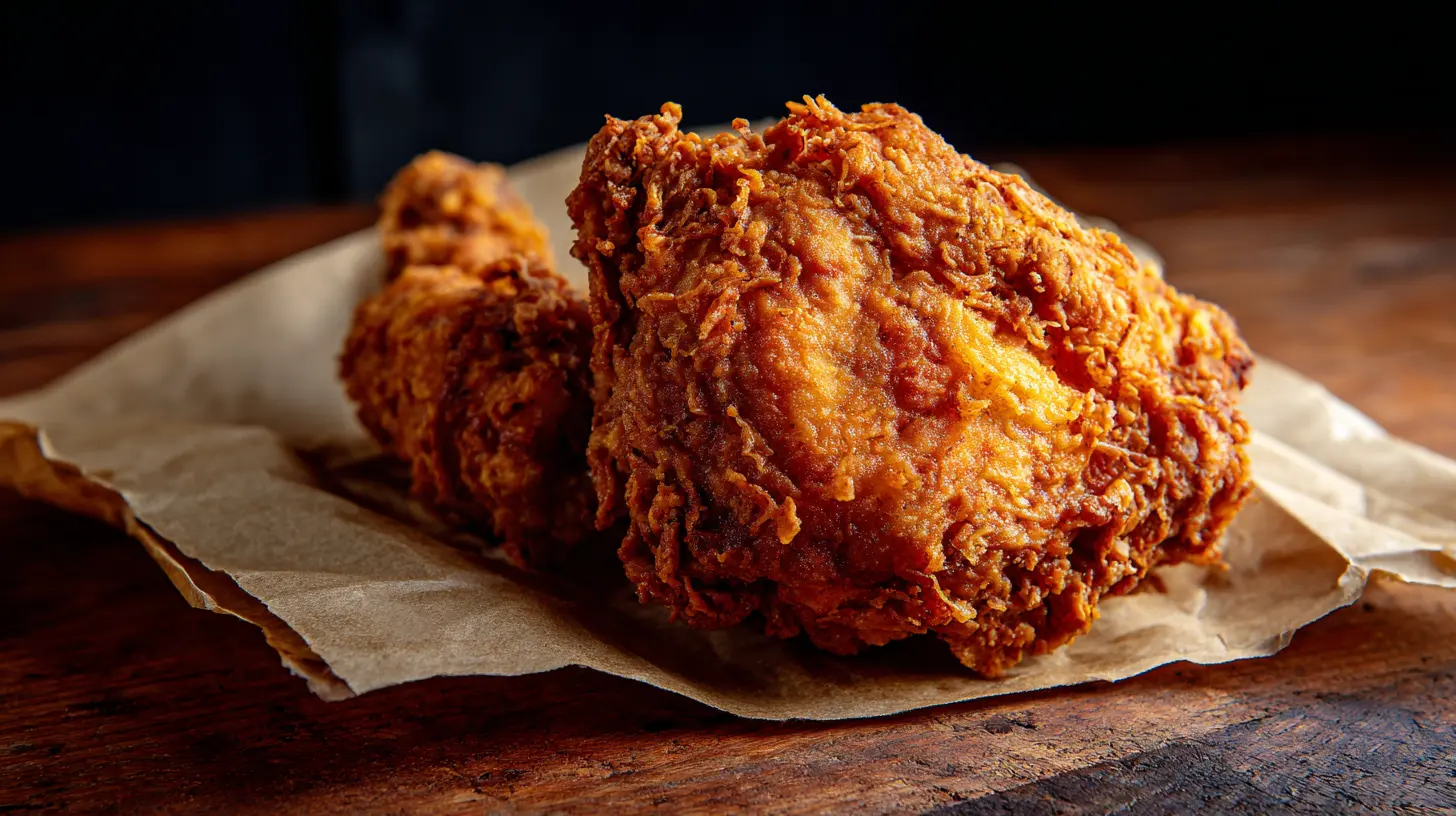
How to Make the Perfect Crispy Fried Chicken Recipe at Home
Ever wondered how to achieve that restaurant-quality crunch when making chicken at home? The perfect Fried Chicken is a timeless comfort food that brings families together around the dinner table. Whether you’re preparing a weekend feast or craving a homemade Fried chicken sandwich, mastering this classic dish will elevate your culinary repertoire. The combination of juicy meat and crispy coating creates an irresistible texture that’s worth the effort to prepare from scratch.
Ingredients & Kitchen Tools
For the Chicken:
– 3 pounds chicken pieces (mix of thighs, drumsticks, wings, and breasts)
– 2 cups buttermilk (or 2 cups milk with 2 tablespoons vinegar as substitute)
– 2 tablespoons hot sauce (adds flavor without excessive heat)
– 2 teaspoons salt (kosher preferred for better adhesion)
– 1 teaspoon black pepper (freshly ground enhances flavor)
For the Coating:
– 3 cups all-purpose flour (provides the base for the crispy exterior)
– 1 tablespoon paprika (adds color and mild flavor)
– 2 teaspoons garlic powder (for depth of flavor)
– 2 teaspoons onion powder (complements the garlic nicely)
– 1 teaspoon cayenne pepper (adjust according to heat preference)
– 1 tablespoon baking powder (creates extra crispiness)
Kitchen Tools:
– Large Dutch oven or deep cast-iron skillet (for even heat distribution)
– Candy/deep-fry thermometer (crucial for temperature control)
– Tongs (for safely handling hot chicken)
– Wire rack and baking sheet (for draining excess oil)
– Paper towels (for additional oil absorption)
– Mixing bowls (for marinades and flour mixture)
Prep Time & Cooking Schedule

– Prep Time: 30 minutes (plus 4 hours to overnight marinating)
– Cooking Time: 20-25 minutes
– Total Time: Approximately 5 hours (including marination)
– Serving Size: 4-6 people
The marination time is non-negotiable for truly flavorful chicken—plan ahead for best results! The actual frying process moves quickly, so have all ingredients and tools ready before you begin.
Step-by-Step Instructions

1. Prepare the marinade: In a large bowl, combine buttermilk, hot sauce, 1 teaspoon salt, and 1/2 teaspoon pepper. Whisk until well blended.
2. Marinate the chicken: Submerge chicken pieces in the buttermilk mixture, cover, and refrigerate for at least 4 hours or preferably overnight.
3. Prepare the dredging station: In a large, shallow dish, combine flour, remaining salt and pepper, paprika, garlic powder, onion powder, cayenne, and baking powder. Mix thoroughly.
4. Heat the oil: Fill your Dutch oven or skillet with about 2 inches of vegetable or peanut oil. Heat to 350°F (175°C) using your thermometer for accuracy.
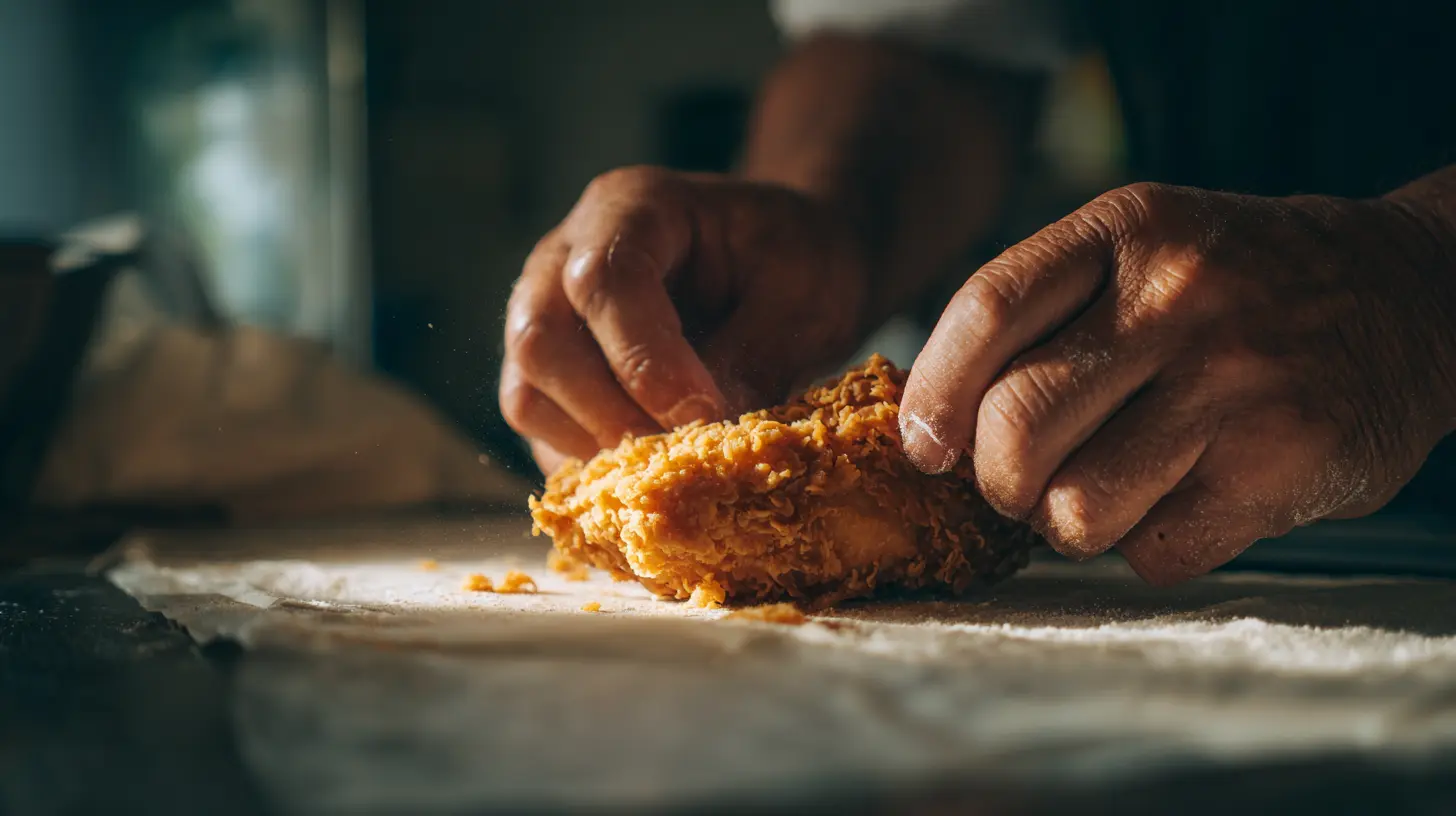
5. Dredge the chicken: Remove chicken from marinade, allowing excess to drip off. Thoroughly coat each piece in the flour mixture, pressing firmly to create a textured surface perfect for that classic Fried Chicken crunch.
6. Fry in batches: Carefully place 3-4 pieces in the hot oil, being careful not to overcrowd. Maintain oil temperature between 325-350°F for optimal crispiness.
7. Cook thoroughly: Fry dark meat (thighs and drumsticks) for 12-14 minutes and white meat (breasts) for 10-12 minutes, turning occasionally. The internal temperature should reach 165°F.
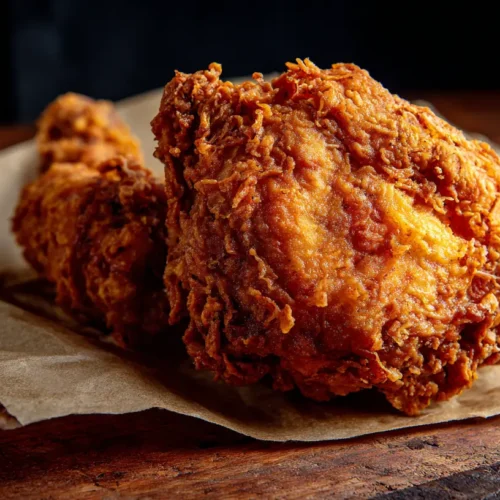
8. Drain and rest: Transfer cooked chicken to the wire rack. Let rest for 5-10 minutes before serving—perfect for making a delicious Fried chicken sandwich or enjoying as is.
Nutritional Benefits & Advantages
While fried foods should be enjoyed in moderation, homemade fried chicken offers several advantages over commercial versions. Using fresh ingredients and controlling oil quality significantly reduces preservatives and trans fats. The protein content in chicken provides essential amino acids, and when using skinless pieces, you can reduce overall fat content. The spices used, particularly paprika and garlic, offer antioxidant properties and potential immune-boosting benefits.
Tips, Variations & Cooking Advice
– Double-dredge technique: For extra crispiness, dip chicken back in buttermilk after the first flour coating, then dredge again.
– Flavor variations: Add herbs like thyme or rosemary to the flour mixture for an aromatic twist.
– Spice adjustments: Increase cayenne for spicier chicken or add brown sugar for a touch of sweetness.
– Healthier option: Oven-fry by spraying coated chicken with oil and baking at 425°F until crispy.
– Gluten-free version: Substitute regular flour with a mixture of rice flour and cornstarch.
Common Mistakes to Avoid
1. Frying at incorrect temperatures: Oil that’s too cool makes greasy chicken; too hot burns the exterior before the inside cooks.
2. Overcrowding the pan: This lowers oil temperature and creates steaming instead of frying.
3. Skipping the resting time: Not allowing chicken to come to room temperature before frying causes uneven cooking.
4. Insufficient seasoning: Season both the marinade and the flour mixture for flavor depth.
5. Frequently flipping: Resist the urge to constantly turn the chicken, which can damage the coating.
Storage & Meal Prep Tips
– Refrigeration: Store cooled fried chicken in an airtight container for up to 3 days.
– Freezing: Wrap individual pieces in foil, then place in freezer bags for up to 4 months.
– Reheating: For best results, reheat in a 350°F oven for 15-20 minutes to maintain crispiness. Avoid microwave reheating, which softens the crust.
– Make-ahead components: Prepare the marinade and flour mixture up to 2 days in advance.
Conclusion
Mastering homemade Fried Chicken is a rewarding culinary skill that delivers incomparable taste and texture. The process may seem involved, but the results are well worth the effort. Whether served as a standalone dish or transformed into a delicious Fried chicken sandwich, this recipe creates memorable meals that will have family and friends requesting seconds. With practice, you’ll develop your own signature touch that makes your fried chicken truly special.
FAQs
Can I use an air fryer instead of deep-frying?
Yes! Spray the coated chicken with oil and cook at 380°F for 12 minutes, flip, and cook for another 10-12 minutes until the internal temperature reaches 165°F.
Why is my coating falling off during frying?
This typically happens if the oil isn’t hot enough or if you didn’t let the excess marinade drip off sufficiently. Ensure oil temperature is correct and press the coating firmly onto the chicken.
Can I reuse the frying oil?
Yes, strain cooled oil through a fine-mesh sieve lined with cheesecloth to remove particles. Store in a dark container and reuse 3-4 times before discarding.
How can I tell when the chicken is done without a thermometer?
Pierce the thickest part with a knife. If juices run clear (not pink) and the meat appears opaque, it’s likely done. However, a thermometer is strongly recommended for food safety.
Is it necessary to use buttermilk?
While not absolutely necessary, buttermilk tenderizes the meat through its acidity and helps the coating adhere better. The substitute of milk with vinegar works well if buttermilk isn’t available.
Proven way to grow 7 Fried Chicken Herbs
Equipment
- Gardening gloves
- Trowel
- Watering can
- Pruning shears
Ingredients
Herbs
- 1 plant Thyme
- 1 plant Rosemary
- 1 plant Oregano
- 1 plant Sage
- 1 plant Basil
- 1 plant Parsley
- 1 plant Marjoram
Instructions
Planting
- Choose a sunny location with at least 6 hours of direct sunlight daily for optimal herb growth.
- Prepare well-draining soil by amending it with compost or organic matter to provide essential nutrients.
- Plant herb seedlings or seeds according to package directions, ensuring proper spacing for growth.
Care and Maintenance
- Water herbs regularly, checking soil moisture daily and watering when the top inch feels dry.
- Fertilize herbs every 2-4 weeks during the growing season with a balanced liquid fertilizer.
- Prune herbs regularly to encourage bushier growth and prevent flowering, which can reduce flavor.
Harvesting
- Harvest herbs by snipping off the top few inches of growth, leaving at least two sets of leaves for regrowth.
- Wash harvested herbs thoroughly under cool water and pat them dry before use or storage.
- Store fresh herbs in a plastic bag in the refrigerator for up to a week, or dry them for longer preservation.